---
title: "How to Convert Horizontal Video to Vertical: The 2026 Guide"
canonical: "https://blitzreels.com/blog/convert-horizontal-video-to-vertical"
---
# How to Convert Horizontal Video to Vertical: The 2026 Guide
URL: https://blitzreels.com/blog/convert-horizontal-video-to-vertical
Markdown URL: https://blitzreels.com/blog/convert-horizontal-video-to-vertical.md
Published: 2026-07-16
Author: BlitzReels
Learn how to convert horizontal video to vertical for TikTok, Reels, and Shorts. This guide covers AI reframing, manual cropping, and export settings.
Tags: convert horizontal video to vertical, video reframing, vertical video, 9:16 aspect ratio, content repurposing

A finished horizontal video often looks great on a laptop timeline and weak everywhere that matters. The upload hits TikTok, Reels, or Shorts, and suddenly the frame is tiny, the composition feels off, and the clip looks like it was adapted as an afterthought.
That's usually the actual problem. Most creators don't need another list of apps. They need a decision framework for when to use manual reframing, when to trust AI, and how to finish the clip so it feels native to short-form feeds instead of recycled from another format.
## Table of Contents
- [Why Vertical Video Is Non-Negotiable](#why-vertical-video-is-non-negotiable)
- [What changes when the frame matches the feed](#what-changes-when-the-frame-matches-the-feed)
- [The Two Paths to Vertical Manual Control vs AI Speed](#the-two-paths-to-vertical-manual-control-vs-ai-speed)
- [When manual wins](#when-manual-wins)
- [When AI wins](#when-ai-wins)
- [The Manual Workflow Pan and Scan Like a Pro](#the-manual-workflow-pan-and-scan-like-a-pro)
- [Set the sequence before touching the crop](#set-the-sequence-before-touching-the-crop)
- [Build movement with deliberate keyframes](#build-movement-with-deliberate-keyframes)
- [Use blur only when it helps](#use-blur-only-when-it-helps)
- [The Automated Workflow Using AI to Reframe in Minutes](#the-automated-workflow-using-ai-to-reframe-in-minutes)
- [What the AI should handle](#what-the-ai-should-handle)
- [Where automation fits best](#where-automation-fits-best)
- [Finishing Your Vertical Video for Maximum Impact](#finishing-your-vertical-video-for-maximum-impact)
- [Choose the right visual finish](#choose-the-right-visual-finish)
- [Captions aren't optional](#captions-arent-optional)
- [Export like the platform expects](#export-like-the-platform-expects)
- [Common Conversion Pitfalls and How to Fix Them](#common-conversion-pitfalls-and-how-to-fix-them)
- [Rotating the video is not a real solution](#rotating-the-video-is-not-a-real-solution)
- [The failure points that matter most](#the-failure-points-that-matter-most)
## Why Vertical Video Is Non-Negotiable
A horizontal video with black bars doesn't just look awkward in a vertical feed. It asks the viewer to work harder. On short-form platforms, that's enough to lose attention before the hook, title card, or first line even lands.
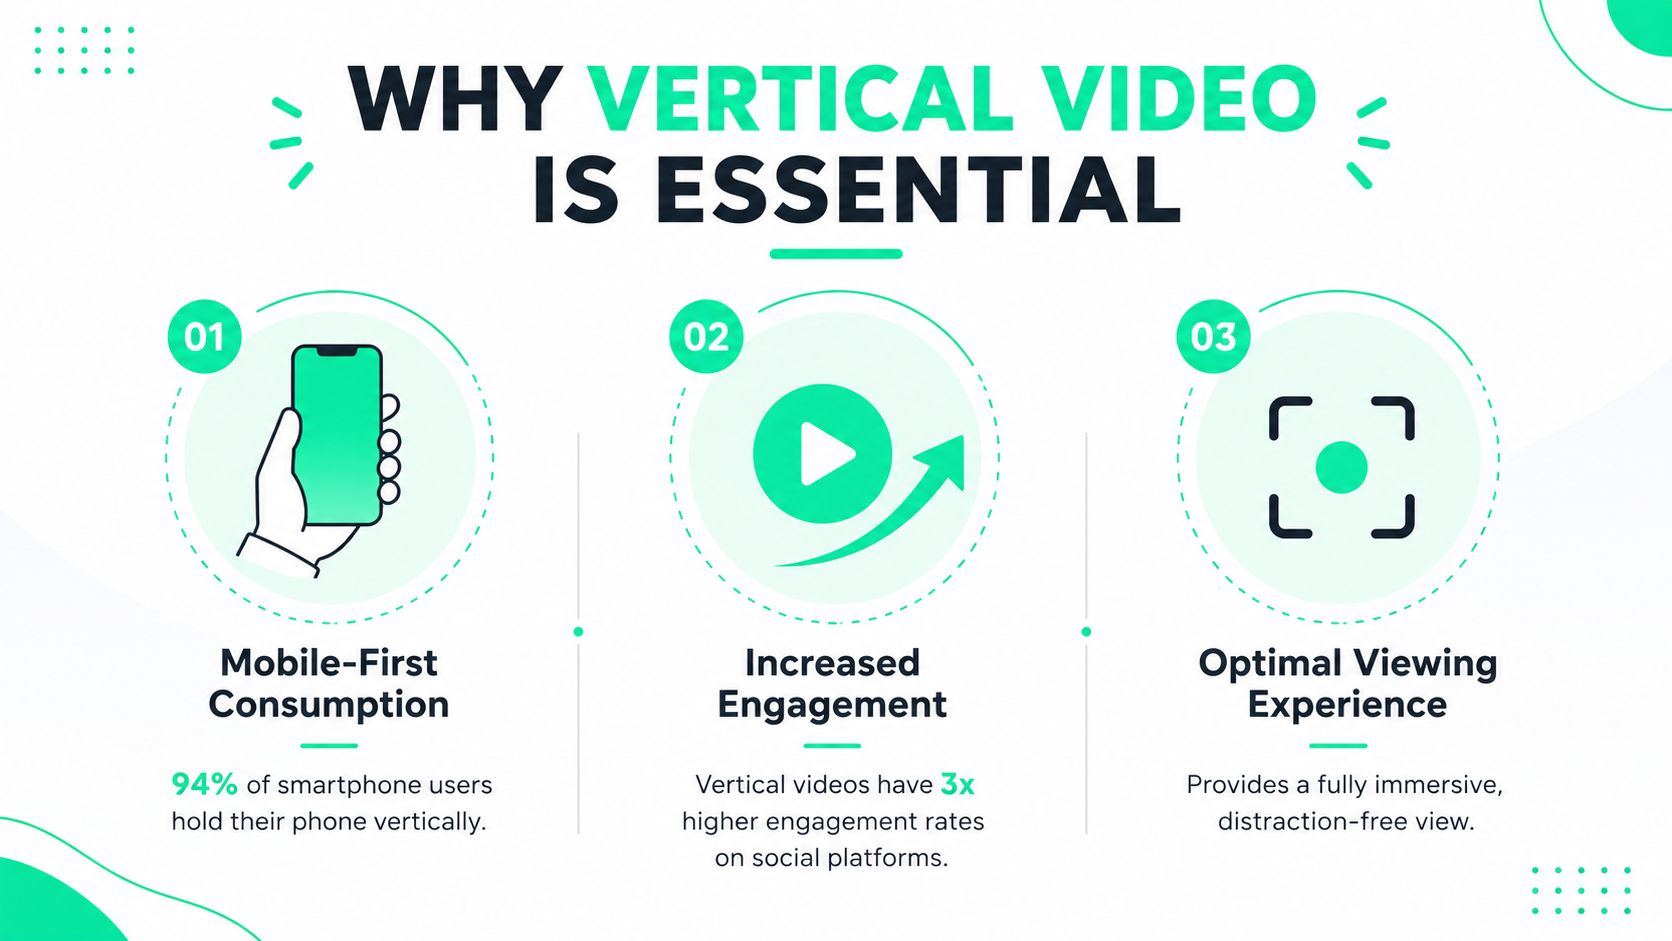
The format requirement is straightforward. **The standard way to convert horizontal video to vertical is 9:16 at 1080×1920**, and that shift is driven by the fact that **over 90% of mobile users watch content vertically** according to this [vertical video reference on YouTube](https://www.youtube.com/watch?v=PHEeFsrHQWQ&vl=en-US). The same source also notes that platforms like TikTok and Instagram Reels prioritize native vertical content, which is why properly formatted clips tend to get stronger reach than letterboxed uploads.
### What changes when the frame matches the feed
A vertical frame does three useful things at once:
- **It fills the screen:** the viewer sees one focused visual instead of a small, wide window.
- **It cleans up the first impression:** title cards, captions, and hooks feel intentional instead of squeezed into borrowed space.
- **It fits platform behavior:** people scroll with phones upright, so the content should meet them there.
> **Practical rule:** If the destination is Shorts, Reels, TikTok, or a phone-first LinkedIn video post, the video should be designed for the full vertical screen from the start or adapted to it before publishing.
This matters even more for interview clips, webinars, podcasts, and tutorials. Those formats often carry strong ideas but weak mobile presentation when left horizontal. Anyone building a repurposing workflow for creator-led shows should also look at this [visual podcast strategy in 2026](https://www.podmuse.com/post/visual-podcast), because the framing decision affects discoverability long before editing polish does.
For a broader look at what makes short clips perform once the format is right, this guide to [short-form video strategy](https://www.blitzreels.com/blog/short-form-video) is useful context.
## The Two Paths to Vertical Manual Control vs AI Speed
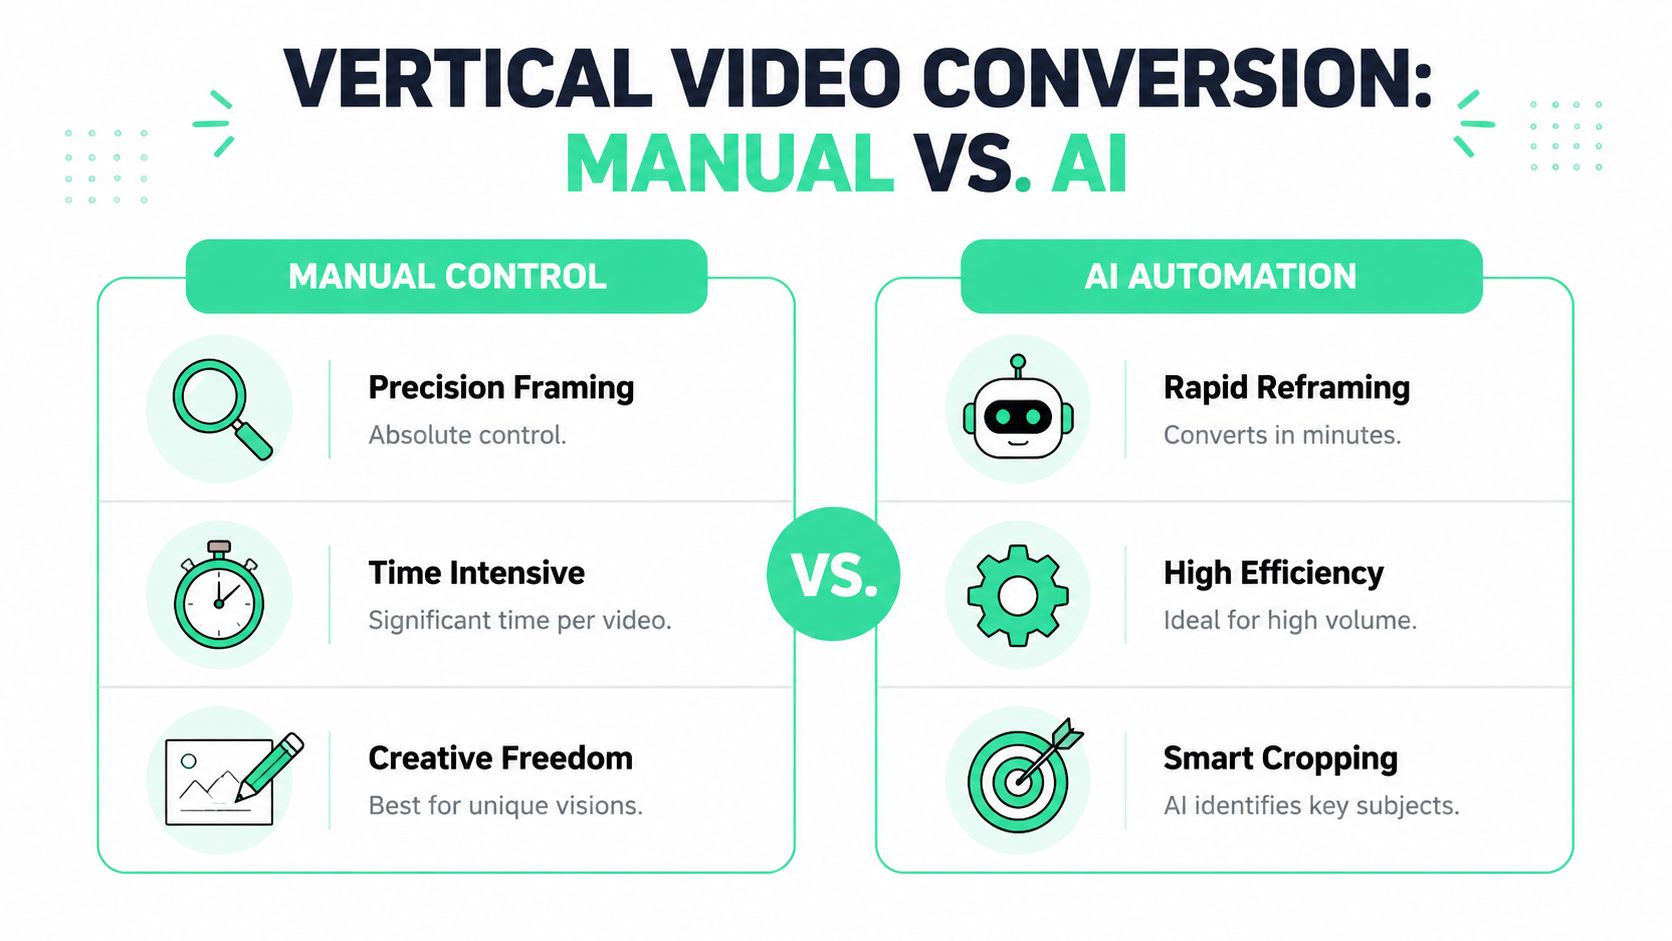
The first decision isn't which software to open. It's whether the clip needs **manual framing control** or **AI speed**.
That choice determines the rest of the workflow. Pick wrong, and either the editor wastes time correcting a simple talking-head clip by hand, or the AI botches a complex scene that needed human judgment from the beginning.
### When manual wins
Manual reframing is the better path when composition carries meaning. That includes:
- **Multi-person conversations:** especially when two people share the frame and the active speaker changes quickly.
- **Fast action or demos:** movement near the edges can break automated crops.
- **Brand-sensitive visuals:** product shots, on-screen text, and lower-thirds often need deliberate placement.
- **Creative edits:** punch-ins, intentional off-center framing, and custom title card layouts usually need a person making the call.
Manual work takes longer, but it protects the clip from the most common conversion mistakes.
### When AI wins
AI reframing is strongest when the source footage is structurally simple. Think monologues, webcam recordings, interview snippets with one dominant speaker, and straightforward educational content.
In those cases, the faster workflow usually makes more sense because the goal isn't perfect cinematic framing. The goal is to turn existing footage into platform-ready clips quickly, with captions, resizing, and clipping handled in one pass.
A simple way to decide is this:
| Video type | Better choice | Reason |
|---|---|---|
| Solo talking head | AI | The subject is obvious and easy to track |
| Podcast excerpt with one speaker on screen | AI | Fast turnaround matters more than precision |
| Interview with both speakers in one wide shot | Manual | Speaker changes can confuse auto-reframing |
| Product demo with text overlays | Manual | Cropping can hide key visual information |
| Webinar highlights at scale | AI | Volume and speed usually matter most |
> Good reframing starts with the footage itself. If the main subject is obvious, AI usually saves time. If the editor has to ask who or what matters in the frame, manual control is safer.
Creators comparing workflow options can dig deeper into [AI tools for perfect vertical video framing](https://www.blitzreels.com/blog/ai-tools-for-perfect-vertical-video-framing), but the important point comes first. Choose the method based on scene complexity, not brand familiarity.
## The Manual Workflow Pan and Scan Like a Pro
When a clip needs precision, **Pan & Scan** is still the cleanest way to convert horizontal video to vertical. It's slower, but it gives the editor control over every reframing decision instead of hoping an auto-crop chooses correctly.
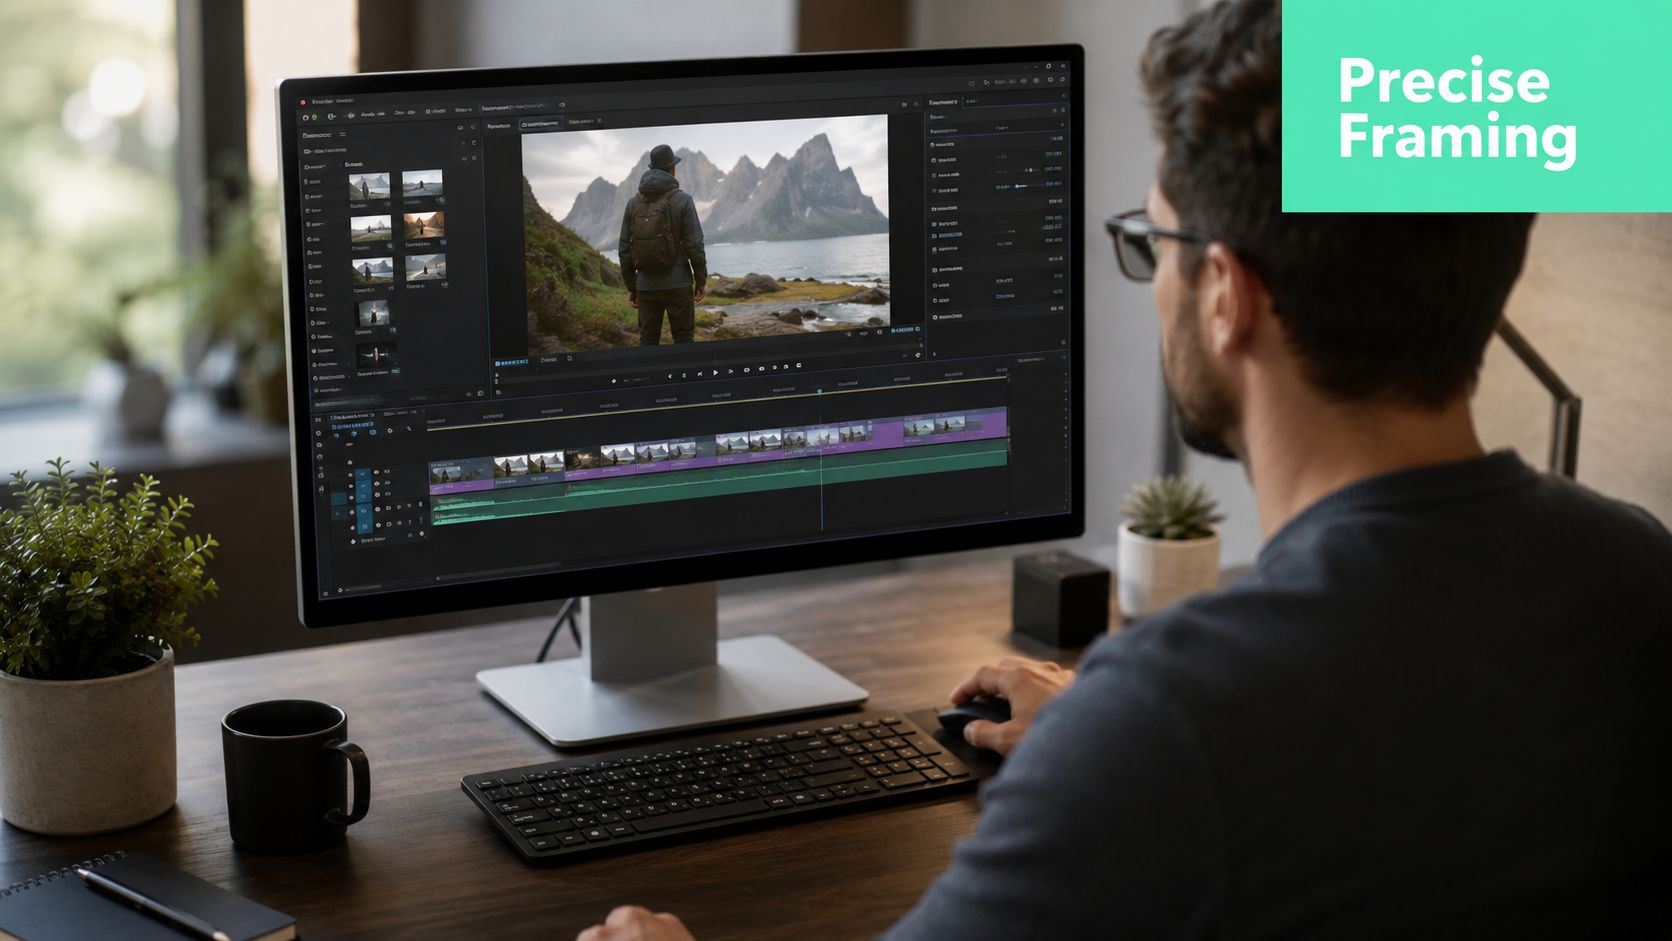
The core benchmark is clear. The industry-standard manual method uses **keyframes spaced 2–3 seconds apart**, and a duplicate background layer with **15–25 pixels of blur radius** helps reduce distraction, based on this [Pan & Scan workflow discussion](https://www.reddit.com/r/VideoEditing/comments/6jngvl/smart_ideas_for_turning_a_horizontal_video_into_a/).
### Set the sequence before touching the crop
Start by creating a vertical sequence. Then place the horizontal clip inside it and decide what kind of vertical treatment the footage can handle.
There are usually three workable looks:
1. **Tight center crop** for face-forward content.
2. **Pan and Scan** for moving subjects.
3. **Blurred wings** when the subject needs more breathing room than a simple crop allows.
If the source includes captions, slides, or product UI, this is the stage to check whether those elements survive the narrower frame.
### Build movement with deliberate keyframes
The easiest manual mistake is over-keyframing. Too many position changes make the clip feel nervous. Too few let the subject drift out of the safe area.
A better approach is to place keyframes at natural movement changes instead of every tiny motion. The 2–3 second spacing works because it creates smoother reframing and avoids constant micro-adjustments.
- **Track the main subject:** keep the face or focal object comfortably centered.
- **Watch entrances and exits:** if someone leans toward the edge, adjust before they clip out.
- **Protect text and gestures:** hands, demos, and on-screen labels often matter as much as faces.
> The vertical frame is less forgiving than the horizontal one. Small misses look much bigger on a phone screen.
### Use blur only when it helps
The duplicated-background blur trick is popular for a reason. It preserves the full horizontal source while keeping attention on the sharp center crop.
But it only works when the blur stays in the background. A heavy-handed effect can look cheap fast. The cited 15–25 pixel range is useful because it softens the wings without fighting the foreground subject.
A manual workflow also pairs well with aspect-ratio planning before the edit gets too far. This breakdown of [how to change aspect ratio](https://www.blitzreels.com/blog/how-to-change-aspect-ratio) is a good companion if the team is switching between multiple social formats in one production cycle.
## The Automated Workflow Using AI to Reframe in Minutes
When speed matters more than handcrafted framing, AI wins. That's especially true for creators posting daily clips, marketing teams repurposing webinars, and anyone cutting interviews into multiple short vertical assets.
The strongest case for automation is time. AI-powered auto-reframing has cut conversion time from **30–45 minutes to under 5 minutes**, and **78% of short-form creators now use these tools** to repurpose content, according to this [overview of vertical video conversion workflows](https://screenapp.io/features/vertical-video-converter). The same source notes that the broader record-edit-publish loop can compress to around 10 minutes.
### What the AI should handle
A good automated workflow doesn't just resize the frame. It should take care of the repetitive tasks that usually slow publishing down:
- **Reframing:** detect faces or the dominant subject and keep them centered.
- **Clipping:** identify usable moments from a longer recording.
- **Transcription:** turn speech into editable text.
- **Captions:** generate readable subtitles that fit short-form pacing.
- **Templates:** apply a repeatable look for title cards, colors, and text treatment.
Dedicated short-form tools usually beat general editing suites. Adobe Premiere and CapCut both offer auto-reframe features, but they still leave more assembly work on the editor's plate. Short-form-first tools tend to move faster because clipping, reframing, captions, and export presets sit in the same workflow.
For a deeper look at automated highlight extraction and trim logic, this guide to an [AI video clipping tool](https://www.blitzreels.com/blog/ai-video-clipping-tool) covers the broader repurposing side of the process.
### Where automation fits best
AI works best when the footage is structurally predictable. A talking-head explainer, solo reaction, or single-speaker interview is usually ideal because the software can lock onto one obvious subject.
The workflow is usually simple:
1. Upload the source video.
2. Choose a vertical output.
3. Let the AI reframe and generate captions.
4. Review the opening hook and title card.
5. Make a fast manual pass before export.
That manual pass still matters. AI is fast, not infallible.
A quick product walkthrough makes that clear:
> Fast editing isn't just about saving labor. It protects posting consistency. A clip that goes live today usually matters more than a clip that sits in revision until next week.
## Finishing Your Vertical Video for Maximum Impact
Reframing gets the video into the right shape. It doesn't make the clip finished. Strong vertical videos still need the last layer of packaging that keeps people watching after the first second.
The export side matters more than many editors assume. Professional workflows require **burning in subtitles directly into the MP4 file**, and using platform-specific presets helps preserve upload quality at **1080 by 1920**, as shown in this [vertical export settings walkthrough](https://www.youtube.com/watch?v=JQfA_u_mIhg).
### Choose the right visual finish
Different clips need different treatments around the subject. A rigid formula usually creates average-looking output.
A practical checklist helps:
- **Clean crop:** best when the face fills the frame and no supporting visuals are needed.
- **Blurred background:** useful when the original shot is too wide to crop tightly.
- **Graphic background:** good for branded explainers, LinkedIn clips, or recurring series with templates.
- **Split layout or title card intro:** useful when the hook needs context before the speaker appears.
This is also where clipping and storytelling meet design. A strong hook often needs a visual lead-in, not just a good spoken line. A short title card, animated keyword, or bold first caption can keep the opening from feeling abrupt.
### Captions aren't optional
Short-form viewers often encounter clips in silent environments. That makes captions part of the content, not decoration.
Good captions do three jobs:
1. They keep the message understandable with sound off.
2. They emphasize key phrases and hooks.
3. They give the clip visual rhythm.
Burned-in subtitles matter because they stay visible after export and platform processing. That reliability matters more than elegant caption styling that disappears or shifts later.
> A vertical clip with weak captions feels unfinished even when the edit is solid.
Anyone refining subtitle workflow for social video can use this guide on [how to add captions to Reels](https://www.blitzreels.com/blog/how-to-add-captions-to-reels), especially when the team wants captions, resizing, and templates to move faster together.
### Export like the platform expects
Before publishing, confirm four things:
- **Resolution:** 1080×1920
- **Captions:** embedded into the exported file
- **Safe placement:** title cards and text don't sit too close to edges
- **Preview pass:** check the finished file on a phone, not just on a desktop monitor
That final phone review catches issues the edit screen hides. Misplaced text, cramped hooks, and awkward framing are much easier to spot where the audience will watch.
## Common Conversion Pitfalls and How to Fix Them
The biggest conversion mistakes usually come from shortcuts. A horizontal source gets shoved into a vertical container, the software makes a few guesses, and the editor publishes without checking the result on a phone.
That's why some converted clips feel broken even when the source footage was good.
### Rotating the video is not a real solution
One of the worst shortcuts is rotating a horizontal clip 90 degrees and calling it vertical. It technically changes orientation, but it creates a terrible viewing experience.
Data cited in this [guide on making horizontal video vertical](https://www.descript.com/blog/article/how-to-make-horizontal-video-vertical) shows that rotated horizontal videos can produce a **42% lower average watch time** than properly cropped vertical content. The same source also flags **edge drift** as a persistent issue in AI reframing, where subjects near the frame edge get cut off.
### The failure points that matter most
The most common problems are fixable if the editor knows where to look:
- **Edge drift:** the subject moves near the left or right boundary and the crop lags behind.
Fix it with a quick manual review and tracking adjustment before export.
- **Subject loss:** a hand gesture, product detail, or second speaker disappears outside the crop.
Fix it by switching from static crop to manual Pan & Scan or a wider treatment with background fill.
- **Unreadable text:** original lower-thirds or captions no longer fit the vertical frame.
Rebuild the text for vertical instead of shrinking the old layout.
- **Weak opening seconds:** the clip starts mid-thought with no hook, title card, or framing context.
Add a stronger opening line or visual setup before publishing.
> The fastest way to lose performance is to publish a reframed clip without watching the whole thing once in vertical.
A final review doesn't need to be slow. It just needs to be intentional. Check the first few seconds, the most active movement, any on-screen text, and the final export on mobile. That short pass usually catches the exact mistakes that make repurposed clips feel cheap.
---
BlitzReels helps teams move from raw footage to platform-ready shorts without dragging the process through a full manual edit every time. If the goal is to clip, caption, resize, reframe, and publish faster for TikTok, Instagram Reels, YouTube Shorts, LinkedIn, and other social platforms, [BlitzReels](https://blitzreels.com) is built for that short-form workflow.