---
title: "How to Capture Video Streams: A Complete Guide"
canonical: "https://blitzreels.com/blog/how-to-capture-video-streams"
---
# How to Capture Video Streams: A Complete Guide
URL: https://blitzreels.com/blog/how-to-capture-video-streams
Markdown URL: https://blitzreels.com/blog/how-to-capture-video-streams.md
Published: 2026-05-25
Author: BlitzReels
Learn how to capture video streams from any source: live events, websites, or your screen. Get the best tools, settings, and legal tips for creators.
Tags: how to capture video streams, video capture, obs tutorial, screen recording, short form video

A stream is playing, the speaker finally says the sharpest line of the hour, and the clip is obvious. It would crush on TikTok, Reels, Shorts, or LinkedIn. Then the usual problem hits. The platform doesn't make clipping easy, the recording starts late, the audio comes out wrong, or the whole thing gets saved in a format that's annoying to edit.
That's why learning how to capture video streams matters. For short-form creators, capture isn't the end of the workflow. It's the first decision that affects every step after it, including clipping, captions, reframing, title cards, and export speed. A clean capture saves editing time. A messy one creates hours of cleanup.
The best workflows don't just ask, “How do we record this?” They ask, “How do we record this so the best moments are easy to cut into vertical clips later?”
## Table of Contents
- [Why Capturing Video Streams Is a Creator Superpower](#why-capturing-video-streams-is-a-creator-superpower)
- [The clip usually appears before the workflow exists](#the-clip-usually-appears-before-the-workflow-exists)
- [Capture skill now matters more than it used to](#capture-skill-now-matters-more-than-it-used-to)
- [Choosing Your Video Capture Method](#choosing-your-video-capture-method)
- [Pick the method based on the source not the software hype](#pick-the-method-based-on-the-source-not-the-software-hype)
- [Video capture methods compared](#video-capture-methods-compared)
- [Software and OS Tools for Flawless Capture](#software-and-os-tools-for-flawless-capture)
- [Desktop capture with VLC for lightweight recording](#desktop-capture-with-vlc-for-lightweight-recording)
- [OS-native recording when speed matters most](#os-native-recording-when-speed-matters-most)
- [OBS when the workflow needs more control](#obs-when-the-workflow-needs-more-control)
- [Advanced Capture With Hardware and Protocols](#advanced-capture-with-hardware-and-protocols)
- [When a capture card is the right tool](#when-a-capture-card-is-the-right-tool)
- [When direct protocol capture makes sense](#when-direct-protocol-capture-makes-sense)
- [From Capture to Clip The Short-Form Workflow](#from-capture-to-clip-the-short-form-workflow)
- [Capture with the crop in mind](#capture-with-the-crop-in-mind)
- [A fast post-capture workflow for social clips](#a-fast-post-capture-workflow-for-social-clips)
- [The Legal and Ethical Lines of Video Capture](#the-legal-and-ethical-lines-of-video-capture)
- [Technical blocking is real](#technical-blocking-is-real)
- [A practical test before recording anything](#a-practical-test-before-recording-anything)
## Why Capturing Video Streams Is a Creator Superpower
### The clip usually appears before the workflow exists
Most creators don't start by thinking about capture. They start by spotting a moment worth posting. A webinar guest gives a clean one-liner. A founder answers a hard question well on a livestream. A game stream produces a reaction that would work perfectly as a short.
The frustration usually isn't finding the moment. It's realizing there's no reliable way to save it cleanly, with usable audio, enough visual quality, and a file that can be edited fast.
That gap matters because short-form publishing rewards speed. The creator who can capture, trim, caption, resize, and post quickly gets more value out of every live event, interview, stream, and meeting. The creator who can't usually lets strong material disappear.
> **Practical rule:** A stream becomes content only after it exists as an editable file.
For new creators building streaming habits from scratch, a setup guide like this [no-BS guide for new streamers](https://budgetloadout.com/streaming-setup-for-beginners/) is useful because capture problems usually start upstream with audio routing, device choices, and basic recording discipline.
### Capture skill now matters more than it used to
This skill has become more valuable because video has taken over more daily attention. **By 2026, U.S. adults are projected to spend over 60% of their daily screen time watching digital video content**, according to [Statista's online video data](https://www.statista.com/topics/1137/online-video/). That changes the source material creators should pay attention to. The best repurposable moments now come from digital video, not just polished studio shoots.
That shift also changes what “content production” means. A creator doesn't always need to film from scratch. Often, the smarter move is to capture something that already happened, then turn it into a tight vertical asset with a hook, subtitles, and stronger framing.
A lot of teams have already figured this out in practice. Instead of treating a livestream as one long piece of content, they treat it as a raw footage source. One event can become a set of talking-head clips, reaction cuts, quote cards, title-card-led snippets, and captioned explainers. That mindset is exactly why [repurposed clips often outperform original posts](https://www.blitzreels.com/blog/why-repurposed-clips-drive-more-engagement-than-originals).
The advantage isn't just technical. It's editorial. Someone who knows how to capture video streams can respond faster to trends, preserve stronger moments, and build a consistent short-form pipeline without relying on perfect planning.
## Choosing Your Video Capture Method
### Pick the method based on the source not the software hype
Before choosing tools, the smarter move is to identify the stream source. A browser-based webinar, a Zoom call, a livestream in a desktop app, a console feed, and a camera HDMI output all need different capture approaches. Many bad setups happen because creators start with software they've heard of instead of the signal they need to record.
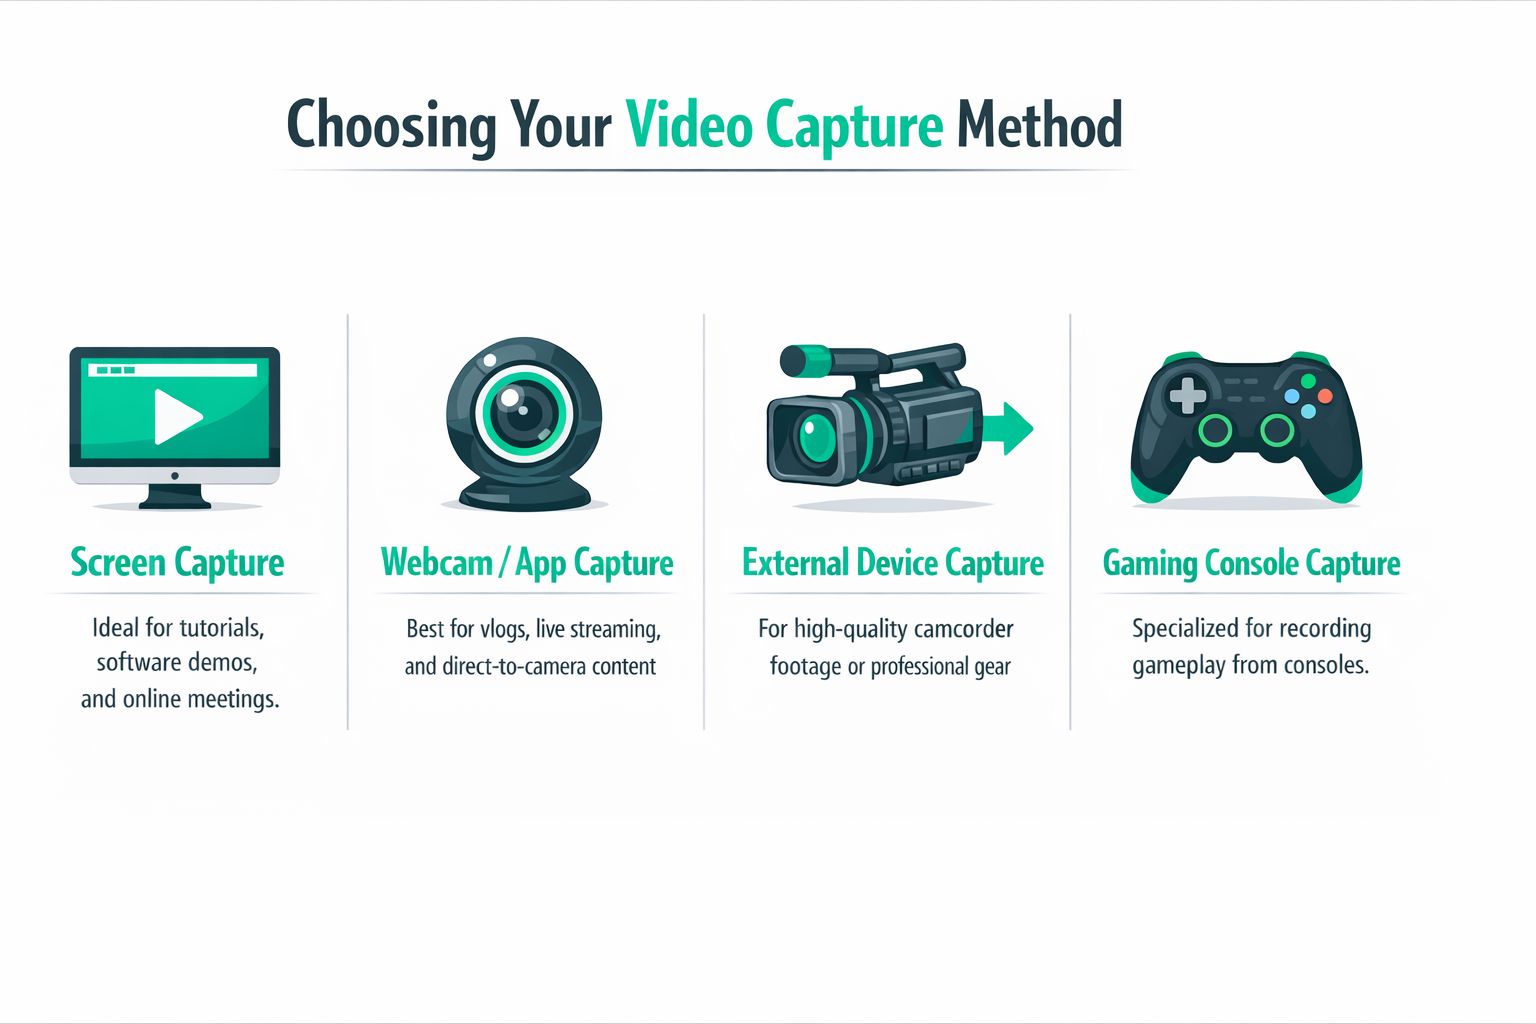
For quick clips, built-in tools are often enough. For repeatable production, software like OBS gives more control. Browser extensions can work in limited cases, but they're fragile. Hardware capture cards matter when the source isn't really part of the local desktop at all.
Creators capturing meetings should also think about platform-specific behavior. A focused walkthrough like this guide on [how to record a video call](https://speaknotes.io/blog/record-a-video-call) is useful because calls create their own issues with window selection, participant layouts, and audio routing.
### Video capture methods compared
| Method | Best For | Pros | Cons |
|---|---|---|---|
| Screen capture software | Browser streams, webinars, tutorials, live events on a desktop | Flexible, easy to preview, works with most on-screen content | Can tax the computer, easy to record the wrong area, audio setup can get messy |
| OS-native recorders | Fast one-off clips on Windows or macOS | Already installed, simple, low setup friction | Fewer controls, limited scene management, easier to miss audio settings |
| Browser extensions | Light browser-only workflows | Convenient when they work, minimal setup | Less reliable, often limited by site behavior, weaker quality control |
| Hardware capture cards | Consoles, cameras, second computers, pro feeds | Reliable, offloads some work from the main machine, handles external sources well | Extra gear, more setup, unnecessary for many browser-based jobs |
A simple rule helps:
- **Use OS-native tools** when the job is one stream, one screen, and speed matters more than customization.
- **Use dedicated software** when capture is part of a repeatable content workflow.
- **Use browser extensions cautiously** for convenience, not as the foundation of a serious clipping pipeline.
- **Use hardware capture** when the signal comes from outside the computer or when reliability matters more than simplicity.
For creators mainly trying to turn long recordings into social clips, the best fit is usually software capture plus a clean clipping pipeline. A dedicated [video clipping workflow](https://www.blitzreels.com/clipping) saves more time later than squeezing every possible option into the recording stage.
> The best capture method isn't the most advanced one. It's the one that produces a clean, editable file with the least friction.
## Software and OS Tools for Flawless Capture
A lot of creators overcomplicate this step. The goal isn't to build a broadcast studio every time a useful stream appears. The goal is to get a stable file with usable audio, clean framing, and minimal cleanup later.
### Desktop capture with VLC for lightweight recording
VLC is underrated for basic desktop-stream capture. A reliable workflow is to open **Media > Convert/Save** (or **Ctrl+R**), set **Capture Mode** to **Desktop**, choose **about 10 fps**, define the output file, and start recording. That lower frame rate matters because it reduces CPU and GPU load while still producing watchable motion for many web streams, especially when the output is headed into editing rather than direct final publishing.
This method works well for webinars, interviews, product demos, and other talk-heavy content. It's less ideal for fast gameplay or motion-heavy footage.
The common failure points are predictable:
- **Wrong capture area:** the recording includes tabs, notifications, or dead desktop space instead of the video itself.
- **Frame rate set too high:** the machine starts dropping frames or stuttering under load.
- **No output path defined:** the file gets saved somewhere unclear, which slows down verification and editing.
For clip extraction later, that lower-stress capture style is useful. It creates a manageable source file that's easier to trim, subtitle, and resize.
### OS-native recording when speed matters most
Built-in recorders are the fastest answer when something valuable is happening right now.
On **macOS**, pressing **Shift+Command+5** opens the Screenshot toolbar. From there, select the recording area, choose audio settings under **Options**, and start recording. On **Windows**, **Windows+G** opens Xbox Game Bar, and the Capture widget records directly to an MP4 file.
The biggest mistake with these tools is audio. TechSmith notes that with macOS screen recording, **audio often fails because the microphone or system audio isn't explicitly selected in Options**, which can leave the final file silent if that pre-flight check is skipped, as explained in this guide to [recording live streaming video](https://www.techsmith.com/blog/record-live-streaming-video/).
A cleaner workflow looks like this:
1. **Open the recorder first:** don't wait for the stream to begin.
2. **Set the recording region carefully:** match the actual video window.
3. **Check audio input before pressing record:** don't assume it's active.
4. **Start a few seconds early:** trimming the lead-in is easier than missing the opening line.
A practical bonus is that mobile screen recording workflows usually include a **3-second countdown** before capture begins. That buffer helps avoid late starts.
Later in the edit, pulling exact stills from a captured stream can also speed up title cards and quote graphics. A simple [video frame extractor](https://www.blitzreels.com/tools/video-frame-extractor) is useful for grabbing those thumbnails or visual inserts without opening a heavier editor.
Here's a visual walkthrough for creators who want to see a software-based recording process in action:
### OBS when the workflow needs more control
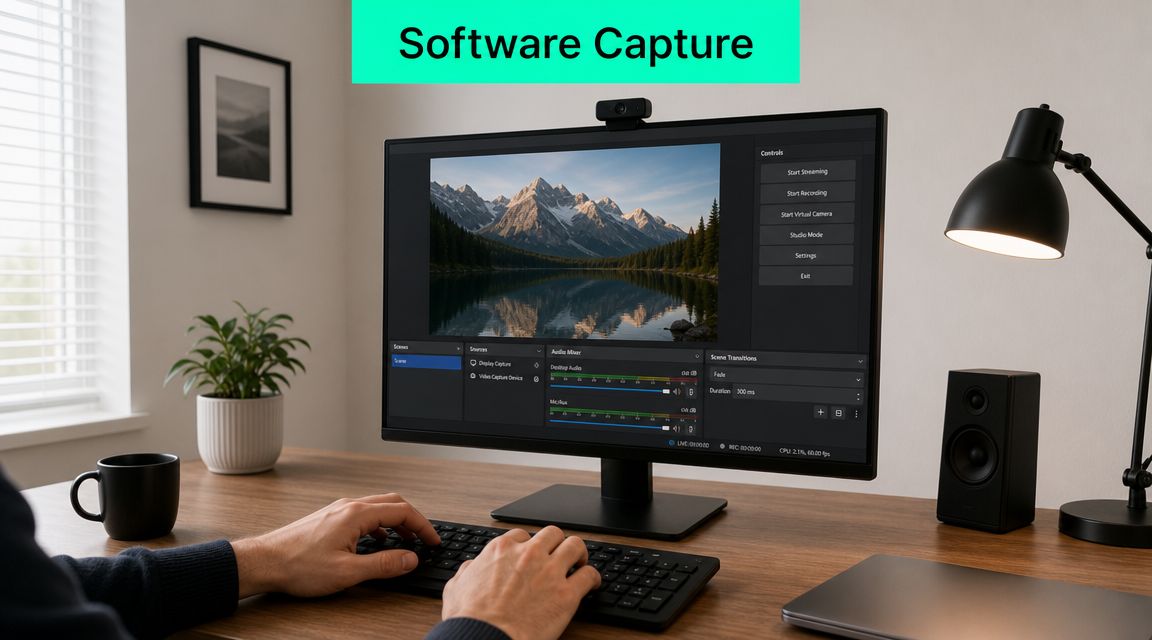
OBS Studio is still the best choice when creators need repeatability. It handles display capture, window capture, audio sources, scenes, and recording profiles in one place. That matters when recording streams becomes a regular publishing input instead of a one-off task.
The useful part of OBS isn't complexity. It's control. Creators can isolate a browser window, monitor audio meters, build scenes for different source types, and keep a stable setup ready for recurring events.
OBS is the right pick when:
- **The same stream format repeats** each week or each month.
- **Multiple audio sources** need monitoring.
- **The workflow includes clipping** several moments from one long source file.
- **Recording quality needs to stay consistent** across projects.
> If the edit team keeps fixing the same recording mistakes, the capture setup is the real problem.
For short-form repurposing, a simple OBS scene usually beats an elaborate one. Capture the right window, verify the audio meter is moving, record a few seconds early, and stop trying to make the source file perfect. Clean source beats complicated source.
## Advanced Capture With Hardware and Protocols
Not every stream should be captured from the desktop. Sometimes the right move is to grab the signal before it ever becomes a window on a screen. That's where hardware capture cards and direct protocol recording start to make sense.
**Live video is a major source of raw footage, with projected U.S. viewers reaching 164.6 million in 2024**, according to [Wix's video marketing statistics citing Statista](https://www.wix.com/blog/video-marketing-statistics). That scale is one reason creators and teams increasingly need more reliable capture setups for live inputs, not just uploaded files.
### When a capture card is the right tool
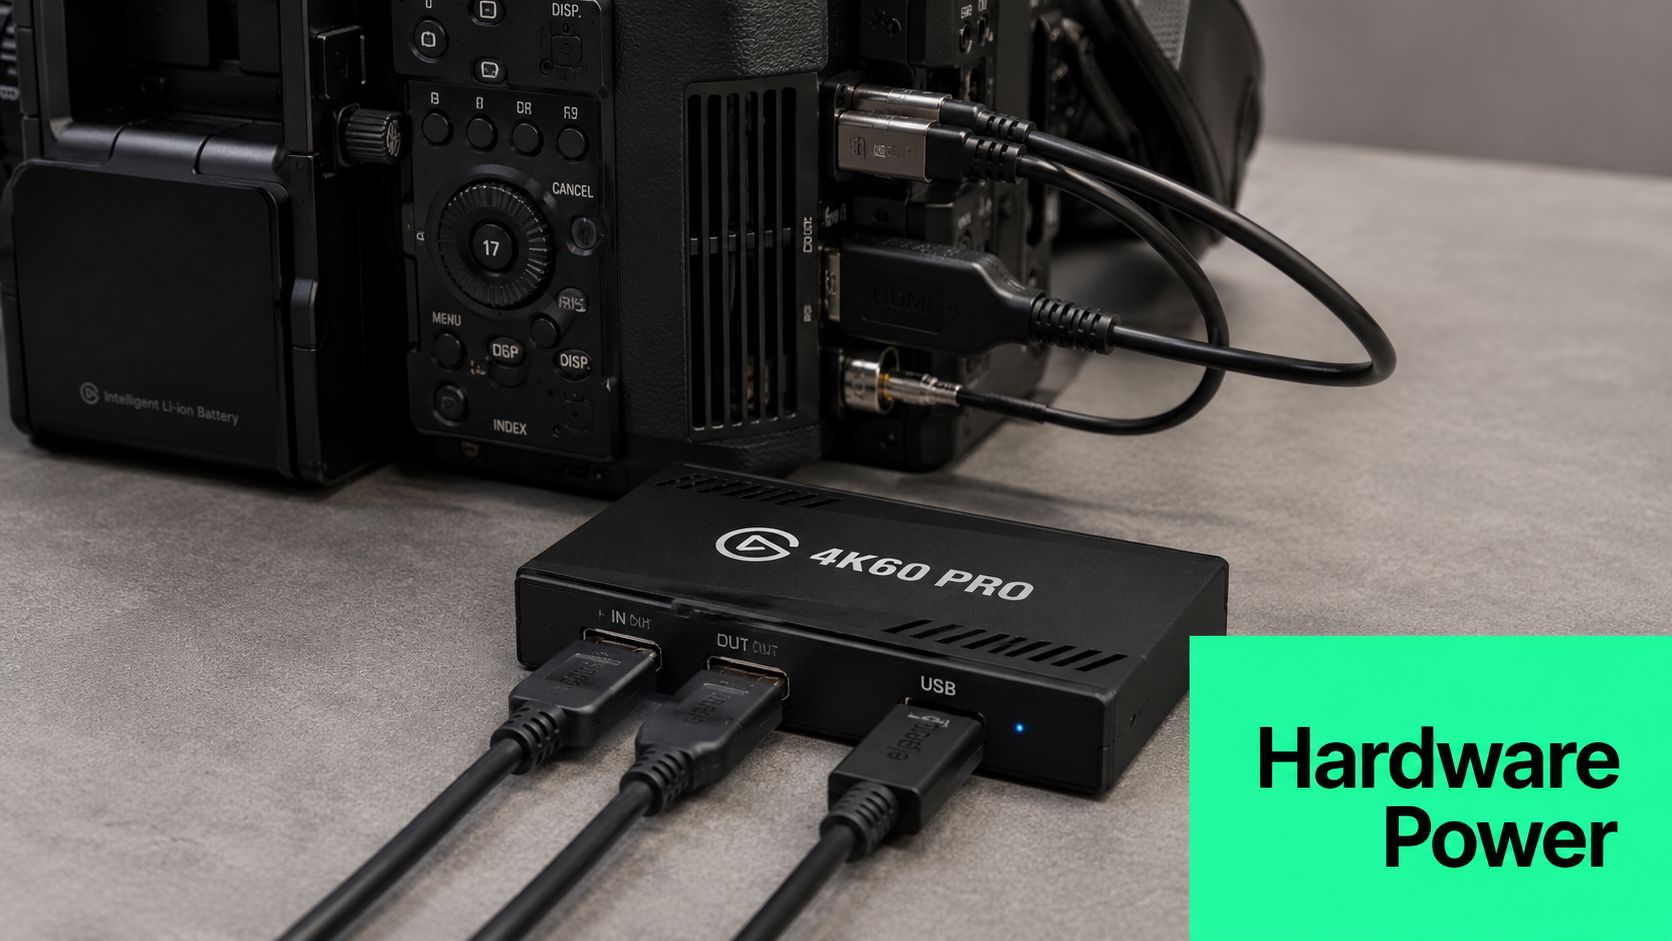
A capture card is the practical answer when the source is external. Common examples include a gaming console, a DSLR or mirrorless camera outputting HDMI, or a second computer running the stream playback.
This setup helps in three situations:
- **Console gameplay capture:** software screen recording won't help if the footage lives on a separate device.
- **Dual-computer workflows:** one machine handles playback or streaming, the other handles recording.
- **Camera-based capture:** creators want to record a clean feed from dedicated hardware.
The benefit is stability. The recording system isn't fighting with the playback system for the same resources, and the source usually arrives as a cleaner signal. The trade-off is obvious too. Extra hardware adds cables, setup time, and more points of failure if the workflow is only occasional.
### When direct protocol capture makes sense
Some advanced users go beyond screen recording and capture the stream at the protocol level with tools such as FFmpeg. This route is useful when dealing with direct stream inputs, technical production environments, or controlled internal workflows where the stream source is accessible and lawful to record.
It's not the first choice for most short-form creators. It requires comfort with stream formats, command-line tools, and source access. It also doesn't solve every problem. If the stream is protected, restricted, or app-blocked, direct capture may not be available.
Still, protocol-level recording has one major advantage. It can avoid some of the quality loss and interface clutter that desktop capture introduces. For teams clipping long live sessions into many social posts, that cleaner master file can make the edit smoother.
> Hardware and protocol capture are worth it when failure is expensive. They're overkill when the job is just saving a quick desktop stream for one or two clips.
## From Capture to Clip The Short-Form Workflow
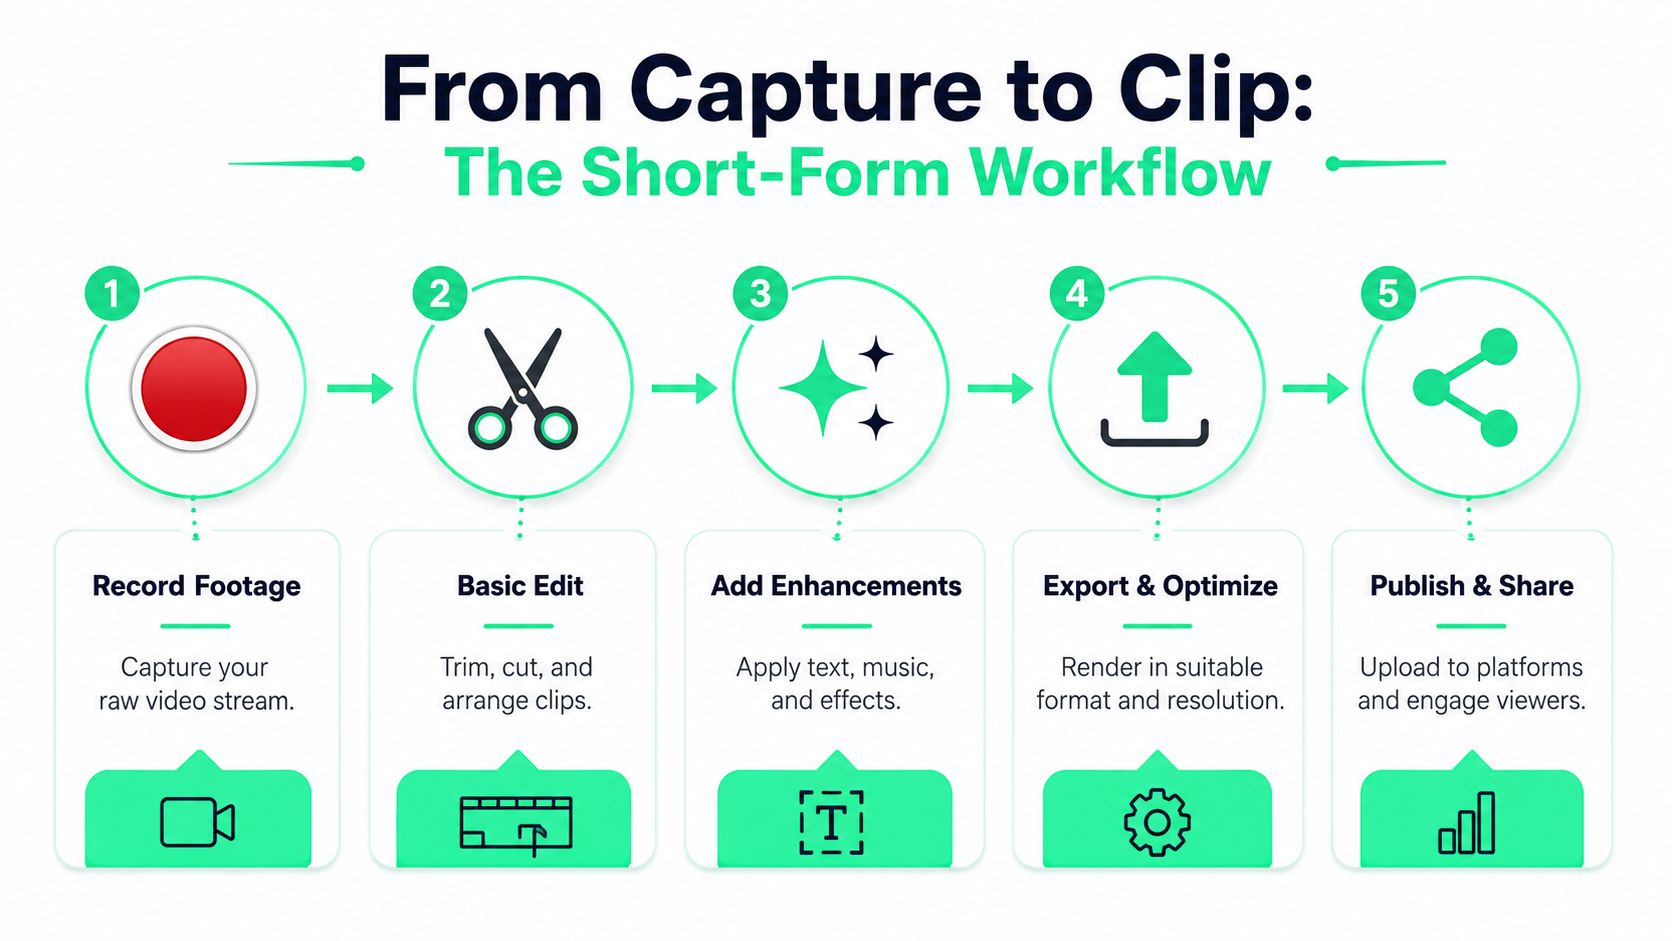
Most tutorials stop once the recording is saved. That's where the actual work starts for social video. A raw stream file isn't a finished asset. It's source material waiting for selection, structure, and packaging.
**YouTube Shorts reached 70 billion daily views in late 2023**, as noted in this [discussion of short-form repurposing demand](https://www.youtube.com/watch?v=EX3DftPlPDA). That scale explains why capture workflows should be designed around repurposing from the start, especially for vertical formats where attention is concentrated.
### Capture with the crop in mind
A good short-form workflow starts before the edit. Creators should record with later reframing in mind. If a speaker's face sits too close to one edge, a 9:16 crop becomes awkward. If the visual information is spread across a full desktop screen, the eventual vertical edit may feel cramped or unreadable.
That changes what “good capture” means. It's not just about preserving the whole screen. It's about preserving the useful part of the frame.
A few habits help:
- **Favor larger subject framing:** faces and key visual elements should survive a vertical crop.
- **Avoid cluttered layouts:** tiny text and packed interfaces don't translate well to Shorts or Reels.
- **Preserve clean audio:** captions help, but bad audio still weakens retention.
- **Leave a trim buffer at the start and end:** hooks and cut points become easier to shape.
### A fast post-capture workflow for social clips
Once the file exists, the most efficient workflow is selective, not linear. The editor shouldn't watch the entire recording hoping a clip appears. The editor should scan for strong hooks, direct claims, reactions, concise explanations, and quotable phrasing.
A practical sequence looks like this:
1. **Mark the strongest opening line.** The first sentence has to earn attention.
2. **Trim aggressively.** Most clips improve when pauses, filler, and slow lead-ins are removed.
3. **Add captions early.** Captions shape pacing and help identify dead weight.
4. **Reframe for vertical.** Keep the face or focal point centered.
5. **Add a title card if needed.** This helps when the spoken opening needs context.
6. **Resize for the target platform.** Don't treat aspect ratio as an afterthought.
For lower-quality source footage, creators sometimes need cleanup after capture. A practical guide on how to [improve video quality with AI](https://myimageupscaler.com/blog/video-upscaling-software) can help when the recording is usable but softer than ideal.
A tighter publishing rhythm comes from reducing handoff friction. That's why many creators build a repeatable repurposing process around one clean recording and several fast social outputs. A useful example is this [30-minute workflow for turning YouTube videos into TikTok-ready clips](https://www.blitzreels.com/blog/the-30-minute-workflow-for-turning-youtube-videos-into-tiktok-gold).
## The Legal and Ethical Lines of Video Capture
The easiest way to create long-term problems is to treat every visible stream as fair game. It isn't. The fact that content plays on a device doesn't mean it can be lawfully or technically captured, edited, and reposted.
### Technical blocking is real
A lot of beginner tutorials act like screen recording is universal. It isn't. Some major platforms actively block capture. **Google's Android DRM can be configured to prevent screenshots and non-secure display captures**, which means some streams are protected by technical controls in addition to platform rules, as discussed in this [DRM and stream capture explainer](https://www.youtube.com/watch?v=L6yeKbnaBqg).
That matters because failed recordings aren't always user error. Sometimes the platform or app is designed to stop the attempt entirely. Services may also block screenshots and captures on many devices for protected content.
### A practical test before recording anything
A sensible creator asks a few questions before hitting record:
- **Who owns the content:** the creator, the company, the platform, or a third party?
- **What permissions exist:** is the recording authorized, tolerated, or explicitly forbidden?
- **What is the intended use:** private notes, internal archive, commentary, or public reposting?
- **Is the content protected:** by DRM, app restrictions, terms of service, or copyright claims?
Ethical capture usually looks straightforward. Record your own stream. Record a client stream with permission. Record a meeting when participants know it's being recorded. Record public material only when the planned use is defensible.
The risk usually rises when creators capture premium, paid, restricted, or protected content and try to republish it as if access equals ownership. It doesn't. Even if a technical workaround exists, that doesn't make the use smart or sustainable.
Creators building a serious library of clips should also understand what's safe to add around captured footage, especially with music, visuals, and templates. A plain-language overview of [royalty-free media basics](https://www.blitzreels.com/glossary/royalty-free) helps keep the finished short on safer ground.
The best capture workflow is the one that's both usable and defensible. Good creators protect their pipeline by respecting permissions, platform rules, and the difference between access and rights.
---
BlitzReels turns raw recordings into publish-ready shorts fast. Upload a stream capture, trim the best moments, add bold captions, reframe for vertical, resize for TikTok, Reels, YouTube Shorts, or LinkedIn, and package clips with hooks, title cards, and templates without getting buried in a slow timeline. For creators who want the record-to-publish loop to move faster, [BlitzReels](https://blitzreels.com) is built for exactly that.