---
title: "How to Clip Zoom Recording: TikTok & Reels Guide"
canonical: "https://blitzreels.com/blog/how-to-clip-zoom-recording"
---
# How to Clip Zoom Recording: TikTok & Reels Guide
URL: https://blitzreels.com/blog/how-to-clip-zoom-recording
Markdown URL: https://blitzreels.com/blog/how-to-clip-zoom-recording.md
Published: 2026-07-08
Author: BlitzReels
Learn how to clip zoom recording for social media. This guide covers simple trimming and advanced workflows for creating engaging TikToks, Reels, and Shorts in
Tags: how to clip zoom recording, zoom to reels, video repurposing, short form content, blitzreels

An hour-long Zoom call ends. The recording lands in a folder. Everyone knows there were strong moments in it, but nobody wants to scrub through the full file, trim tiny sections by hand, and then rebuild them for TikTok, Reels, or Shorts.
That's where many encounter difficulty when they search for **how to clip Zoom recording**. They find advice about cutting the beginning and the end. That's useful for cleanup, but it doesn't solve the actual job. Social clips need a hook, readable captions, vertical framing, and pacing that feels native on a phone screen.
The gap between “recorded a good Zoom call” and “published a week of short-form posts” is smaller than it looks when the workflow is right.
## Table of Contents
- [Your Next Viral Clip Is Trapped in a Zoom Recording](#your-next-viral-clip-is-trapped-in-a-zoom-recording)
- [First Step Finding Your Zoom Recording File](#first-step-finding-your-zoom-recording-file)
- [Cloud recordings](#cloud-recordings)
- [Local recordings](#local-recordings)
- [Quick Trimming Methods for Simple Clips](#quick-trimming-methods-for-simple-clips)
- [Zoom cloud trim](#zoom-cloud-trim)
- [QuickTime on Mac](#quicktime-on-mac)
- [Microsoft Photos on Windows](#microsoft-photos-on-windows)
- [Where quick trimming falls short](#where-quick-trimming-falls-short)
- [The Best Way to Clip Zoom Recordings for Social Media](#the-best-way-to-clip-zoom-recordings-for-social-media)
- [Short-form clips need more than a cut](#short-form-clips-need-more-than-a-cut)
- [What actually makes the workflow efficient](#what-actually-makes-the-workflow-efficient)
- [A Step-by-Step Workflow for Turning Zoom into Shorts](#a-step-by-step-workflow-for-turning-zoom-into-shorts)
- [Upload and let the transcript do the heavy lifting](#upload-and-let-the-transcript-do-the-heavy-lifting)
- [Refine the clip like an editor, not a trimmer](#refine-the-clip-like-an-editor-not-a-trimmer)
- [Package the clip for each platform](#package-the-clip-for-each-platform)
- [Export Settings and Pro Tips for Repurposing](#export-settings-and-pro-tips-for-repurposing)
## Your Next Viral Clip Is Trapped in a Zoom Recording
A founder finishes a customer webinar. A creator wraps a remote podcast interview. A marketing team records a live training session. The same thing happens every time. The full Zoom file gets saved, people say “there were a lot of great moments in there,” and then the recording sits untouched.
That's a waste, because the best part of a Zoom recording usually isn't the full replay. It's the sharp answer, the clean one-liner, the unexpected opinion, or the moment where someone explains a problem better than a polished script ever could. Those are the pieces that work on TikTok, Instagram Reels, YouTube Shorts, and LinkedIn video.
> **Practical rule:** Don't think of clipping as shortening a file. Think of it as extracting publishable moments.
Most guides stop at trimming. They show where to drag start and end handles, then call it done. That helps if the goal is sending a shorter file to a coworker. It doesn't help much if the goal is turning one Zoom call into several platform-ready posts with captions, title cards, and vertical framing.
A better approach is to treat the recording like a content library. One long conversation can produce clips with different jobs. One clip teaches. Another starts a debate. Another works as a clean hook for a product point or founder perspective. That's why repurposed clips often outperform content made from scratch when the source material is already strong. The logic is simple, and [why repurposed clips drive more engagement than originals](https://www.blitzreels.com/blog/why-repurposed-clips-drive-more-engagement-than-originals) breaks that down well.
The rest of the work starts with a much less glamorous step. Finding the actual file.
## First Step Finding Your Zoom Recording File
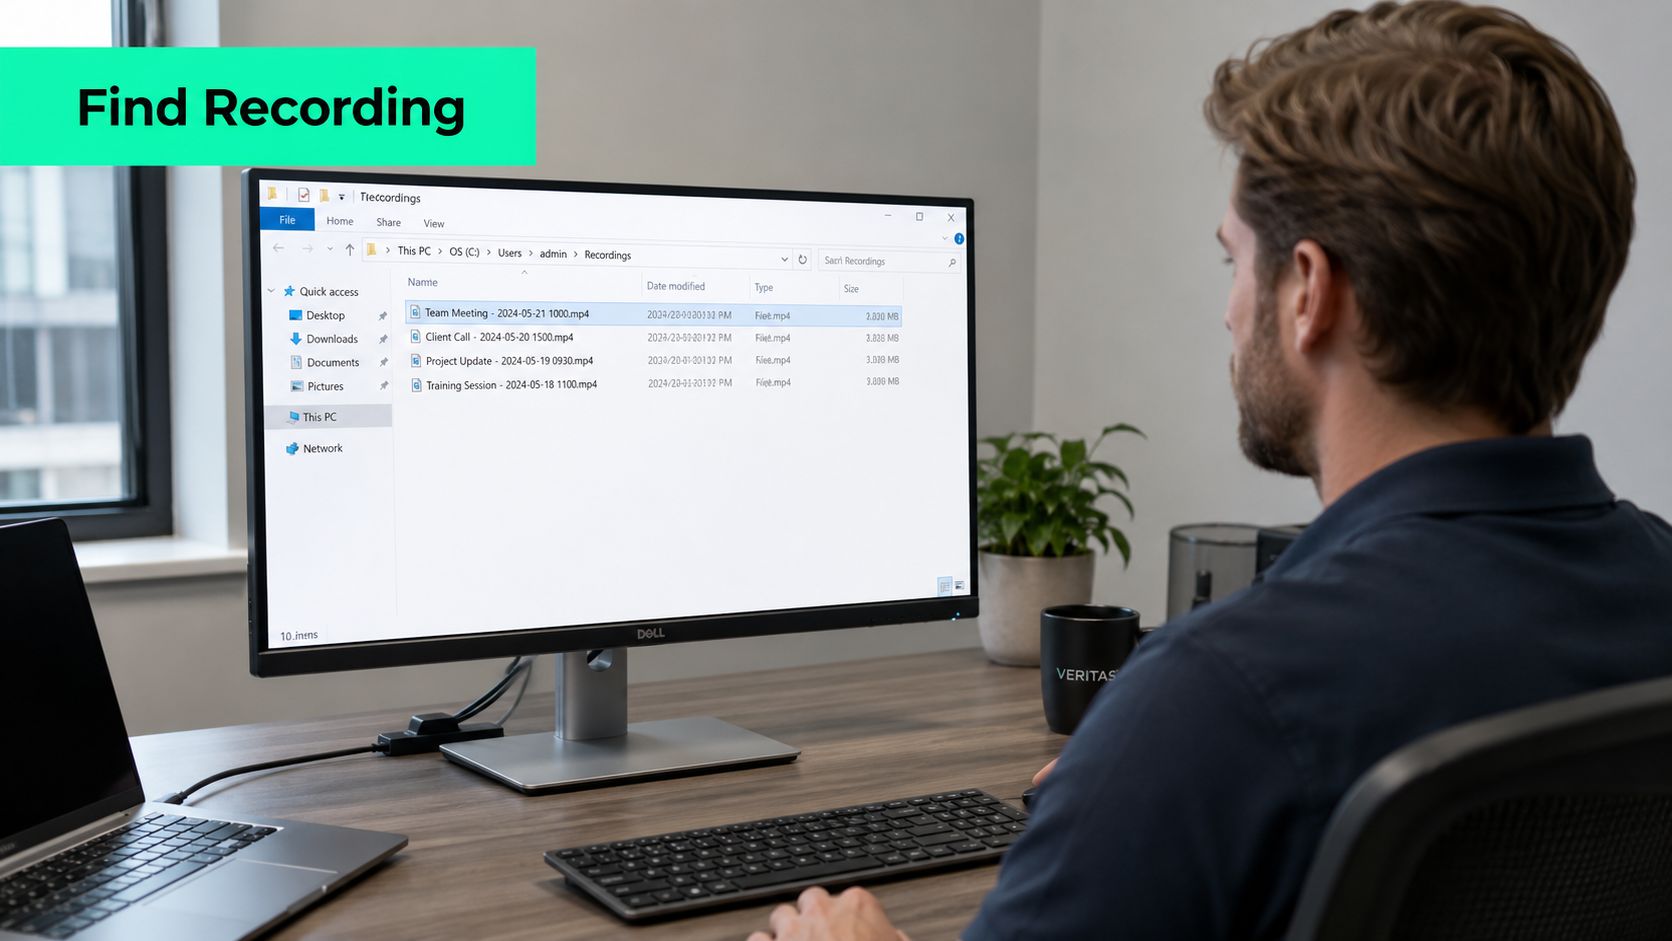
Before anyone can clip anything, the recording has to be located. Zoom recordings usually live in one of two places. They're either stored online as a **cloud recording** or saved directly to a computer as a **local recording**.
The difference matters because the editing options change depending on where the file lives.
### Cloud recordings
Cloud recordings are stored inside the Zoom web account. They're common on business plans and team accounts because they're easier to share and don't depend on one person's hard drive.
The usual path is simple:
1. Sign in to Zoom in a browser.
2. Open the account menu.
3. Go to **Recordings**.
4. Open the **Cloud Recordings** area.
5. Find the meeting by title, date, or host.
6. Open the recording and download the MP4 if editing will happen outside Zoom.
If the recording doesn't appear, the issue is usually one of these:
- **Wrong account:** The meeting was hosted under another login.
- **Admin settings:** The workspace stores recordings under a shared owner or admin-controlled location.
- **Processing delay:** Zoom is still preparing the file after the meeting ended.
Cloud is convenient for access, but it can be misleading. People assume “it's in Zoom” means it's ready for social. Usually it still needs to be downloaded and rebuilt for short-form platforms.
### Local recordings
Local recordings are saved on the device that hosted or recorded the meeting. That's common for solo users and smaller teams.
Typical places to check:
- **Windows:** Look in the Documents folder, then the Zoom folder.
- **macOS:** Look in the Documents folder, then the Zoom folder.
- **Zoom app setting:** Open Zoom settings, then recording preferences, to see the current save location.
A local Zoom recording folder often contains more than one file. The MP4 is the main video file. There may also be audio-only files, chat logs, and transcript-related files depending on the recording settings.
> If a team regularly records webinars, podcasts, or internal sessions, changing the default save location is worth doing once. Random desktop folders are where good content goes to disappear.
For anyone searching **how to clip Zoom recording**, this step feels basic. It is basic. It's also where many editing workflows break before they start, because the right file never gets downloaded, renamed, or organized.
## Quick Trimming Methods for Simple Clips
Sometimes the job really is small. A manager wants a clean excerpt from a meeting. A podcaster wants to save one answer for later. A team needs a trimmed highlight for internal review. In those cases, built-in tools are fine.
They're not ideal for polished short-form content, but they're fast.
### Zoom cloud trim
If the recording is still in Zoom's cloud player, Zoom includes a basic trimming option for setting a new start and end point.
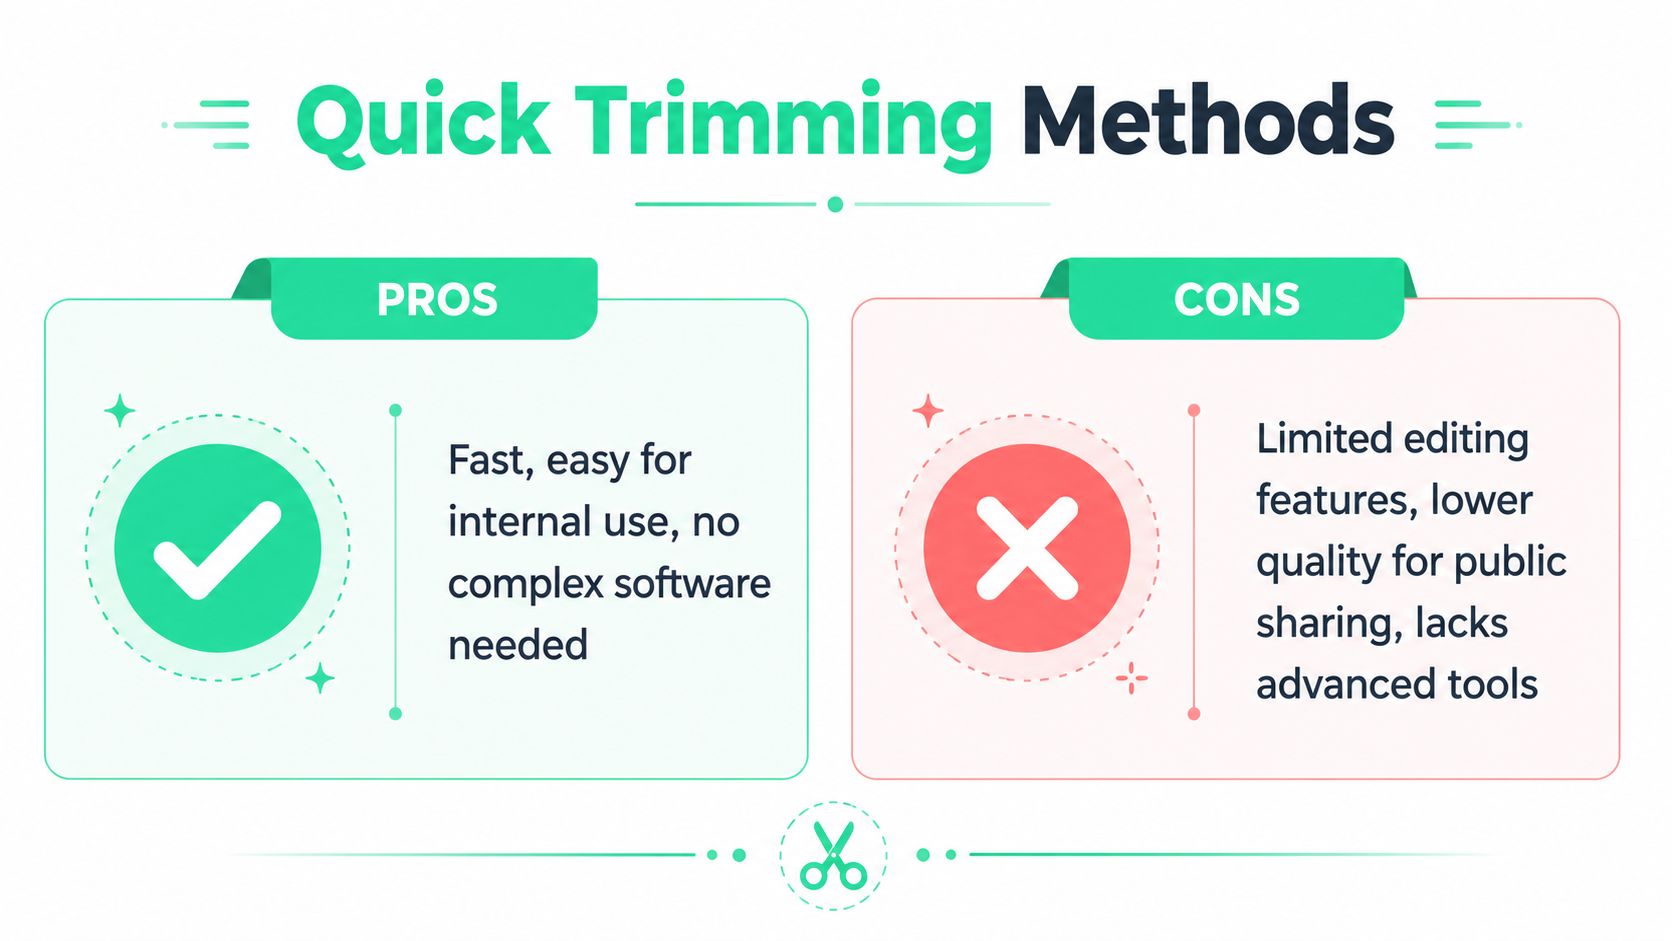
This works well when the goal is simple cleanup. Cut the awkward beginning. Remove the dead air at the end. Save a shorter version without opening editing software.
What it does well:
- **Fast cleanup:** No upload or download loop if the file stays in Zoom.
- **Simple shareability:** Good for sending trimmed recordings internally.
- **Low learning curve:** Anyone on the team can figure it out quickly.
What it doesn't do well is everything social platforms care about. There's no real caption styling, no title card workflow, no vertical resize, and no reframing for a phone screen.
### QuickTime on Mac
QuickTime Player is still one of the easiest ways to make a basic cut on a Mac. Open the MP4, choose trim, drag the handles, and save the shortened version.
For clean extractions, it's hard to complain. It's built in, stable, and doesn't bury the trim tool under a dozen panels. But it's still a file trimmer, not a short-form editor.
QuickTime is useful when someone already knows the exact section they want. It becomes frustrating when the recording needs captions, punchier pacing, or multiple exports in different layouts.
### Microsoft Photos on Windows
On Windows, the Photos app is the closest equivalent for quick trimming. Open the video, choose the trim option, select the start and end, then save a copy.
That makes it workable for internal highlights or rough selects. It's less enjoyable for repeat content production. The interface is serviceable, but nobody would call it a repurposing workflow.
For people who want lightweight browser options, there are also useful [web tools for video trimming](https://dreamshootai.com/blog/youtube-to-mp-4-trim) that can handle straightforward cuts without installing anything.
### Where quick trimming falls short
Here's the actual trade-off.
| Tool | Good for | Gets annoying fast |
|---|---|---|
| Zoom cloud editor | Basic start and end trims | Social formatting |
| QuickTime | Fast local cuts on Mac | Captions, hooks, resizing |
| Microsoft Photos | Simple Windows edits | Reframing and repeatable templates |
A trimmed clip isn't the same as a publishable Reel. Public-facing short-form usually needs:
- **Captions:** Because many viewers watch with sound off.
- **Reframing:** Zoom recordings are usually horizontal, while Shorts need vertical composition.
- **Hooks:** A title card or opening line that earns attention immediately.
- **Templates:** So every clip doesn't have to be rebuilt from zero.
That's where a dedicated [video trimmer for faster clip prep](https://www.blitzreels.com/tools/trim-video) starts making more sense than default desktop tools.
## The Best Way to Clip Zoom Recordings for Social Media
The best answer to **how to clip Zoom recording** for social media is not “trim it harder.” It's “repackage it properly.”
A clip that performs on TikTok or Reels usually isn't just a random chunk pulled from the middle of a webinar. It needs a clean opening, readable captions, visual hierarchy, and framing that doesn't look like a cropped conference call.
### Short-form clips need more than a cut
Basic editors fail for social because they solve the wrong problem. They help remove footage. They don't help build attention.
A useful short-form clip usually includes a few ingredients working together:
- **A hook at the top:** This can be a title card, a strong question, or a bold statement.
- **Auto-captions that are editable:** Raw subtitles are rarely good enough without cleanup.
- **Vertical resizing:** Widescreen Zoom footage has to be adapted for phone-first platforms.
- **Face-aware reframing:** The speaker should stay centered after the crop.
> A good Zoom clip for social shouldn't feel like a meeting excerpt. It should feel native to the feed.
That's why the smartest workflow starts with transcript-aware clipping. Instead of scrubbing through a long timeline manually, the editor should help identify moments worth posting first.
### What actually makes the workflow efficient
The tools that make this easy usually share the same strengths. They can detect promising clips, generate captions automatically, save visual templates, and resize the final video for each platform without sending the editor back to square one.
That approach matters more than any single trim feature. It changes the job from hunting through dead space to selecting from already promising moments. For anyone comparing options, this explanation of an [AI video clipping tool workflow](https://www.blitzreels.com/blog/ai-video-clipping-tool) is closer to how short-form teams work than the usual “drag handles and export” advice.
The trade-off is simple. Manual trimming gives maximum control and minimum speed. AI-assisted clipping gives better throughput and still leaves room for human judgment where it matters, especially around hooks, title cards, captions, and final pacing.
## A Step-by-Step Workflow for Turning Zoom into Shorts
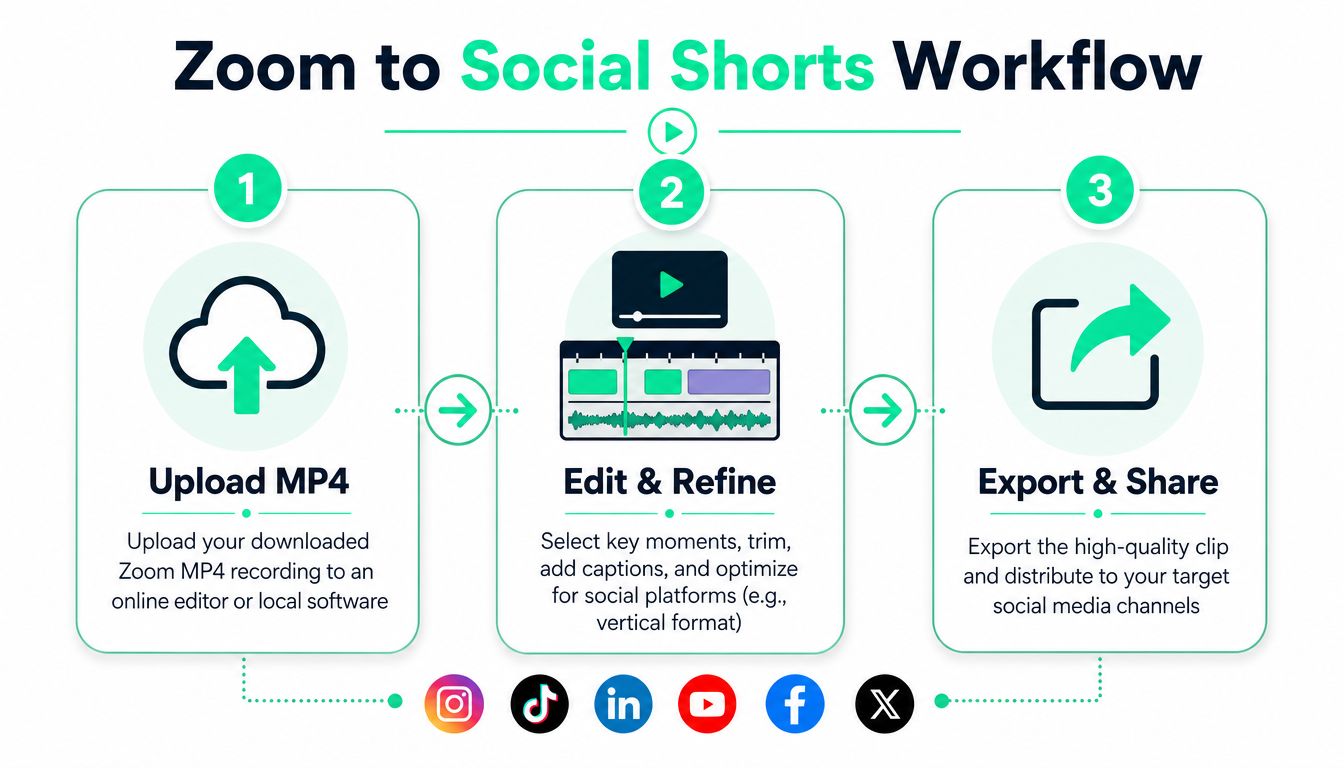
The fastest repurposing workflow starts after the Zoom MP4 is downloaded and named properly. From there, the process should feel less like editing a long meeting and more like selecting finished ideas from raw material.
A strong workflow also avoids one common mistake. It doesn't make the editor watch everything in real time unless the content is unusually sensitive or complex.
### Upload and let the transcript do the heavy lifting
Upload the Zoom MP4 into an editor built for repurposing. Once the transcript is generated, the content becomes searchable instead of buried in a timeline.
That matters because good clips often hide inside ordinary-looking conversations. The quote that plays well on LinkedIn might not be the same one that works on Instagram Reels. Transcript-based discovery makes those moments easier to find without endless scrubbing.
A practical rhythm looks like this:
1. Upload the file.
2. Wait for the transcript and clip suggestions.
3. Review the sections that already look self-contained.
4. Reject weak picks quickly.
5. Keep the clips that have a clear point and a strong opening line.
For teams doing this often, at this stage, the time savings become apparent. The machine handles the first pass. The editor handles judgment.
A useful walkthrough of that broader process sits in this guide on [turning long video into shorts](https://www.blitzreels.com/blog/turn-long-video-into-shorts).
A visual demo helps if the workflow still feels abstract.
### Refine the clip like an editor, not a trimmer
Once a promising segment is selected, the work changes. The goal is no longer “make this shorter.” The goal is “make this watchable in-feed.”
That usually means:
- **Tighten the start:** Cut throat-clearing language so the value appears immediately.
- **Clean the ending:** Stop on the final thought, not on the speaker reaching for the next sentence.
- **Edit the captions:** Fix names, jargon, and line breaks so they read naturally.
- **Add a title card:** Give the clip a clear promise before the speaker finishes the first sentence.
> **Editing cue:** If the clip needs context, add that context as text on screen. Don't force the audience to infer it from a random mid-conversation opening.
Templates help a lot here. If caption style, colors, and title treatment are already saved, each new clip becomes a fast editorial decision instead of a mini design project.
### Package the clip for each platform
A Zoom call usually starts in a horizontal frame. That's awkward on a phone unless the editor reframes aggressively. Vertical crops, speaker centering, and smart resizing fix that.
The final checks before export are usually the difference between “looks clipped from Zoom” and “looks made for social”:
- **Framing:** The speaker's face should stay comfortably centered.
- **Caption placement:** Text shouldn't cover the mouth or sit too low for app UI overlays.
- **Hook strength:** The first screen should make sense even if the audio is muted.
- **Platform fit:** TikTok, Reels, Shorts, and LinkedIn all reward clips that feel native rather than repurposed in a lazy way.
When this workflow is dialed in, one Zoom recording stops being one asset. It becomes a repeatable source of short-form posts, alternate hooks, and reusable templates.
## Export Settings and Pro Tips for Repurposing
The final export shouldn't undo good editing. For short-form platforms, the safest move is a **vertical 9:16 layout** at **1080x1920** so the clip fills the screen and stays sharp.
That part is technical. The smarter part is operational. Don't export one clip and move on. Go back into the same project and pull the next strong moment while the transcript, captions, and style choices are already in place.
A compact finishing checklist helps:
- **Export vertical:** Use 9:16 for TikTok, Instagram Reels, and YouTube Shorts.
- **Keep branding light:** Title cards and caption styles should be recognizable, not distracting.
- **Reuse templates:** Saved caption styles, colors, and resizing presets make follow-up clips much faster.
- **Compress only when needed:** If a platform or scheduler complains about file size, use a proper [MP4 compression workflow](https://www.blitzreels.com/blog/how-to-compress-mp-4-video) instead of exporting at visibly lower quality from the start.
The deeper shift is this. A Zoom webinar, interview, or team session isn't a one-time recording anymore. It's raw material for a short-form pipeline. When the process is built around clipping, captions, reframing, resizing, hooks, title cards, and fast editing, the recording keeps producing content long after the call ends.
---
BlitzReels turns raw Zoom recordings into short-form clips built for TikTok, Instagram Reels, YouTube Shorts, LinkedIn, and more. Upload the file, pull clean clips fast, add auto-captions, reframe for vertical, apply templates, and export without getting buried in a traditional timeline. See how it works at [BlitzReels](https://blitzreels.com).