---
title: "How to Cut Videos Into Parts for Short-Form Success"
canonical: "https://blitzreels.com/blog/how-to-cut-videos-into-parts"
---
# How to Cut Videos Into Parts for Short-Form Success
URL: https://blitzreels.com/blog/how-to-cut-videos-into-parts
Markdown URL: https://blitzreels.com/blog/how-to-cut-videos-into-parts.md
Published: 2026-08-31
Author: BlitzReels
Learn how to cut videos into parts the smart way. Step-by-step guide on cut points, captions, vertical exports, and short-form workflows.
Tags: cut videos into parts, video editing, short-form video, clipping workflow, TikTok clips

The file is open, the deadline is close, and the clip list still isn't built. A marketer is scrubbing a 60-minute webinar for one useful quote, while a podcast editor is hunting for the moment a guest finally lands the point. That gap, between one long recording and the dozen short-form assets it needs to become, is what **how to cut videos into parts** is really about.
## Table of Contents
- [The Recording You Have and the Clips You Need](#the-recording-you-have-and-the-clips-you-need)
- [What a clip actually is](#what-a-clip-actually-is)
- [Planning Your Cuts Before You Touch the Timeline](#planning-your-cuts-before-you-touch-the-timeline)
- [Mark first, cut later](#mark-first-cut-later)
- [Manual Trimming Versus AI Clip Detection](#manual-trimming-versus-ai-clip-detection)
- [Where each method wins](#where-each-method-wins)
- [Keeping Audio Clean and Adding Hooks That Land](#keeping-audio-clean-and-adding-hooks-that-land)
- [Start on sound, not just on picture](#start-on-sound-not-just-on-picture)
- [Audio and hook checklist](#audio-and-hook-checklist)
- [Export Specs That Match Each Platform](#export-specs-that-match-each-platform)
- [Match the frame before you worry about the feed](#match-the-frame-before-you-worry-about-the-feed)
- [Common Pitfalls and How to Fix Them](#common-pitfalls-and-how-to-fix-them)
- [Five failures that show up again and again](#five-failures-that-show-up-again-and-again)
- [Your Repeatable Short-Form Cutting Checklist](#your-repeatable-short-form-cutting-checklist)
## The Recording You Have and the Clips You Need
A long recording rarely maps cleanly to a social calendar. A **45-minute podcast** might become a stack of **8 to 15 vertical clips**, a webinar often yields **6 to 10**, and an interview may only produce **3 to 6** once the dead air, tangents, and setup are removed. That math matters because the source file is not the deliverable, it's the raw material.
### What a clip actually is
A usable clip is **self-contained**. It has its own hook, a clear payoff, and a finish that feels intentional enough to loop or at least stop cleanly. A random slice of commentary may be technically cuttable, but it isn't publishable if the viewer lands in the middle of a thought.
That's why the source format matters less than the structure inside it. Editors usually inherit **MP4 webinar exports, multitrack podcast audio with one camera ISO, OBS recordings, or Zoom cloud downloads**, then spend time deciding where the moment begins and ends. The split button is easy. The editorial judgment is the work.
This shift has a long history. Early film editing depended on physical splicing, then the industry moved through structured sequencing and computer-assisted clip assembly, including milestones like **Edwin S. Porter's 1903 The Great Train Robbery**, **Sergei Eisenstein's montage theory in the 1920s**, **Ampex's 1956 Quadruplex videotape recorder**, and **CMX Systems' 1971 CMX 600**. The modern problem is different, because the act of dividing footage is trivial now, but deciding where meaning starts and stops is harder than ever. [A clip from a YouTube video](https://www.revid.ai/blog/how-to-take-clips-from-a-youtube-video) is a useful reference point for the mechanics, but the better question is where the clip should begin in the first place.
> **Practical rule:** If the segment can't stand alone without a Slack caption explaining it, the cut point is probably wrong.
The geometry changed too. Early social clips were often horizontal reposts cropped into smaller frames, while vertical-first platforms pushed editors to rethink every framing decision. On top of that, captions moved from optional subtitles to burned-in text that often carries the whole message. A good overview of repurposing logic sits in BlitzReels' glossary entry on [content repurposing](https://blitzreels.com/glossary/content-repurposing), because cutting now sits inside a broader reuse workflow, not just a timeline.
## Planning Your Cuts Before You Touch the Timeline
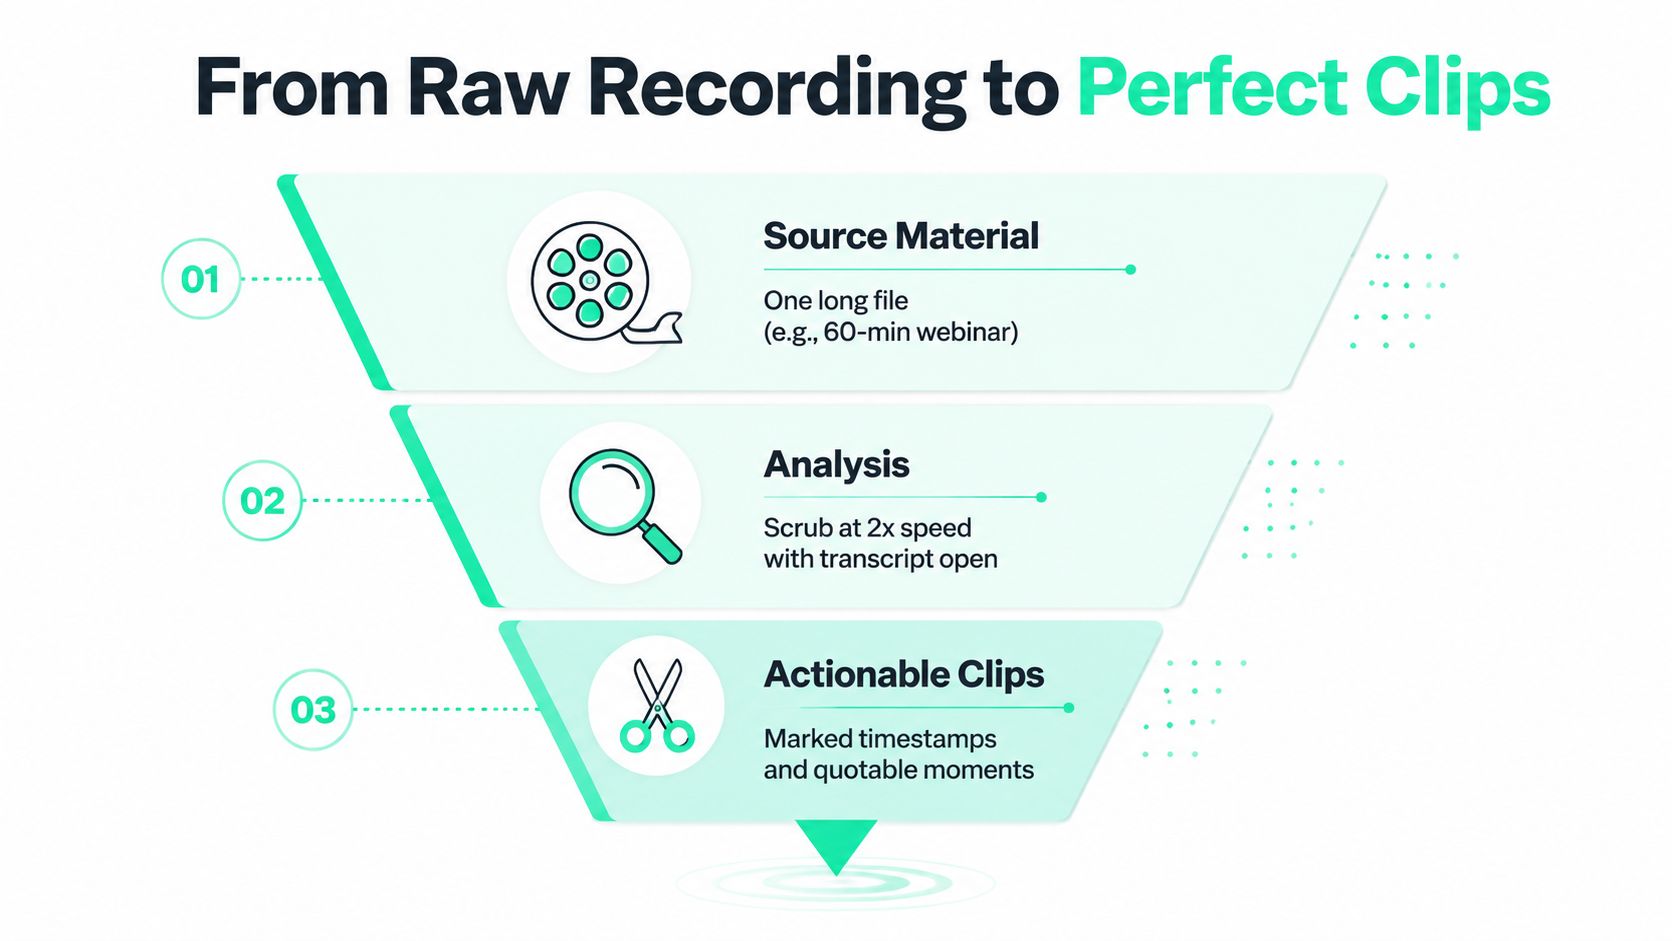
The fastest editors don't start by slicing. They start by marking candidates. A single pass through the recording at **2x speed** with the transcript open usually reveals the moments worth keeping, and it prevents the classic mistake of trimming something interesting down to a broken sentence.
### Mark first, cut later
The workflow is simple enough to repeat on every project. Scan the whole file once, flag every timestamp where the speaker says something quotable, contradicts themselves, or lands a complete thought with actual payoff. That pass should create **roughly 20 marks per hour of raw footage**, which is usually more than will survive the final edit, and that extra space is useful because it lets the editor choose, not scramble.
For each mark, write one sentence in a notes column that states the hook. If a hook can't be written in plain language, the cut point probably doesn't deserve to exist yet. Adjacent marks then get clustered into **20 to 45 second windows**, because short-form clips usually need enough room for setup and resolution without dragging.
> The best cut points are usually the places where a viewer would lean in, not the places where the timeline happens to be convenient.
Rank those candidates by retention potential, not by source order. A webinar can jump from a strong objection-handling moment to a sharp product insight even if those moments appeared twenty minutes apart in the live session. The clip stack should reflect what will travel on social, not what happened first in the recording.
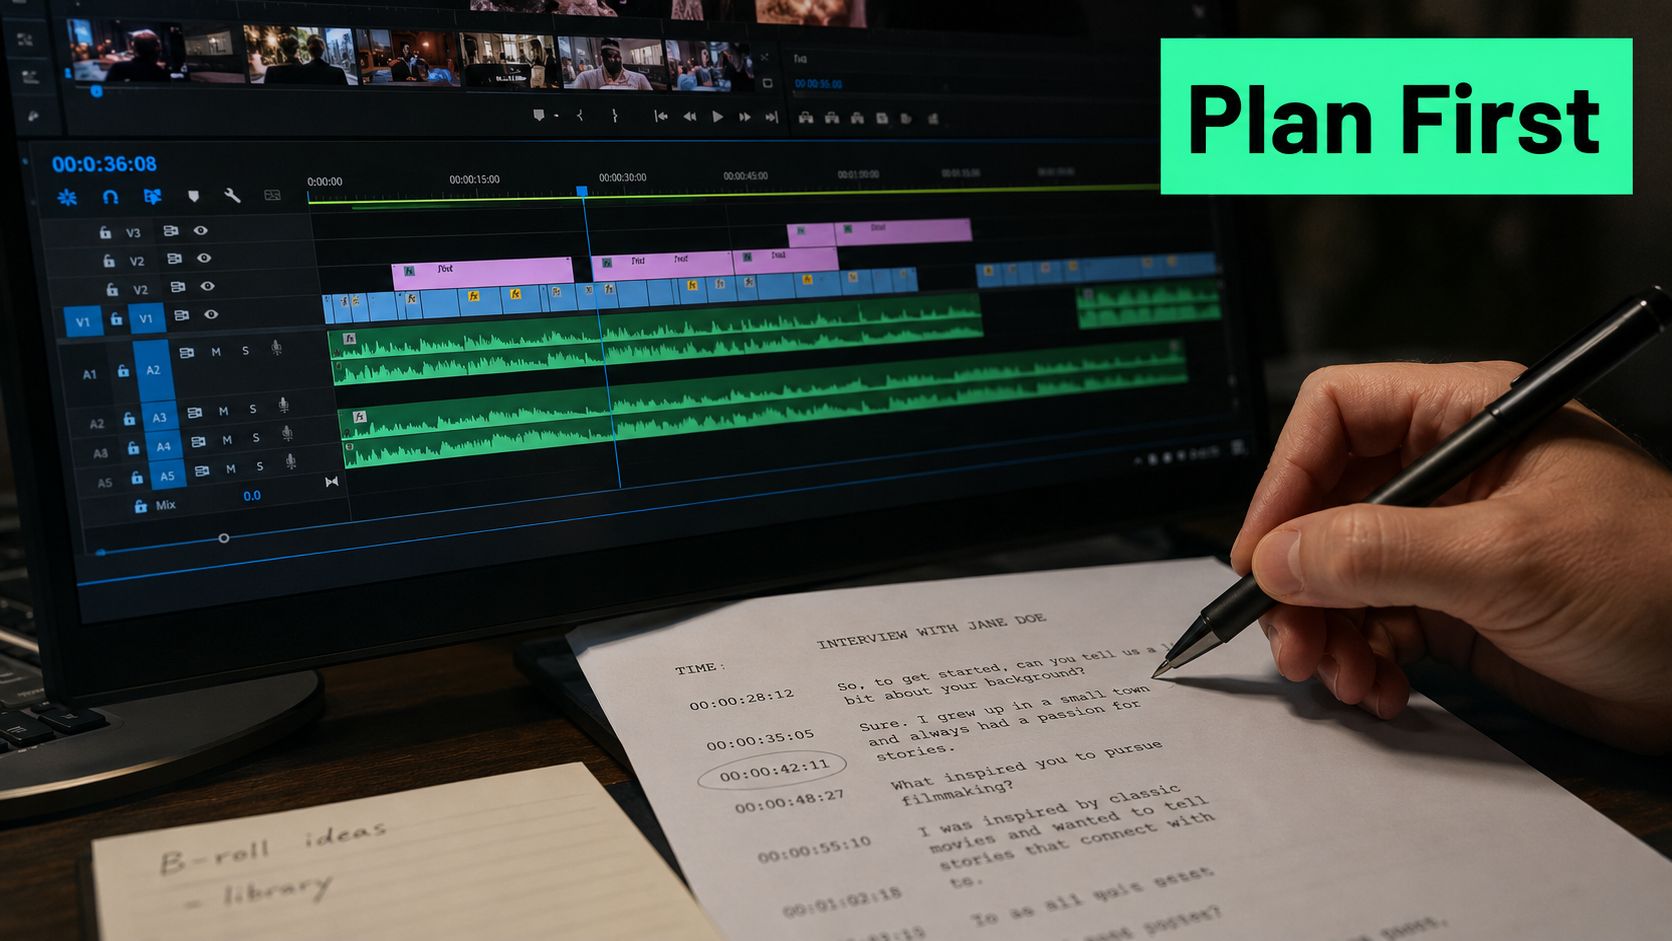
The payoff of this prep is speed downstream. It cuts the chance of starting a clip mid-sentence, and it makes later decisions about hooks, titles, and captions much easier. For teams managing a backlog of talks, the same planning logic fits a [back catalog clip planner](https://blitzreels.com/guide/back-catalog-clip-planner) because older files usually need more selection discipline than fresh recordings.
## Manual Trimming Versus AI Clip Detection
Manual trimming gives exact control. AI clip detection gives reach and speed. Most production teams need both, because neither approach is strong enough on its own for every source file.
### Where each method wins
Manual trimming means scrubbing the timeline directly, setting in and out points, rippling away filler, and repeating until the clip feels right. That's ideal when the recording is visual-heavy, music-driven, or structured around a beat that transcripts miss. It's slower, though, and a full round can eat **30 to 60 minutes per hour of footage**.
AI clip detection scans transcripts, scores hook density, and surfaces candidate moments, often in **15 to 90 second** ranges. Tools in this category include BlitzReels, Opus Clip, Descript, and CapCut Auto-Cut. The speed jump is obvious, but the suggestions still need a human pass for framing, brand context, and quote accuracy. For teams who want to [summarize YouTube and TikTok videos](https://transcript.im/ai-video-summarizer), that draft-and-review pattern is often the cleanest route.
| Factor | Manual Trimming | AI Clip Detection |
|---|---|---|
| Speed | Slower, because each cut is handled by hand | Faster, because candidate moments appear automatically |
| Accuracy | Very precise at the timeline level | Good for finding candidates, weaker on context |
| Creative control | High, especially for visual and narrative beats | Lower unless a human re-cuts the result |
| Best use case | Music, nuanced visuals, exact pacing | Clear speech, interviews, webinars, podcasts |
A hybrid workflow usually holds up best. Let AI draft the options, then re-cut the keepers manually. That's especially useful in [BlitzReels clipping](https://blitzreels.com/clipping) workflows, where the editor can inspect projects, split timeline items, edit transcripts, and validate output before export without giving up final judgment.
## Keeping Audio Clean and Adding Hooks That Land
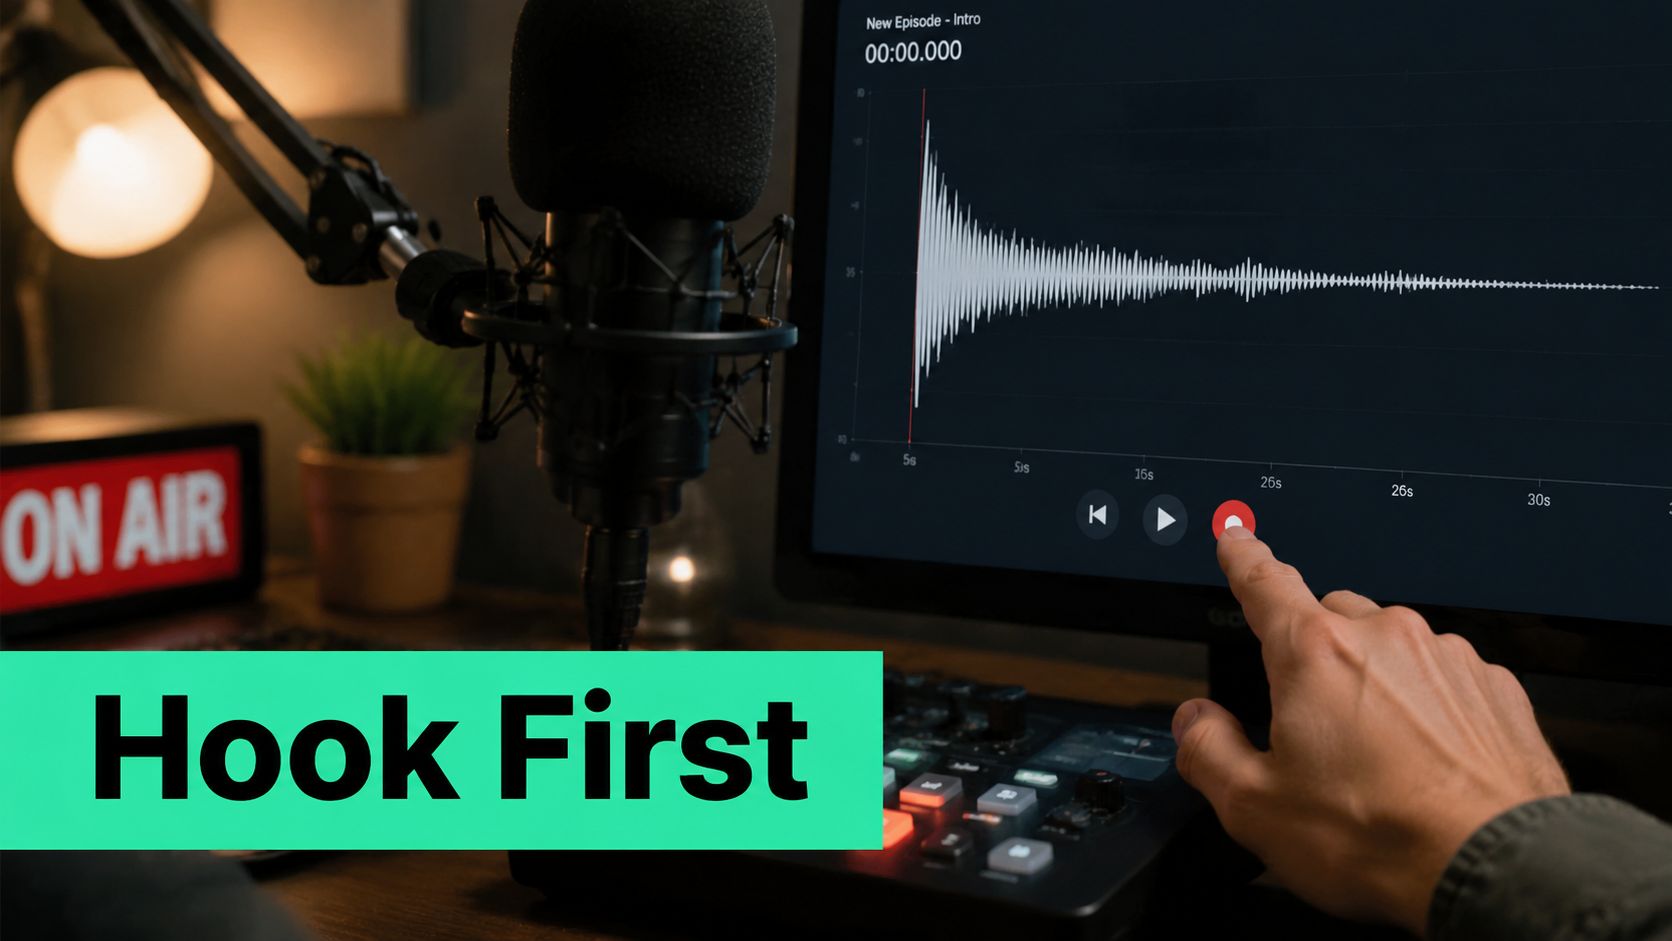
A clip can look right and still fail if the sound feels rough. Most of the retention damage happens immediately, because the opening seconds carry the burden of getting a viewer to stay. That means the start point, the hook line, and the caption treatment all matter at once.
### Start on sound, not just on picture
Each clip should begin on a **clean breath, hard consonant, or sentence boundary**, never on a mid-word chop. When the source is split, a tiny transition buffer helps the audio feel natural, and editors often smooth those joins instead of letting the cut pop. For cleanup ideas, the [AIDictation audio cleanup tips](https://aidictation.com/blog/ai-audio-cleanup) are a practical reference for reducing rough edges before export.
Normalization belongs before the split, not after. Setting source audio to **-16 LUFS** gives batch-exported clips a more even loudness profile, which matters when several clips come from the same webinar or interview. If the louder one always feels more “important,” the mix is already shaping perception.
Hooks need to arrive early and clearly. Front-load the strongest claim or most visual line in the first second, then add a **2 to 3 word** on-screen cue around frame 12 so silent viewers know what they're seeing. Captions should be burned in, word-highlighted, and kept inside the lower safe zone.
The safe zone isn't guesswork. A published caption guide recommends avoiding the **top ~220 px**, the **bottom ~320 to 440 px**, and the **right ~120 px** on a **1080×1920** canvas, with the caption baseline around **70 to 80%** of frame height to keep text clear of interface elements on TikTok, Reels, and Shorts. [BlitzReels' scripts and hooks guide](https://blitzreels.com/guide/scripts-and-hooks) fits neatly here, because the opening line and the subtitle treatment need to work together, not separately.
### Audio and hook checklist
- **Opening sound:** Begin on a breath, consonant, or full sentence.
- **Loudness:** Normalize to **-16 LUFS** before batch export.
- **Hook text:** Put a short cue on screen early so silent scrollers understand the premise.
- **Caption placement:** Keep subtitles inside the lower safe zone, not under UI chrome.
- **Human review:** Watch the first seconds on a phone screen, not just in the desktop editor.
## Export Specs That Match Each Platform
Export choices are where a good cut either lands cleanly or gets resized badly later. The practical move is to build one **1080×1920** vertical master, then adapt lengths and safe zones per platform instead of creating separate source edits from scratch.
### Match the frame before you worry about the feed
A standard vertical canvas is **9:16 at 1080×1920 pixels**, which multiple platform guides describe as the shared baseline for TikTok, Instagram Reels, and YouTube Shorts. Keeping important visual content inside the center helps avoid UI overlays, caption bars, and action rails. That single layout decision prevents a lot of re-export pain.
YouTube Shorts has a newer duration rule too. Videos uploaded on or after **October 15, 2024** can qualify as Shorts if they are square or vertical and up to **3 minutes** long, while older advice still points to shorter limits. That makes clip length strategy more important than ever, because a source cut can be valid yet still feel too long for the audience.
> **Working rule:** Export once in a platform-safe master, then shorten or re-cut for each channel instead of stretching one timeline to fit everything.
A practical cross-platform pacing guide recommends separate edits from the same master at roughly **12 seconds for Reels**, **18 seconds for TikTok**, and **25 seconds for Shorts**. That isn't a universal law, but it reflects how pacing changes across feeds. The same clip can work differently depending on whether the viewer expects a quick loop or a slightly longer payoff.
| Platform | Aspect Ratio | Resolution | Ideal Length | Safe Zone |
|---|---|---|---|---|
| TikTok | 9:16 | 1080×1920 | 15 to 180 seconds, with a 2 to 3 second loop-friendly ending | Keep key text away from the right side and lower UI areas |
| Instagram Reels | 9:16 | 1080×1920 | 7 to 15 seconds for reach, up to 90 seconds for depth | Keep captions clear of the bottom UI strip |
| YouTube Shorts | 9:16 | 1080×1920 | Up to 60 seconds for many workflows, with newer uploads eligible up to 3 minutes if vertical or square | Keep the first frame thumbnail-friendly and avoid UI overlap |
| LinkedIn | 1:1, 4:5, or 9:16 | Platform dependent | Varies by post format | Leave extra room on the right edge compared with TikTok |
A tool such as BlitzReels can handle the cloud export side of that workflow, while other editors may rely on preset-based renderers like Compressor. The main point is consistency, because a clean master with safe margins is easier to repurpose than a pile of one-off renders.
## Common Pitfalls and How to Fix Them
The mistakes that wreck short-form cuts are usually boring, which is why they keep happening. Editors move fast, the source file is long, and the timeline hides problems until the clip is already close to publishable.
### Five failures that show up again and again
Uneven segment length often signals lazy clipping. A stack of random 11-second and 47-second clips usually means the editor followed timestamps instead of story beats, so the fix is to trim toward **15 to 60 second** targets and make every cut earn its place.
Stream-copy cutting can drift when the cut lands away from a keyframe, especially in H.264 or H.265 material. The fix is to use re-encoding when exact timing matters, or align boundaries to keyframes before export. If the clip starts a little late or ends a little early, that's not a creative choice, it's a boundary problem.
Broken captions usually happen after a re-export, especially if the SRT was generated before the final timeline changes. Regenerate captions from the final edit, then check the first and last subtitle cues before publishing. That avoids the awkward moment when the text is one beat behind the speaker.
Vertical reframing can crop out gestures, graphics, or on-screen text. Re-check the **1080×1920** safe zone after every resize, especially when the source interview has hand movements or slides. A strong clip can lose meaning fast if the frame chops off the evidence.
Hooks that start too late make the viewer work before they care. Fix that by leading with the opening line, not with context that only matters after the quote lands. If the clip begins mid-thought, the story is already fighting uphill.
A quick pre-publish pass catches most of the damage:
- **Resolution check:** Confirm the export matches the target format.
- **Caption sync:** Watch the first few subtitles on mobile.
- **Audio level match:** Make sure the clip doesn't jump louder or softer than the rest.
- **Hook strength:** Verify the opening line explains why the viewer should stay.
- **Platform-spec confirmation:** Check length, aspect ratio, and safe zones before posting.
## Your Repeatable Short-Form Cutting Checklist
A reliable workflow saves more time than a clever one-off edit. Start by ingesting the master file, logging strong timestamps, and tagging each moment by speaker and topic. Then outline the narrative arc, mark hook candidates, and group related quotes so the clip plan reflects the long-form structure instead of fighting it.
Cut only after the story map exists. Choose manual trimming when the source depends on visual beats, or AI detection when the recording is clean speech and the niche is obvious. Then trim each candidate to a platform-appropriate length, making sure every clip says one thing clearly instead of trying to summarize the whole episode.
Finish with the details that help clips survive the feed. Add captions, reframe vertically, smooth the audio, and make the first line do real work. Export through a tool that can validate output and keep the render consistent, then watch the final file on a phone before it goes live.
The point of the checklist is not perfection. It's to reduce decision fatigue so the same long recording can move through the same sequence every time until the process turns into muscle memory.
---
BlitzReels helps teams turn podcasts, webinars, interviews, and calls into short-form clips with transcript editing, captions, reframing, and export workflows that fit TikTok, Instagram Reels, YouTube Shorts, and LinkedIn. If the bottleneck is picking cut points and turning them into publishable assets, [BlitzReels](https://blitzreels.com) gives that process a faster path without removing human review.