---
title: "How to Edit Videos on iPhone: Pro Tips for 2026"
canonical: "https://blitzreels.com/blog/how-to-edit-videos-on-iphone"
---
# How to Edit Videos on iPhone: Pro Tips for 2026
URL: https://blitzreels.com/blog/how-to-edit-videos-on-iphone
Markdown URL: https://blitzreels.com/blog/how-to-edit-videos-on-iphone.md
Published: 2026-06-29
Author: BlitzReels
Learn how to edit videos on iphone for TikTok, Reels & Shorts in 2026! Master built-in tools & pro apps for fast, professional-looking content.
Tags: how to edit videos on iphone, iphone video editing, short-form video, tiktok editor, reels editor

A lot of creators search for how to edit videos on iPhone when they already have clips sitting in the camera roll, a half-finished Reel in mind, and no patience for a heavy desktop workflow. That's usually the scenario. The footage is there, the post needs to go live soon, and the edit has to look clean without turning into a two-hour project.
The good news is that an iPhone can handle a strong short-form workflow from start to finish. Quick trims, basic color cleanup, clipping, captions, reframing, title cards, and final export can all happen on mobile. The difference isn't whether the edit happens on a phone or a laptop. It's whether the creator uses the right workflow for speed, platform fit, and retention.
## Table of Contents
- [Prepare Your Footage Before You Start Editing](#prepare-your-footage-before-you-start-editing)
- [Set up the shot before the edit](#set-up-the-shot-before-the-edit)
- [Organize clips so the edit moves faster](#organize-clips-so-the-edit-moves-faster)
- [Master Quick Edits with Built-In iPhone Tools](#master-quick-edits-with-built-in-iphone-tools)
- [Trim a talking-head clip in Photos](#trim-a-talking-head-clip-in-photos)
- [Clean up exposure and framing without overediting](#clean-up-exposure-and-framing-without-overediting)
- [When iMovie is the better move](#when-imovie-is-the-better-move)
- [Choose the Right Pro Editing App for Your Workflow](#choose-the-right-pro-editing-app-for-your-workflow)
- [CapCut for hands-on editing](#capcut-for-hands-on-editing)
- [AI tools for clipping captions and reframing](#ai-tools-for-clipping-captions-and-reframing)
- [iPhone Video Editor Comparison](#iphone-video-editor-comparison)
- [Apply Essential Edits for High-Performing Social Videos](#apply-essential-edits-for-high-performing-social-videos)
- [Edit for retention, not just cleanliness](#edit-for-retention-not-just-cleanliness)
- [Use captions, title cards, and reframing with intent](#use-captions-title-cards-and-reframing-with-intent)
- [Add B-roll where attention would otherwise dip](#add-b-roll-where-attention-would-otherwise-dip)
- [Export Your Video and Troubleshoot Common Problems](#export-your-video-and-troubleshoot-common-problems)
- [Best export settings for short-form posts](#best-export-settings-for-short-form-posts)
- [Fix the issues that usually ruin the final post](#fix-the-issues-that-usually-ruin-the-final-post)
## Prepare Your Footage Before You Start Editing
You record a quick Reel, open the clip in Photos, and realize the main problem is not the trim. The phone kept shifting exposure, the shot shakes every time you gesture, and the best take is buried between screenshots and old screen recordings. That is why fast iPhone editing starts before the timeline.
Creators who post often usually get speed from capture discipline, not from flashy editing tricks. On iPhone, a few setup choices make the difference between a 5-minute cleanup in Photos and a longer rescue job in CapCut, VN, or an AI workflow like BlitzReels.
### Set up the shot before the edit
Good short-form editors protect the footage while recording. That starts with stable framing, consistent exposure, and a frame rate that matches the kind of post being made.
[Sandmarc's iPhone filmmaking guide](https://www.sandmarc.com/blogs/iphone-filmmaking/6-iphone-video-hacks-you-need-to-know) recommends locking exposure by tapping and holding on the subject, avoiding digital zoom, and using support like a tripod or gimbal when possible. In practice, those three habits remove a lot of the cleanup work later. A talking-head clip with steady brightness and less shake is easier to trim, caption, reframe, and export for TikTok or Reels.
One practical rule matters more than people expect. If the face gets brighter and darker during a sentence, the edit already looks less controlled.
Frame rate needs intent too. Use 24 fps if the goal is a more cinematic look. Use 30 fps for most everyday social clips, especially talking-head videos where clean motion and simple platform delivery matter more than style. Shoot 120 fps at 1080p only when the final cut needs slow motion. If you record everything at the wrong setting, every app down the line has to work harder.
A simple capture checklist:
- **Lock exposure before the take:** Tap and hold on the face or main subject.
- **Choose frame rate on purpose:** 24 fps for a film-style look, 30 fps for standard short-form posting, 120 fps at 1080p for slow motion.
- **Skip digital zoom:** Step closer or switch lenses instead.
- **Stabilize the phone:** Handheld can work, but support gives cleaner footage and fewer fixes later. If a clip still has too much shake, compare tools built for mobile correction in this guide to a [video stabilizer app for iPhone footage](https://www.blitzreels.com/blog/video-stabilizer-app).
### Organize clips so the edit moves faster
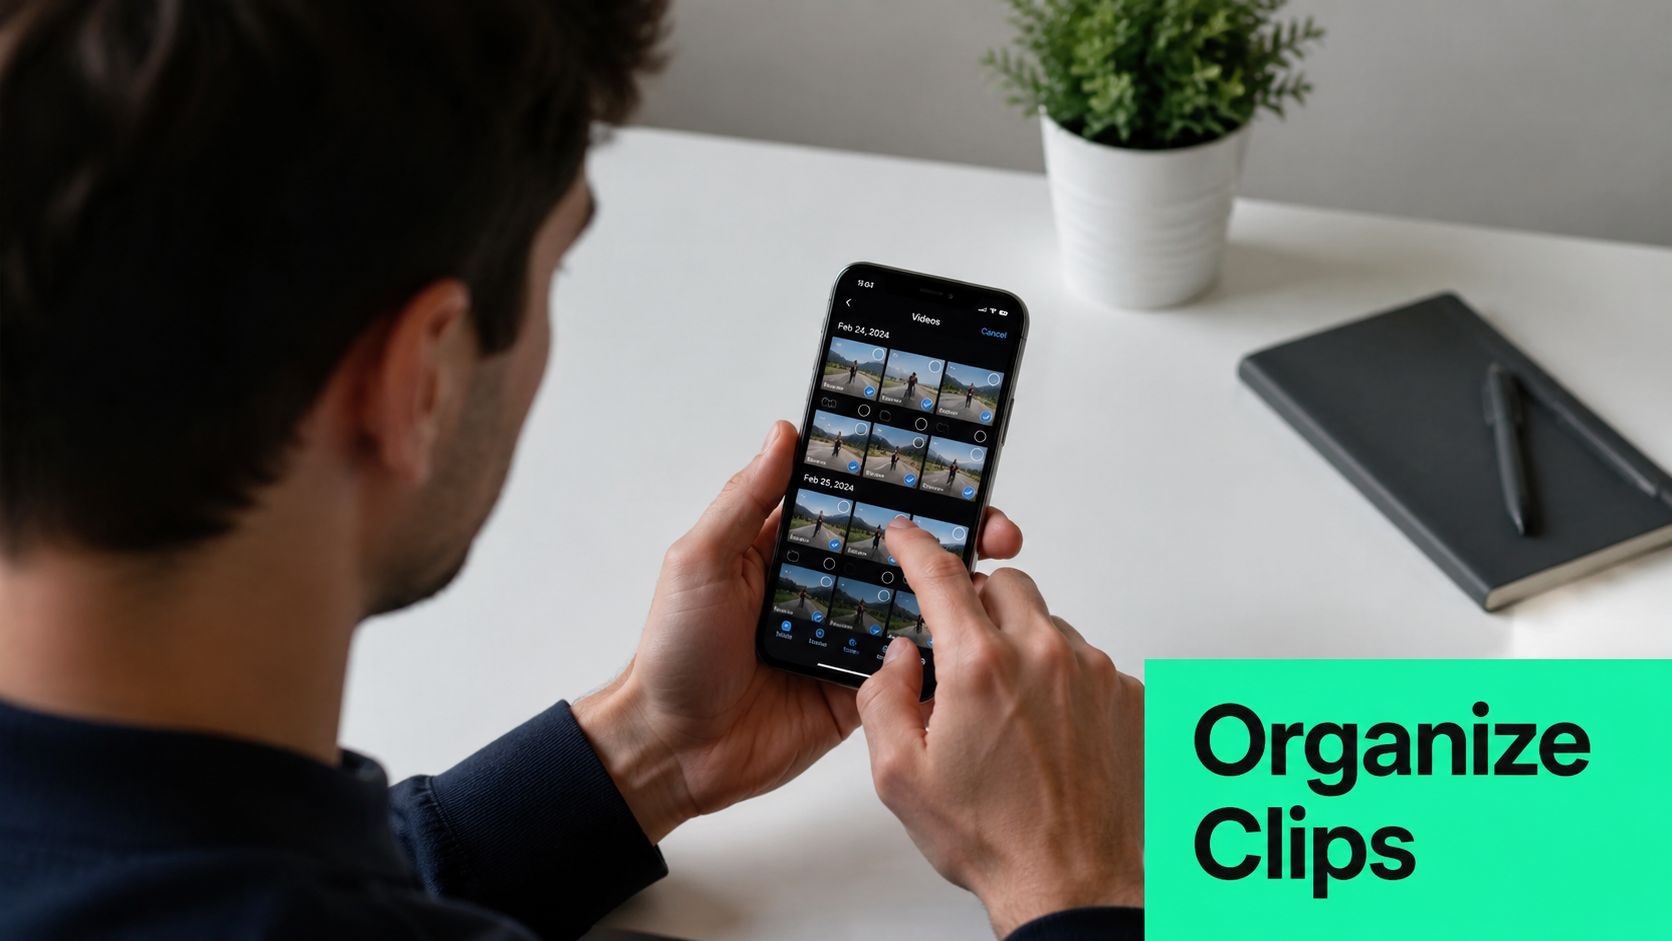
The Camera Roll gets messy fast. A creator trying to cut a 20-second Reel should not have to scrub past memes, screenshots, duplicate takes, and voice notes just to find the opener.
Create one album for the project before editing starts. Put the main A-roll first, supporting B-roll next, and keep alternates at the end. On a phone, that small bit of prep saves more time than one typically gets from fancy transitions.
Multi-angle recording adds another layer. A lot of short-form creators now shoot one wide angle and one tighter angle on iPhone, or pair front-camera delivery with cutaway shots. That can work well, but syncing those clips inside native iOS tools is still awkward. If the post is simple, one clean primary angle usually beats two messy ones.
The same logic applies to AI editing. Tools like BlitzReels work faster when the source footage is clear, labeled, and easy to sequence. Better prep gives you quicker trims, cleaner captions, and fewer fixes after the first draft.
## Master Quick Edits with Built-In iPhone Tools
A lot of short videos don't need a full editing app. They need a fast cleanup. The built-in Photos editor handles that well when the job is trimming dead air, correcting brightness, and tightening framing before a post goes live.
For a simple talking-head Reel, the fastest path is often native.
### Trim a talking-head clip in Photos
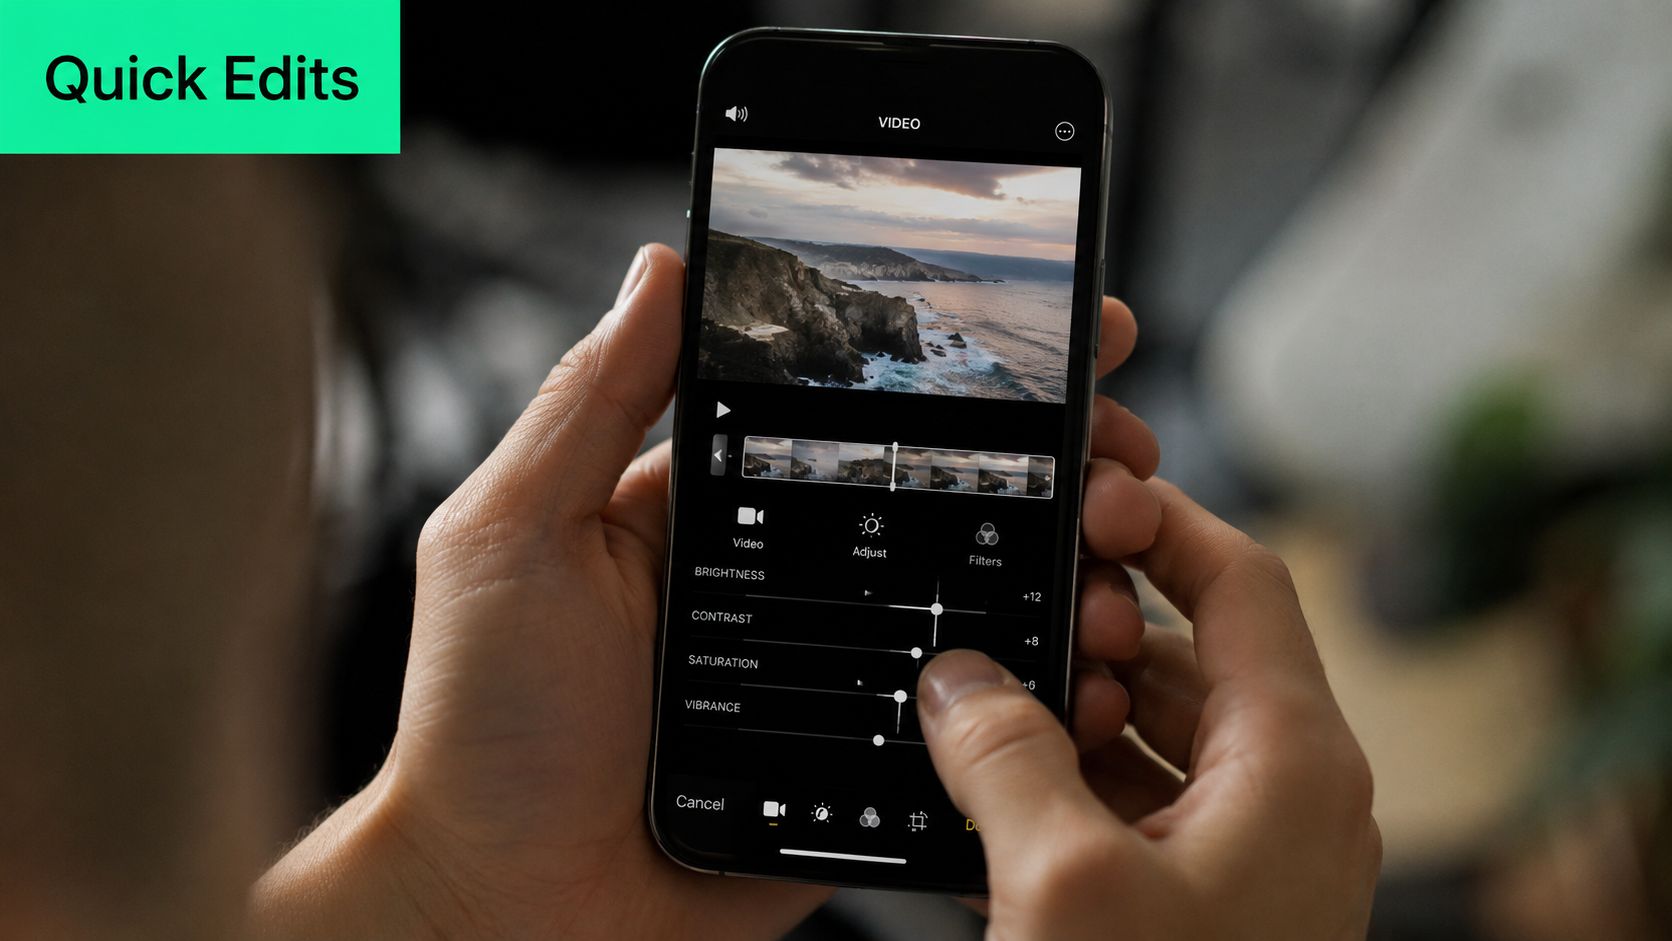
Open Photos, tap the video, then tap **Edit**. From there, drag the trim handles at the bottom of the timeline to cut off weak starts, pauses, or the hand reaching toward the record button. According to [this iPhone video editing walkthrough](https://www.youtube.com/watch?v=kMRWZhsN0QI), the trim handles cut segments, the **Adjust** icon controls brightness, contrast, and highlights, the **Crop** tool handles resizing and straightening, and **Revert** restores the original clip without losing it.
That's enough for a lot of short posts.
A practical example helps. If a talking-head video starts with a breath, a glance off-camera, and then the first sentence, trim to the exact moment the person begins speaking. If the clip ends with a pause after the final line, trim that too. Social video usually benefits from entering late and exiting early.
> The Photos app is best when the edit is mostly subtraction. Remove what slows the clip down, then stop editing.
### Clean up exposure and framing without overediting
After trimming, the next win is controlled cleanup. In the **Adjust** panel, brightness and contrast usually matter more than the rest. A small lift in brightness can fix a dim clip. A modest contrast bump can separate the subject from a flat background. Highlights should stay under control so skin doesn't turn shiny or harsh.
The **Crop** tool is underrated. If the horizon is crooked, straighten it. If the face sits too low in the frame, crop tighter. These are small moves, but they make a mobile edit look considered rather than rushed.
Filters can help, but they go bad fast. If a creator uses one, lowering the intensity usually gives a stronger result than applying the default full strength. The problem with many quick iPhone edits isn't that they look too plain. It's that they look overprocessed.
A short video on basic mobile cleanup is useful at this point:
### When iMovie is the better move
Photos handles single-clip cleanup. It starts to feel limited when the video needs two or more shots stitched together.
That's where iMovie makes sense. It's a good middle ground for creators who want to combine clips, add a simple title card, or drop in cutaway footage without moving into a more complex editor. For a practical walkthrough, this guide on [how to use iMovie](https://www.blitzreels.com/blog/how-to-use-imovie) is a useful next step.
A simple rule keeps the decision easy:
- **Use Photos** for one clip that needs trimming, color correction, or cropping.
- **Use iMovie** for multiple clips, simple sequencing, or basic text.
- **Move to a pro app** when the edit needs layered captions, advanced templates, reframing, or more aggressive clipping.
That distinction saves time. The wrong app creates drag. The right one keeps the edit moving.
## Choose the Right Pro Editing App for Your Workflow
Once the edit needs more than trimming and minor cleanup, app choice starts to matter. Many creators lose time at this stage. They open a powerful editor for a simple post, or they try to force a complex short into a basic app that can't handle captions, templates, clipping, or reframing cleanly.
The right choice depends on how the creator wants to work. Some want total manual control. Others want speed and fewer repetitive tasks.
### CapCut for hands-on editing
CapCut remains one of the most common choices for short-form creators because it gives strong manual control on iPhone. It works well for people who like to place cuts themselves, adjust text timing line by line, layer sounds, and build style-heavy edits with transitions and effects.
That's the upside. The downside is time.
Manual editors are strongest when the creator already knows the exact pacing, visual style, and structure of the post. They're less efficient when the main job is repetitive production, like turning a long talking video into multiple shorts with captions and resized versions for different platforms.
For creators replacing older hardware or upgrading on a budget, the phone itself can affect editing smoothness too. A buyer comparing devices for mobile editing can use this guide to the [best refurbished iPhones](https://usedmobiles4u.co.uk/best-refurbished-iphones-to-buy-in-2026/) to check which models make more sense for current creator workflows.
### AI tools for clipping captions and reframing
AI-based editors change the workflow rather than just adding more controls. Instead of building every cut manually, these tools help identify the strongest moments, generate captions, resize widescreen footage for vertical platforms, and speed up repeatable jobs.
That makes a difference when the source material is a podcast clip, webinar excerpt, screen recording, interview, or founder video that needs to become a polished short quickly. In that situation, clipping and reframing aren't optional extras. They're the whole job.
A creator choosing between manual and assisted workflows should think in terms of friction:
- **Manual-first apps** suit editors who enjoy timelines and want fine control over every element.
- **AI-assisted apps** suit creators who care more about output speed, reusable templates, and fast turnaround.
- **Hybrid workflows** make sense when a creator wants AI for the first pass, then manual adjustments for title cards, hooks, or visual polish.
For creators comparing easier starting points before committing to a heavier toolset, this roundup of a [video editing app for beginners](https://www.blitzreels.com/blog/video-editing-app-for-beginners) is a useful reference.
### iPhone Video Editor Comparison
| Tool | Best For | Key Features | Editing Speed |
|---|---|---|---|
| Photos | Single-clip cleanup | Trim, adjust brightness and contrast, crop, straighten, revert | Fast for basic fixes |
| iMovie | Simple multi-clip edits | Clip sequencing, light titles, straightforward assembly | Fast for uncomplicated edits |
| CapCut | Manual short-form editing | Timeline control, effects, text, transitions, layered editing | Moderate to slower, depends on complexity |
| AI-powered short-form editors | Repurposing and high-volume content | Clipping, captions, reframing, resizing, templates, faster first-pass editing | Fastest for repeatable short-form workflows |
> **Decision shortcut:** If the creator enjoys editing, CapCut usually feels better. If the creator needs to publish more often, AI assistance usually scales better.
The mistake isn't picking the wrong popular app. It's picking a workflow that fights the actual publishing schedule.
## Apply Essential Edits for High-Performing Social Videos
A creator trims the start, adds a filter, posts, and wonders why the video still feels slow. The problem usually is not image quality. It is edit logic. Short-form videos on TikTok, Reels, Shorts, and even LinkedIn need to move fast, read clearly on a phone screen, and give the viewer a reason to stay through the next sentence.
The iPhone workflow changes here. Basic cleanup gets a clip usable. Performance edits make it publishable.
### Edit for retention, not just cleanliness
Good short-form editing starts with pace. The first pass is simple. Cut anything that delays the point. That includes dead air, repeated words, soft openings, filler phrases, and the half-second pauses that feel normal in conversation but drag inside a 20 to 45 second clip.
A workflow shown in [this mobile editing tutorial on removing dead air](https://www.youtube.com/watch?v=OoayDYJKkUs) uses the waveform to spot silent gaps and tighten them manually. The exact method depends on the app, but the goal stays the same. Keep the spoken thought moving so the viewer never has to wait for the next useful beat.
I usually listen once with my eyes closed before I fine-tune visuals. If the audio rhythm feels slow, the edit is slow.
That is also where many iPhone tutorials stop too early. They teach trimming. They do not teach tightening.
### Use captions, title cards, and reframing with intent
Captions pull more weight than decoration. They help viewers follow the story with sound low or off, give the frame visual rhythm, and make talking-head footage feel less static. For a deeper breakdown, this guide on [how captions drive engagement on TikTok and Instagram](https://www.blitzreels.com/blog/how-captions-drive-engagement-on-tiktok-and-instagram) is worth reading.
Title cards work best when they do one job. Set the promise fast. One strong opening line usually outperforms multiple text screens stacked on top of each other.
Reframing matters just as much. Short-form platforms are built around vertical viewing, so horizontal footage often needs a manual crop to keep the face, hands, or product centered. Auto-reframe can save time, but it misses quick body movement and screen demos often enough that I still check every cut before export.
A practical checklist helps:
- **Lead with the strongest line:** Start on the claim, question, or result.
- **Keep captions readable:** Large enough to scan quickly, high contrast, and placed clear of UI elements.
- **Crop around the subject:** Center the face, hands, or action, not the original frame.
- **Treat each platform as its own layout:** A crop that works on Shorts can still feel awkward on Reels.
For creators building a faster publishing system around these edits, [PostPulse for short-form video automation](https://post-pulse.com/blog/turn-podcast-clips-into-tiktok-shorts-wayinvideo-n8n-postpulse) shows how clipping and distribution can fit into a larger content workflow.
### Add B-roll where attention would otherwise dip
B-roll is one of the quickest ways to improve an iPhone edit without making it feel overproduced. It covers jump cuts, adds movement, and gives the viewer something new to process while the main point continues.
The best B-roll is literal. If the speaker mentions the product, show the product. If the line is about setup, show the setup. Screen recordings, close-ups, hand shots, over-the-shoulder angles, app demos, and detail shots all work well because they clarify the line instead of distracting from it.
High-performing Reels frequently use multi-angle B-roll, yet that workflow gets skipped in many beginner iPhone tutorials. This gap is significant because native app advice often focuses on trims and filters, while stronger short-form edits depend on sequencing visuals to support each spoken beat.
That is the real jump from basic iPhone editing to a repeatable creator workflow. First get the cut clean. Then make it easier to watch. AI tools like BlitzReels can speed up captions, clipping, and reframing, but the videos that perform still follow the same rule. Every edit should help the next second earn attention.
## Export Your Video and Troubleshoot Common Problems
A solid edit can still lose quality on export. Wrong settings, oversized files, weak audio, and shaky shots can all make the final post look worse than it did inside the editor.
For short-form social content, the safest default is usually simple.
### Best export settings for short-form posts
The optimal video quality for iPhone short-form content is **1080p HD at 60 frames per second**, which balances file size, playback smoothness, and platform compatibility, according to [this iPhone short-form export guide](https://www.youtube.com/watch?v=v1nOFh0mLrc). The same source notes that while **4K** is supported, it can lead to compression artifacts on some platforms.
That's the practical trade-off. Higher resolution sounds better on paper, but social platforms compress hard. For most creators posting frequently, 1080p at 60 fps is the cleaner, more reliable delivery format.
A simple export checklist works well:
- **Pick 1080p HD at 60 fps:** It travels well across major social platforms.
- **Review the frame before export:** Check that text, captions, and title cards aren't too close to the edge.
- **Watch the full clip once:** A final silent preview often catches awkward pauses, mistimed captions, or a bad crop.
- **Compress only if needed:** If the file is too large, reduce size carefully instead of exporting a lower-quality master. This guide on [how to compress MP4 video](https://www.blitzreels.com/blog/how-to-compress-mp-4-video) is useful when upload limits get in the way.
### Fix the issues that usually ruin the final post
Some problems can't be solved perfectly after recording, but they can still be improved.
If the footage is shaky, stabilization tools may help, but heavy stabilization can crop the frame and create unnatural warping. If the shake is severe, the better answer is often to recut the sequence with shorter clips and use B-roll to hide the weakest moments.
If the audio feels quiet, raise voice levels carefully and remove background distractions where the app allows it. If the clip still sounds muddy, captions become even more important because they preserve readability when sound quality slips.
If the file size is too large, resist the urge to keep re-exporting from different apps. Multiple exports can soften the image. It's better to keep one strong master and make a single compression pass only when needed.
The last check is simple. Watch the video like a viewer, not like the editor. If the first second feels slow, tighten it. If the caption placement blocks the face, move it. If the ending drags, cut sooner. Small choices decide whether a short gets watched or skipped.
---
BlitzReels helps creators turn raw clips, screen recordings, and long videos into platform-ready shorts faster. It handles clipping, captions, reframing, resizing, title cards, and templates in one workflow, which is useful when the goal isn't just to edit on iPhone, but to publish more consistently across TikTok, Instagram Reels, YouTube Shorts, LinkedIn, and other social platforms. Explore [BlitzReels](https://blitzreels.com) to simplify the record, edit, and post loop.