---
title: "How to Remove Audio from Video: 4 Fast Methods for 2026"
canonical: "https://blitzreels.com/blog/how-to-remove-audio-from-video"
---
# How to Remove Audio from Video: 4 Fast Methods for 2026
URL: https://blitzreels.com/blog/how-to-remove-audio-from-video
Markdown URL: https://blitzreels.com/blog/how-to-remove-audio-from-video.md
Published: 2026-07-15
Author: BlitzReels
Learn how to remove audio from video on any device. Our guide covers web editors like BlitzReels, desktop apps, mobile, and FFmpeg for perfect silent clips.
Tags: how to remove audio from video, mute video, video editing, short-form video, remove background noise

A clip is ready to post. The framing is good, the hook lands, and the visuals fit TikTok, Reels, or Shorts. Then the original audio ruins it. Wind noise, side chatter, a TV in the background, or a song that doesn't belong there.
That's usually when creators search for **how to remove audio from video**. The fast answer is easy. The useful answer is more specific. Some tools only mute the sound. Others strip the audio track completely. That difference matters when the next step is adding captions, dropping in a voiceover, replacing the sound with music, or repurposing the clip across platforms.
For short-form workflows, audio removal isn't just cleanup. It's prep work for a better post. A silent source clip is often the cleanest starting point for title cards, hooks, clipping, reframing, resizing, and new audio that fits the platform.
## Table of Contents
- [Why Remove Audio From a Video in the First Place](#why-remove-audio-from-a-video-in-the-first-place)
- [A clean visual is not the same as a usable clip](#a-clean-visual-is-not-the-same-as-a-usable-clip)
- [Muting and removing are not the same thing](#muting-and-removing-are-not-the-same-thing)
- [Fastest Method Use a Web-Based Editor like BlitzReels](#fastest-method-use-a-web-based-editor-like-blitzreels)
- [The fastest path for short-form creators](#the-fastest-path-for-short-form-creators)
- [What this method gets right](#what-this-method-gets-right)
- [Use Free Desktop Apps on Windows and Mac](#use-free-desktop-apps-on-windows-and-mac)
- [On Mac with QuickTime Player](#on-mac-with-quicktime-player)
- [On Windows with built-in editors](#on-windows-with-built-in-editors)
- [Remove Audio Directly on Your Phone iOS and Android](#remove-audio-directly-on-your-phone-ios-and-android)
- [Use the built-in Photos or Gallery app first](#use-the-built-in-photos-or-gallery-app-first)
- [Use CapCut or InShot when the clip needs more control](#use-capcut-or-inshot-when-the-clip-needs-more-control)
- [For Power Users Remove Audio with FFmpeg](#for-power-users-remove-audio-with-ffmpeg)
- [The command that matters](#the-command-that-matters)
- [When FFmpeg is the right choice](#when-ffmpeg-is-the-right-choice)
- [What to Do After You Remove the Audio](#what-to-do-after-you-remove-the-audio)
- [Replace the silence with something intentional](#replace-the-silence-with-something-intentional)
- [Build the clip for silent viewing anyway](#build-the-clip-for-silent-viewing-anyway)
## Why Remove Audio From a Video in the First Place
A lot of strong short-form clips fail because the sound isn't usable. The visual may be sharp, the pacing may be solid, and the subject may be worth posting, but messy audio makes the whole thing feel unfinished.
### A clean visual is not the same as a usable clip
Creators usually remove audio for three practical reasons.
- **To replace the sound entirely.** A clean clip is easier to pair with a voiceover, a licensed music track, or a platform-native sound.
- **To get rid of distracting noise.** Wind, room echo, traffic, random conversations, and clipped mic audio can pull attention away from the actual message.
- **To prep for silent-first viewing.** A lot of short-form content is consumed with captions doing the heavy lifting, so the original sound often adds nothing.
That third point gets overlooked. A silent clip with strong on-screen text, title cards, and clear visual beats can outperform a noisy clip that technically has “real” audio but doesn't help the viewer.
> **Practical rule:** If the original sound doesn't improve clarity, emotion, or credibility, it probably shouldn't stay.
Replacing the original track also opens up creative options. A product demo can become a clean caption-led Reel. A talking-head clip can turn into a tighter post with a rewritten voiceover. A behind-the-scenes shot can become a trend-based post after adding a better sound. For creators testing new sounds, this resource on [how to use trending audio on Instagram](https://mallary.ai/blog/find-use-trending-audio-on-instagram) is useful because it frames audio choice as distribution strategy, not just editing style.
### Muting and removing are not the same thing
This is the detail most tutorials skip. **Muting** means volume goes to zero. **Removing** means the audio track is gone.
That distinction matters. The failure to separate the two is a real workflow issue. Muting often keeps the audio codec in the file, which can increase file size by **15 to 25%** and introduce latency during transcription. In A/B tests, silent clips with fully stripped audio tracks avoided “original audio” mismatches on TikTok, preventing reach reductions of up to **30%**, according to [this breakdown of muting versus removing](https://nismonline.org/remove-audio-from-your-video/).
For short-form creation, that changes the decision. If the clip is only being previewed or shared casually, muting is often enough. If it's headed into a workflow with captions, AI transcription, music replacement, clipping, or export for multiple platforms, fully removing the track is usually the safer move.
## Fastest Method Use a Web-Based Editor like BlitzReels
For most creators, the quickest path isn't a desktop app or a command line. It's a browser editor that handles the clip in the same place where the rest of the post gets finished.
### The fastest path for short-form creators
The fastest method looks like this:
1. Upload the source video.
2. Turn off or remove the original audio.
3. Add captions.
4. Drop in replacement music or a voiceover.
5. Resize for vertical distribution.
6. Export for the target platform.
That flow matches how most short-form teams already work. According to a 2024 LinkedIn analysis cited by [Icecream Apps](https://icecreamapps.com/learn/Howto/how-to-remove-audio-from-video.html), **78% of content creators** preparing footage for voiceovers, B-roll insertion, or silent social clips explicitly detach or mute original audio as a preprocessing step before adding captions or music.
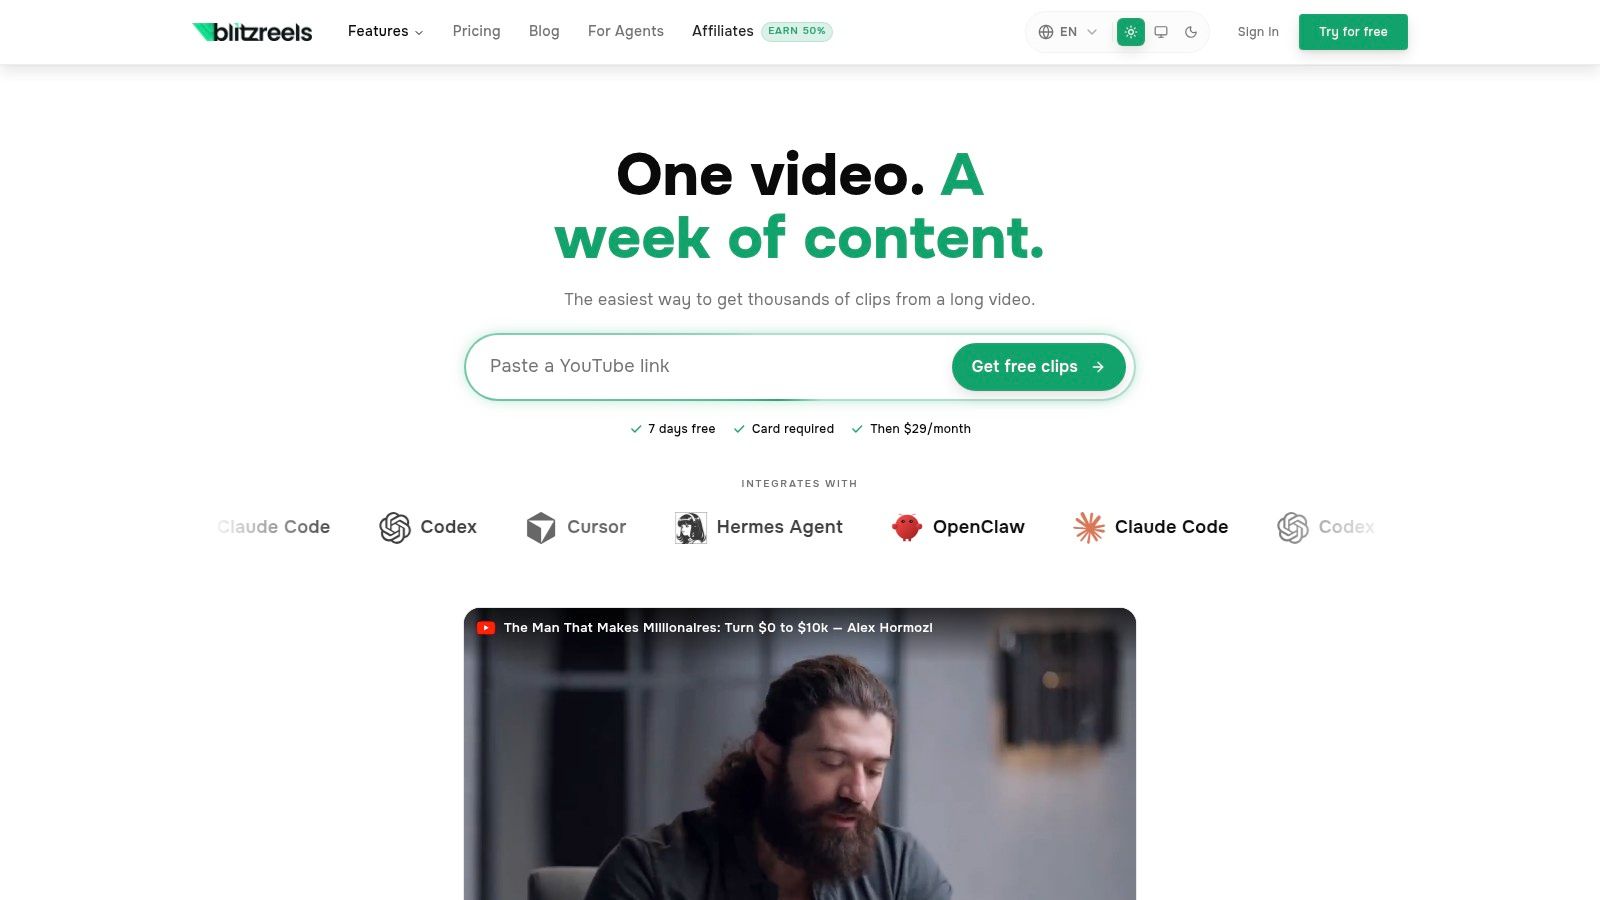
A browser editor makes sense because removing audio is rarely the final task. It's one step inside a larger post-production sequence. After the sound is gone, creators still need hooks, title cards, subtitles, clipping, reframing, and platform-specific resizing. That's why one-tool workflows tend to beat “remove it here, caption it there, resize it somewhere else” workflows.
A solid starting point for this kind of workflow is a dedicated [online video editor for social clips](https://www.blitzreels.com/editor). It's especially useful when the source file is already headed toward captioning and vertical export.
### What this method gets right
Web editors are best when speed matters more than deep manual control.
Here's where they usually win:
| Need | Why web editors are fast |
|---|---|
| **Quick upload and fix** | No install step, which removes friction when a post needs to go live fast |
| **Caption-first editing** | The clip can move straight into subtitle styling and text cleanup |
| **Vertical repurposing** | Resizing for Shorts, Reels, and TikTok usually happens in the same project |
| **Template-based output** | Repeated post formats become easier to maintain |
This matters for creators publishing frequently. A one-off mute is easy in almost any tool. Repeating that process across multiple weekly posts is where workflow quality starts to matter.
> Remove the bad audio once. Then stay in the same editor long enough to finish the post.
The trade-off is that browser tools vary a lot. Some are fine at simple muting but weak at caption design. Others can handle audio but don't help much with reframing or clipping. For creators comparing editing options for platform-native posts, this [guide for social media content creators](https://www.nereo.io/blog/video-editor-for-social-media) is worth reading because it evaluates editors based on actual publishing needs rather than feature lists alone.
If the clip only needs the sound removed and nothing else, a desktop tool may be enough. If the goal is a finished short with captions, resized framing, and a new audio layer, the browser route is usually the shortest path.
## Use Free Desktop Apps on Windows and Mac
Desktop tools are still useful when a creator wants a free option and already has the file sitting on a laptop. They're not always the fastest for repeatable short-form production, but they're good for quick fixes.
The ability to strip or mute audio has been around for a long time. Apple's QuickTime Player introduced a **Remove Audio** command by **2004**, and Windows Movie Maker included a **Video Volume** slider by **2010**, which helped establish the one-click muting patterns people still expect today, as noted in Adobe's overview of removing audio from video.

### On Mac with QuickTime Player
QuickTime is still one of the simplest answers for Mac users who need to remove sound without opening a full editor.
Use this approach:
- **Open the video in QuickTime Player.** Start with the original MP4 or MOV file.
- **Find the audio removal option.** If the version supports direct removal, use the built-in command to strip the track.
- **Save a new copy.** Keep the original file untouched in case the audio is needed later.
QuickTime works well for quick prep. It doesn't try to be a full social editor, which is both its strength and its limit.
### On Windows with built-in editors
Windows users usually take one of two paths. They either use a built-in or default editor to mute the clip, or they move into a fuller editor if they need timeline control.
For a simple task, the workflow is usually straightforward:
1. Import the video.
2. Select the clip.
3. Lower audio to zero or detach the track if the editor supports it.
4. Export a new version.
That's enough for a one-time upload. It's less ideal when the next steps include stylized captions, phone-friendly reframing, and reusable templates. Those are the points where desktop basics start to feel slow.
A lot of creators reach this stage and realize they don't just need free software. They need something built for repeat posting without export friction or watermark issues. That's where a roundup of [video editing software without watermark](https://www.blitzreels.com/blog/video-editing-software-without-watermark) becomes useful, especially for creators comparing “good enough” desktop tools against platforms made for ongoing social output.
## Remove Audio Directly on Your Phone iOS and Android
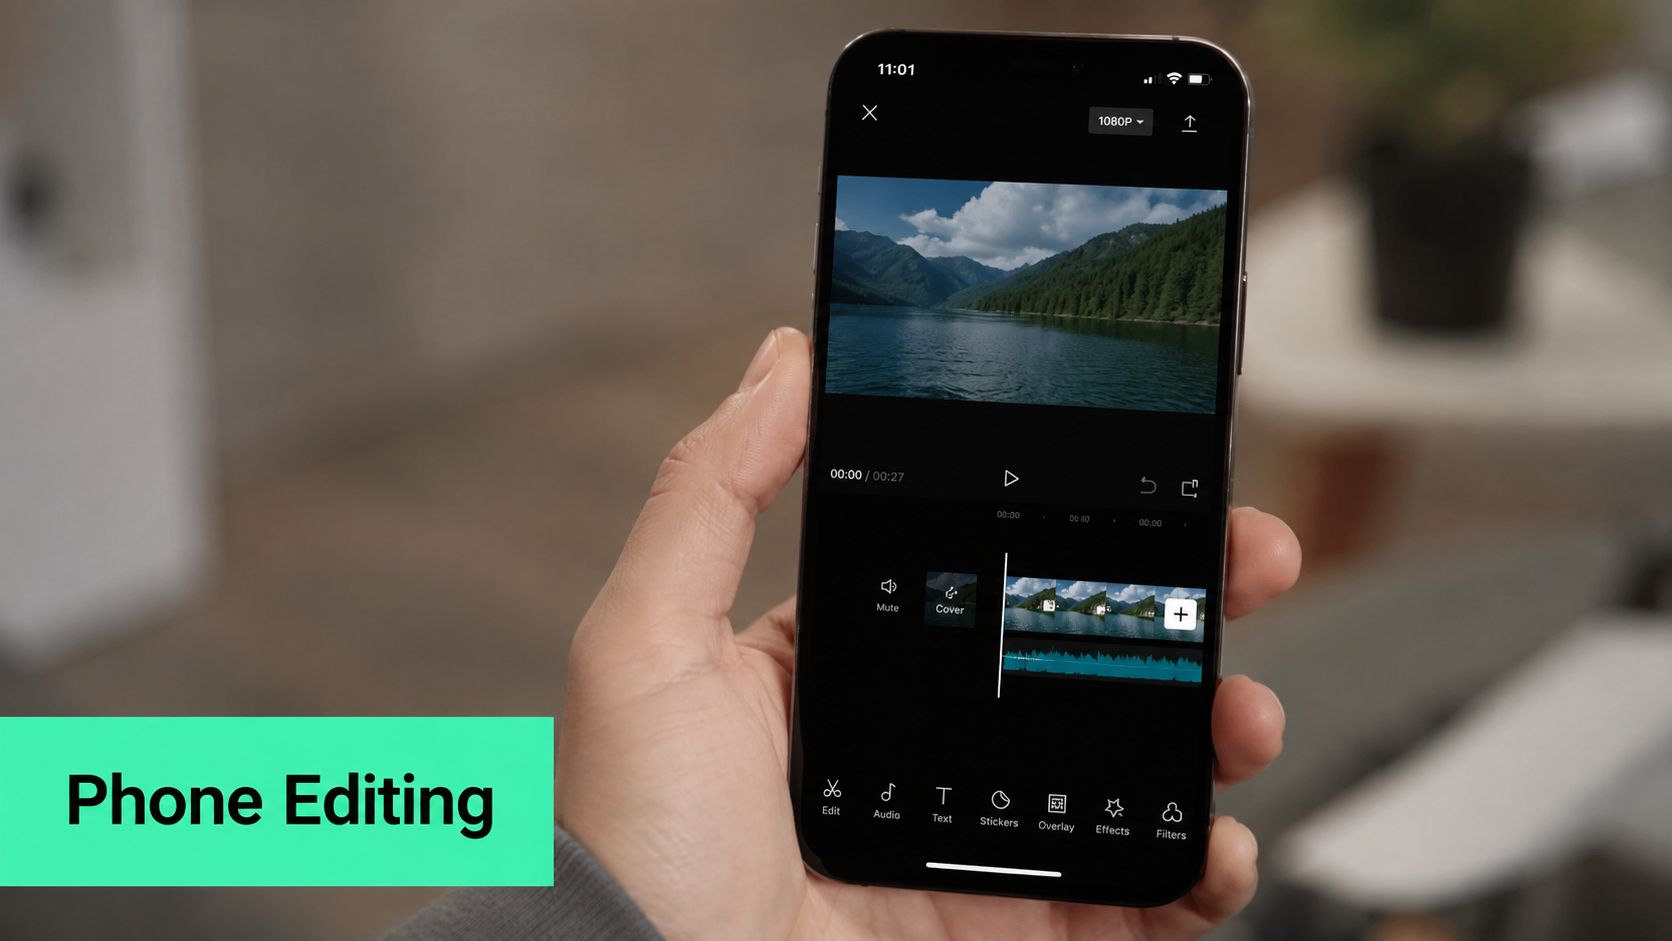
Phone editing is the default for a lot of short-form creators. The clip gets recorded, trimmed, and posted from the same device. In that workflow, the best audio removal method is the one that takes almost no thought.
### Use the built-in Photos or Gallery app first
If the only goal is silence, start with the native app on the phone.
On iPhone, the Photos app lets users open the clip, tap Edit, and use the speaker icon to mute the video. On Android, the Gallery app offers a similar speaker toggle after opening Edit. This is the fastest path when a creator wants to remove sound before sharing a clip elsewhere.
That method is best for simple posting or quick exports. It's less helpful when the clip needs cut points, caption styling, or replacement audio layered in with precision.
A practical mobile workflow often looks like this:
- **Shoot first, fix fast.** Remove distracting sound before it spreads into later edits.
- **Export a clean version.** Save the silent clip so future edits start from the better file.
- **Move into a fuller editor only if needed.** Don't open a bigger app unless the post needs more than silence.
### Use CapCut or InShot when the clip needs more control
For mobile creators who need to actually separate the track, CapCut and InShot are the usual picks. The key action is a short sequence: tap the audio track, choose **Detach**, then delete or mute it. That mobile shortcut is designed for speed and can reduce the time to silence a clip to **under 10 seconds**, according to this [CapCut and InShot workflow example on LinkedIn](https://www.linkedin.com/posts/katherine-tay-a40a97281_videoeditinghacks-contentcreation-audioediting-activity-7343902165410754564-hbH9).
That's the move to use when the video is about to get a new sound or a voiceover. The detached track gives more control than a simple mute button because the creator can remove the audio intentionally rather than only hiding it.
A visual walkthrough helps if the interface feels unfamiliar:
For creators editing directly on iPhone, a more complete mobile workflow guide is this walkthrough on [how to edit videos on iPhone](https://www.blitzreels.com/blog/how-to-edit-videos-on-iphone). It's useful once the clip needs more than a mute toggle and starts moving into captions, trims, and vertical polish.
> The phone method wins when the video is being made and posted in the same session. It loses when the project needs repeated versions for multiple platforms.
## For Power Users Remove Audio with FFmpeg
FFmpeg is the right answer when the creator isn't editing one clip. It's the right answer when a folder full of clips needs the same treatment.
### The command that matters
The core command is:
`ffmpeg -i video.mp4 -c:v copy -an out.mp4`
Each part does one job.
- **`-i video.mp4`** tells FFmpeg which file to read.
- **`-c:v copy`** copies the video stream without re-encoding it.
- **`-an`** disables the audio stream.
- **`out.mp4`** names the new exported file.
This is powerful because it strips the audio while leaving the video stream untouched. That makes it especially practical for bulk processing and automation.
### When FFmpeg is the right choice
Use FFmpeg when the job looks like operations, not editing.
Examples include:
- **Batch cleanup before captioning.** A team can strip audio from a stack of source files before transcription.
- **Repeatable social workflows.** The same command can be dropped into scripts and pipelines.
- **Fast exports without visual loss from re-encoding.** The video stream stays copied instead of being rebuilt.
Power users can also use tools like VLC to disable the audio codec at export, but the main point is the same. To permanently strip audio rather than just mute it, the output file has to be created without an audio track. That's critical for clean separation in automated captioning workflows, as explained in this [VLC and FFmpeg audio removal walkthrough](https://www.youtube.com/watch?v=LV1mCLrUDN0).
After that, the next bottleneck is often file size and upload speed, especially when large source files are moving between tools. A practical next step is learning [how to compress MP4 video](https://www.blitzreels.com/blog/how-to-compress-mp-4-video) without creating extra friction before publishing.
## What to Do After You Remove the Audio
A silent file isn't the final product. It's the clean base layer. The real work is deciding what should replace the original sound and how the post should communicate when viewers watch without audio.
### Replace the silence with something intentional
The best replacement depends on the clip's job.
- **Music** works when the visual rhythm carries the post and the message can live in captions.
- **Voiceover** works when the creator needs control over pacing, clarity, and narrative.
- **Sound effects** help transitions, reveals, and product moments feel deliberate.
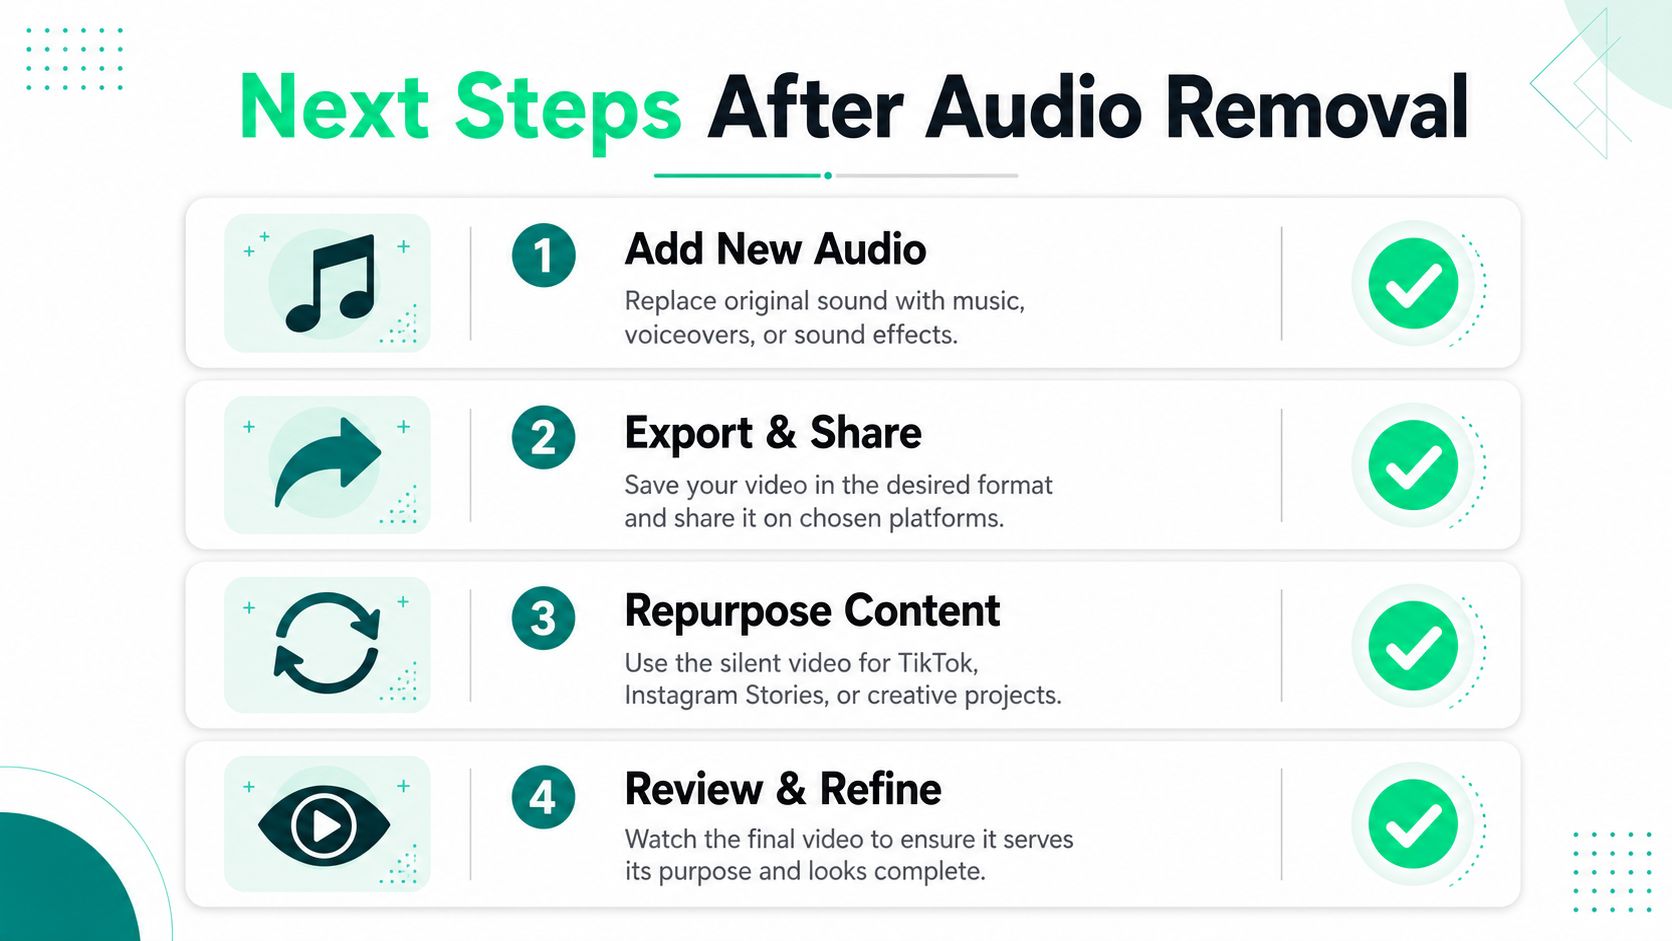
A lot of short-form posts improve the moment the original sound disappears because the creator can finally control tone. The clip stops feeling accidental and starts feeling edited.
That's also where the creative decisions matter more than the technical step. Music should support the pacing, not fight the captions. Voiceovers should be written for short attention spans, not copied from a blog paragraph. Title cards and hooks should front-load the reason to keep watching.
### Build the clip for silent viewing anyway
Even when new audio gets added, the post still needs to work on mute. That means captions aren't optional decoration. They carry the message for viewers scrolling in public, at work, or with the sound off.
A good post-removal checklist looks like this:
1. **Write a sharper opening line.** The first caption or title card needs to earn the stop.
2. **Add readable captions.** High contrast, clean timing, and sensible line breaks matter more than fancy animation.
3. **Reframe for vertical.** Faces and focal points need to stay centered after resizing.
4. **Review pacing.** Silence exposes weak edits fast. Trims, jump cuts, and visual resets need to be intentional.
> If the post only works because the audio explains everything, it probably isn't built for short-form yet.
For creators trying to improve the performance side of short-form, this guide on [understanding viral content creation](https://superx.so/blog/create-viral-videos-proven-strategy-guide-creators) is worth a read because it ties editing decisions back to attention and shareability rather than treating them as isolated production tasks.
When the replacement audio is a voice track, the next practical step is learning [how to record and add a voice-over to a video](https://www.blitzreels.com/blog/how-to-voice-over-a-video). That's often the move that turns a rough source clip into a polished TikTok, Reel, Short, or LinkedIn video with a clear message.
---
BlitzReels helps creators turn raw clips into finished short-form posts without bouncing between tools. Upload a video, clean up the audio workflow, add captions, clip the best moments, resize for TikTok, Instagram Reels, YouTube Shorts, or LinkedIn, and export fast. Try [BlitzReels](https://blitzreels.com) if the goal is to post more often with less editing friction.