---
title: "Instagram Reels Dimensions That Actually Work in 2026"
canonical: "https://blitzreels.com/blog/instagram-reels-dimensions"
---
# Instagram Reels Dimensions That Actually Work in 2026
URL: https://blitzreels.com/blog/instagram-reels-dimensions
Markdown URL: https://blitzreels.com/blog/instagram-reels-dimensions.md
Published: 2026-08-28
Author: BlitzReels
Master Instagram Reels dimensions with the 2026 pixel specs, safe zones, codec settings, and auto-reframe workflows that protect text across every crop.
Tags: instagram reels dimensions, reels size guide, vertical video specs, safe zones, auto reframe

A creator exports a clean vertical Reel, watches it in the editor, and sees a perfect hook headline, centered face, and lower-third call-to-action. After publishing, the feed preview cuts through the headline, the profile grid removes the subject's chin, and the CTA sits beneath Instagram's controls. The file wasn't necessarily wrong. The production plan was incomplete.
The practical answer to **Instagram Reels dimensions** starts with **1080 × 1920 pixels at a 9:16 aspect ratio**, but it can't end there. A Reel travels through multiple Instagram surfaces, each with its own framing and interface overlays. Professional production means exporting one strong master while composing the important material for every crop that viewers may encounter.
## Table of Contents
- [Why Your Reel Looks Right but Still Gets Cropped](#why-your-reel-looks-right-but-still-gets-cropped)
- [The safe-zone rule](#the-safe-zone-rule)
- [The 2026 Reels Spec and the Three Surfaces It Lives On](#the-2026-reels-spec-and-the-three-surfaces-it-lives-on)
- [Instagram Reels pixel dimensions by placement surface](#instagram-reels-pixel-dimensions-by-placement-surface)
- [What should be uploaded](#what-should-be-uploaded)
- [Designing Inside the Safe Zone Instead of the Frame](#designing-inside-the-safe-zone-instead-of-the-frame)
- [A useful placement hierarchy](#a-useful-placement-hierarchy)
- [Export Settings That Survive Instagram's Re-Encoding](#export-settings-that-survive-instagrams-re-encoding)
- [Instagram Reels Export Settings 2026](#instagram-reels-export-settings-2026)
- [Editor-specific checks](#editor-specific-checks)
- [Common Cropping Mistakes and How to Fix Them](#common-cropping-mistakes-and-how-to-fix-them)
- [The production fix](#the-production-fix)
- [Preparing Wide-Source Video for Vertical Reels](#preparing-wide-source-video-for-vertical-reels)
- [The reframing pass](#the-reframing-pass)
- [Auto-Reframing and Exporting With an Agentic Workflow](#auto-reframing-and-exporting-with-an-agentic-workflow)
- [Pre-Publish Checklist and Quick Reels Questions](#pre-publish-checklist-and-quick-reels-questions)
- [Pre-flight checklist](#pre-flight-checklist)
- [Quick questions](#quick-questions)
## Why Your Reel Looks Right but Still Gets Cropped
The most common failure happens after the edit is finished. A creator places the hook near the top of a 1080 × 1920 canvas because it looks clear in full-screen preview. Instagram then shows the same Reel in a feed crop, where the username and other interface elements occupy the upper area. The headline becomes partially hidden, while the lower CTA competes with captions, sharing controls, and audio information.
The root problem is simple: **a Reel isn't one delivery surface**. It can appear as a full-screen vertical video, a cropped feed preview, or a profile-grid presentation. Each view reveals a different slice of the same uploaded file. Instagram's feed playback is cropped to roughly **4:5**, while the profile grid uses a square presentation, as described in this [Sovran guide to video specifications](https://sovran.ai/blog/social-media-video-specs). The full-screen version remains the reference canvas, but it isn't the only view that matters.
### The safe-zone rule
A reliable layout protects the smallest useful viewing window. Critical text, faces, product details, logos, and CTAs belong in a centered area that survives the feed and grid crops. Decorative backgrounds, supporting motion, and nonessential visual texture can occupy the outer frame.
Editors should test the composition in this order:
1. **Full-screen view:** Confirm that the Reel fills the phone-shaped canvas and that the visual hierarchy works.
2. **Feed crop:** Check whether the hook and opening face remain visible when the vertical frame becomes shorter.
3. **Profile-grid crop:** Confirm that the cover frame still communicates the subject without relying on the outer edges.
4. **Overlay check:** Review the top, bottom, and right side with Instagram's interface elements present.
> **Practical rule:** If a viewer must read it, recognize it, or act on it, keep it away from the edges.
This approach changes the editing brief. Instead of asking whether the export is technically vertical, the producer asks whether the message survives every likely presentation. The master still uses 9:16, but the composition is built for distribution rather than for a single editor preview.
## The 2026 Reels Spec and the Three Surfaces It Lives On
The dependable upload baseline is **1080 × 1920 pixels at 9:16**. Instagram Reels were launched globally in **August 2020**, and the vertical format has remained anchored to this phone-screen geometry, according to [Hootsuite's Instagram Reel size and length guide](https://blog.hootsuite.com/instagram-reel-size-length/). That stability is useful for teams because one vertical project template can support clipping, captions, reframing, title cards, and repeatable exports.
The upload canvas and the visible placement aren't identical. A full-screen Reels view can show the complete 9:16 master, while other surfaces crop the same asset into shorter windows. The following table uses the placement framings described in the verified guidance and applies the pixel math to the 1080 × 1920 master.
### Instagram Reels pixel dimensions by placement surface
| Surface | Aspect Ratio | Pixel Dimensions | Clipped from Master |
|---|---:|---:|---|
| Full-screen Reels playback | 9:16 | 1080 × 1920 | Nothing from the vertical master |
| Main feed preview | 4:5 | 1080 × 1350 | Roughly 285 pixels from the top and 285 pixels from the bottom |
| Profile grid preview | 3:4 | 1080 × 1440 | Roughly 240 pixels from the top and 240 pixels from the bottom |
The centered **1080 × 1350** area is the most conservative working rectangle for important content because it fits inside the shorter feed presentation. The grid crop creates a different framing, so a cover should also read when viewed in a tighter central composition. Producers shouldn't confuse these Reels surfaces with Stories or Explore, which can introduce related but distinct presentation rules.
### What should be uploaded
The production team should upload the **1080 × 1920, 9:16 master**, not a feed-sized or square substitute. A 4:5 or 3:4 file may be useful as a secondary placement asset, but it shouldn't replace the native full-screen Reel canvas.
The [AgentPulse Instagram Reel dimensions guide for agents](http://agentpulse.ai/blog/instagram-reel-video-dimensions) is useful for teams documenting these rules inside automated workflows. A project brief can define the master canvas, crop previews, safe-zone behavior, and cover requirements before an editor starts placing captions or B-roll.
For teams building a wider content system, the [short-form video glossary](https://blitzreels.com/glossary/short-form-video) provides relevant terminology for connecting source footage to platform-specific deliverables. The key distinction remains consistent: **dimensions describe the file, while safe-zone planning describes whether the file works after distribution**.
## Designing Inside the Safe Zone Instead of the Frame
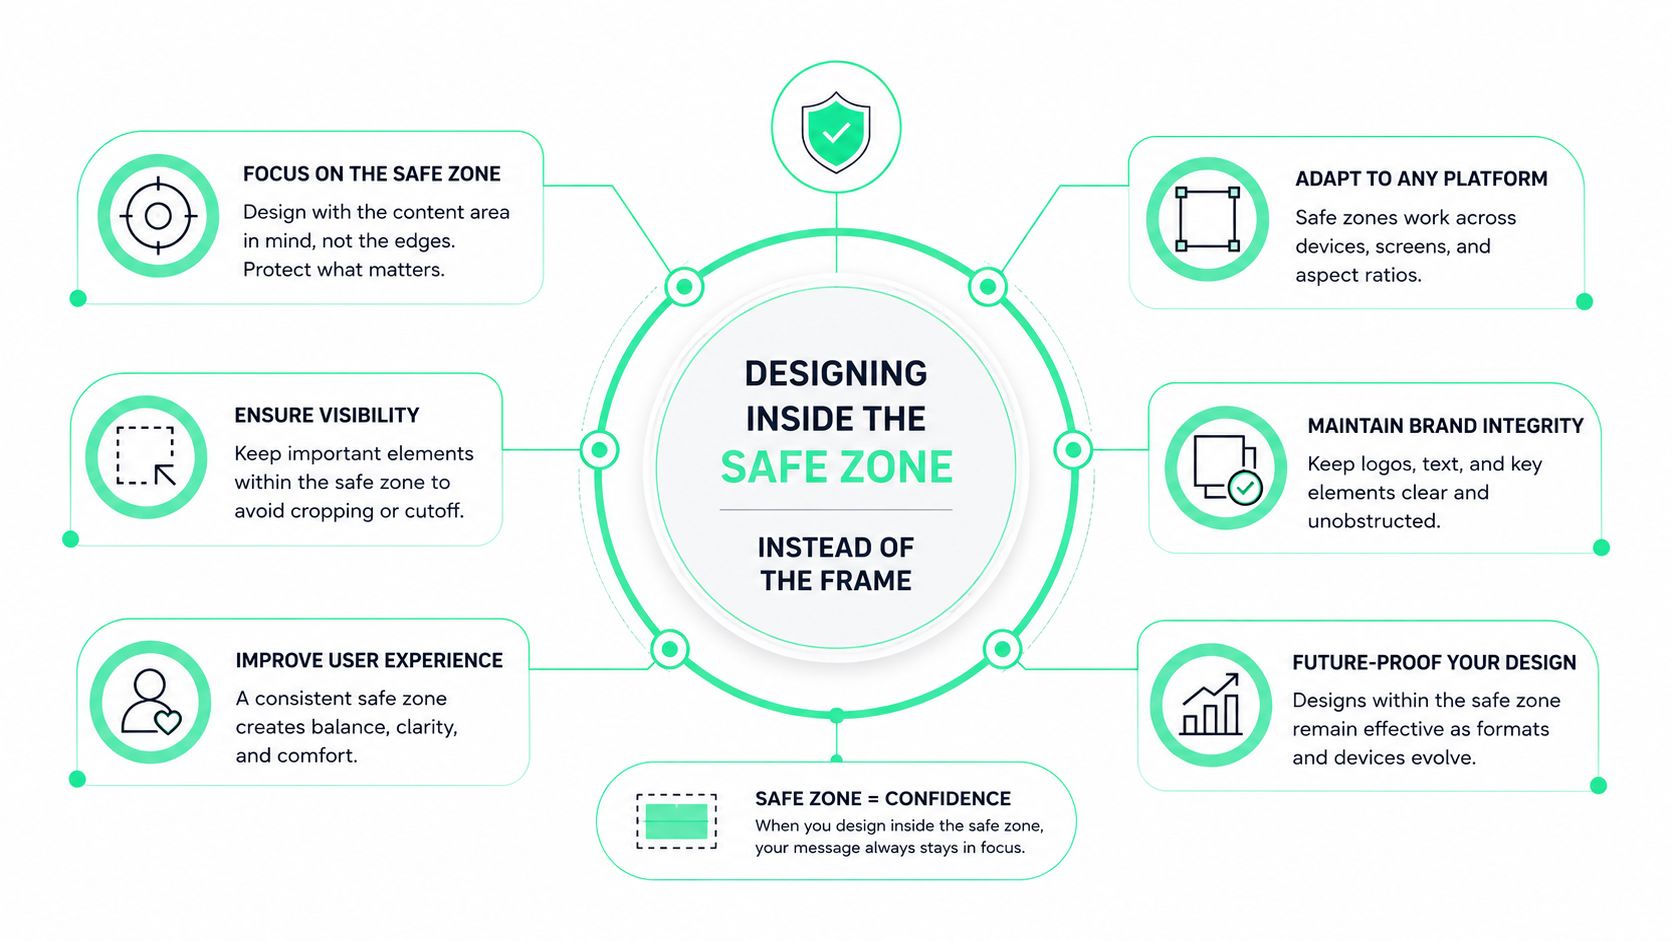
A 1080 × 1920 canvas offers more space than Instagram's interface leaves unobstructed. The username, follow controls, and audio attribution can occupy the upper region. Captions, sharing controls, and audio controls compete for attention near the bottom. The right edge also carries interaction icons, so a logo or CTA placed there can be technically present but practically unreadable.
A production template should include a centered safe rectangle of approximately **1080 × 1080 pixels** for the most important visual elements. Hook headlines, faces, logos, and primary CTAs should sit inside that central band. For especially important text, a smaller core box of around **1080 × 920 pixels** gives the layout additional breathing room.
### A useful placement hierarchy
- **Hook headline:** Place it in the upper-middle area, not against the top edge. The opening line should remain readable when the feed crop removes the outer vertical space.
- **Face or product:** Keep the focal subject near the center. A face that drifts into the upper interface area can lose context even when the video itself isn't cropped.
- **Captions:** Burned-in subtitles are part of the picture. They must follow the same safe-zone rules as animated overlays.
- **Call-to-action:** Keep the CTA above the lower control region, with enough separation that it doesn't merge visually with Instagram's buttons or caption preview.
- **Logo:** Use the central composition unless the logo is purely decorative. A small mark at an edge is more vulnerable to cropping and interface overlap.
The safest layout isn't always visually centered in the full frame. A speaker's eyes may sit slightly above center, while a title card occupies the center and captions sit higher than expected. The editor should judge the entire viewing stack, not apply a rigid box without considering faces, motion, and reading order.
The [safe-zone glossary definition](https://blitzreels.com/glossary/safe-zone) gives teams a concise reference for standardizing this concept across templates. A locked guide layer in Premiere, DaVinci Resolve, Final Cut, or a cloud editor prevents every new clip from becoming a fresh positioning experiment.
## Export Settings That Survive Instagram's Re-Encoding
Instagram re-encodes uploaded video, so the export should arrive clean, compatible, and free from unnecessary conversion steps. The dependable recipe is **progressive 1080 × 1920 video**, **H.264**, **30 fps**, **Rec.709**, and **AAC stereo audio at 48 kHz and 384 kbps**. The recommended video bitrate range is **8 to 12 Mbps**, based on the provided export guidance and the [Wideo Instagram video guide](https://wideo.co/blog/how-to-make-instagram-videos/).
A 24 fps export can work when it matches the source, but 30 fps is the safer default for a repeatable social workflow. H.265 or HEVC may create avoidable compatibility and re-encoding problems, while 60 fps can introduce inconsistent processing and motion softness in certain previews. The production team should export once from the cleanest timeline rather than repeatedly compressing an already compressed file.
### Instagram Reels Export Settings 2026
| Parameter | Recommended Value | Avoid |
|---|---|---|
| Canvas | 1080 × 1920, 9:16 | Square, horizontal, or letterboxed masters |
| Video codec | H.264 | H.265 or HEVC when compatibility is uncertain |
| Frame rate | 30 fps, 24 fps acceptable when source-matched | Unnecessary frame-rate conversion |
| Color | Rec.709 | Unmanaged HDR or inconsistent color transforms |
| Video bitrate | 8 to 12 Mbps | Excessive compression or multiple re-exports |
| Audio | AAC, stereo, 48 kHz, 384 kbps | Unsupported audio settings or drifting tracks |
| Scan type | Progressive | Interlaced export |
| File head and tail | 2 to 3 second handles | Tight cuts that complicate downstream edits |
### Editor-specific checks
**Premiere Pro:** Turn Match Source off, select H.264, use VBR 2-pass, and leave Maximum Render Quality off for this delivery. The goal is a controlled social export, not a heavyweight mastering file.
**DaVinci Resolve:** Use the Deliver page with MP4 format, H.264 codec, and AAC audio. Confirm the timeline resolution before rendering so a project created for another placement doesn't quietly determine the Reel canvas.
**Final Cut Pro:** Share through the Apple Devices 1080p route as the closest starting preset, then switch the codec to H.264 and verify the vertical frame before delivery.
A heavy, clean export can give Instagram more usable information to process, but the file should remain under **650 MB** according to the specified workflow guidance. The [BlitzReels Instagram compression tool](https://blitzreels.com/tools/compress-video-for-instagram) can support a final file-size pass when the master is too large for the publishing workflow.
## Common Cropping Mistakes and How to Fix Them
Three assumptions cause a disproportionate amount of rework.
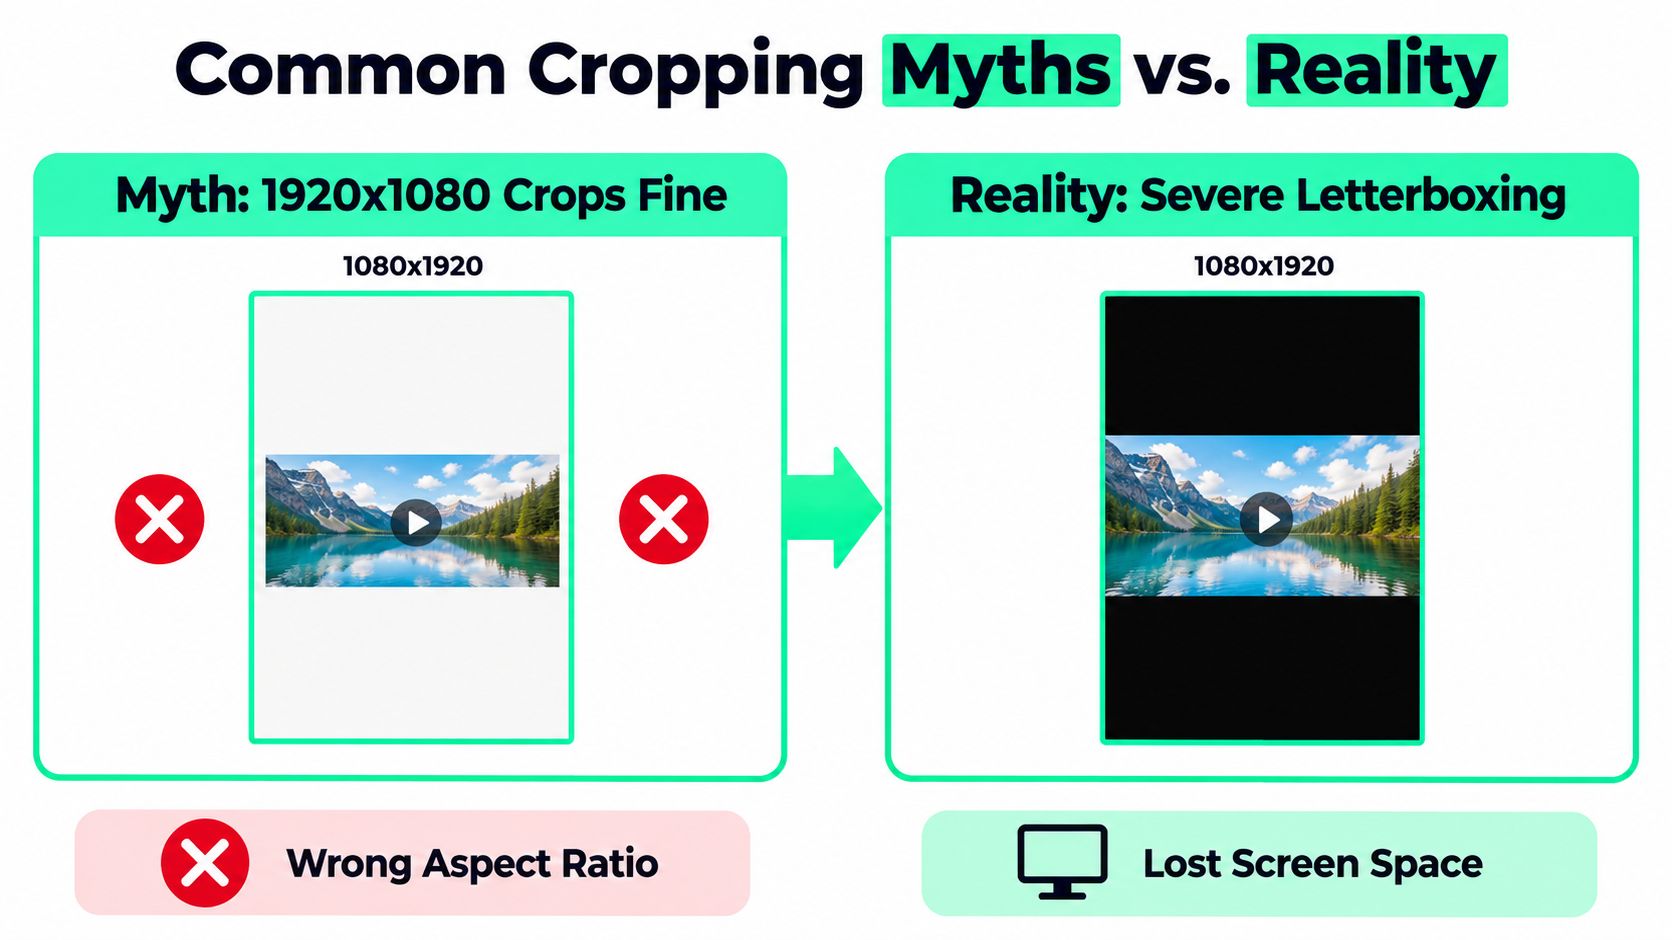
**Myth one, horizontal footage crops fine.** A 1920 × 1080 source contains a wide composition, not a vertical one. Dropping it into a 1080 × 1920 Reel without a deliberate reframe leaves the subject small or forces aggressive cropping that removes the speaker, product, or hook. The fix is to create the 9:16 sequence first, choose the focal subject, and then scale and reposition the source around that subject.
**Myth two, any vertical resolution works.** A 1080 × 1350 file is vertical, but it is still a 4:5 composition. It won't behave like a full-screen 9:16 master and may leave unwanted space or trigger additional platform handling. The production fix is to export the Reel itself at **1080 × 1920**, while using the 4:5 view as a crop preview and design constraint.
**Myth three, the in-app preview equals delivery.** A preview often shows the full vertical composition, but the feed, profile grid, and other Instagram surfaces can place different crops and interface elements over it. A headline that appears clean in the editor can disappear beneath an audio control or become unreadable in the grid.
### The production fix
The editor should anchor key material inside a centered **1080 × 1420 safe rectangle**, then run a grid-view sanity check before publishing. That check should use the intended cover frame, not a random frame from the middle of the video. If the cover only works in full-screen playback, it isn't finished.
The same review catches subtler problems:
- **Hair and headroom:** A face may be technically inside the canvas but too close to the top crop.
- **Subtitle collision:** Captions can remain visible while competing with Instagram's own lower controls.
- **Side interference:** A right-aligned product label may sit beneath engagement icons.
- **Letterboxing:** Black bars create dead space and make a horizontal source feel pasted into a vertical shell.
The correct workflow doesn't try to preserve every pixel of the source. It preserves the information that makes the clip understandable.
## Preparing Wide-Source Video for Vertical Reels
A webinar or podcast usually begins as a wide recording, so the first decision isn't export. It's editorial triage. The producer identifies the speaker, the slide or demonstration that carries the point, and the highest-energy window by reviewing the waveform and transcript peaks.
A strong clip often needs a different hierarchy from the original program. The speaker's eyes should sit near the upper third of the vertical composition, while a slide can occupy the lower two-thirds when the slide contains the evidence or visual explanation. If the slide is merely supportive, it should appear as B-roll or a brief cutaway rather than forcing the speaker into a cramped crop.
### The reframing pass
The editor should create a vertical sequence before adding captions. Face tracking can keep a single speaker centered, but a two-person interview needs a deliberate choice between a shared frame, alternating crops, and cut-based coverage. A title card should be designed inside the same safe area as the video, not added afterward as an independent graphic.
A 4:5 capture can be a useful compromise when production planning allows it. A **1080 × 1350** source has more vertical information than a square source and can be reframed into a full-screen vertical composition with less interpolation than 1080 × 1080. That doesn't replace a native vertical shoot, but it gives the editor more room for a speaker, slide, or product.
> The crop is only as stable as the subject's movement. If the subject moves more than **40 percent horizontally across the frame**, a 9:16 crop won't reliably hold that person inside the safe zone.
That threshold is a reshoot signal, not an editing challenge. A fully vertical shoot becomes the better choice when the subject walks, gestures across a wide stage, or shares the frame with visual material that must remain legible. The [Instagram Reels resizing tool](https://blitzreels.com/tools/resize-video-for-instagram-reels) can handle a controlled source-to-vertical conversion, but it can't recover composition that the camera never captured.
## Auto-Reframing and Exporting With an Agentic Workflow
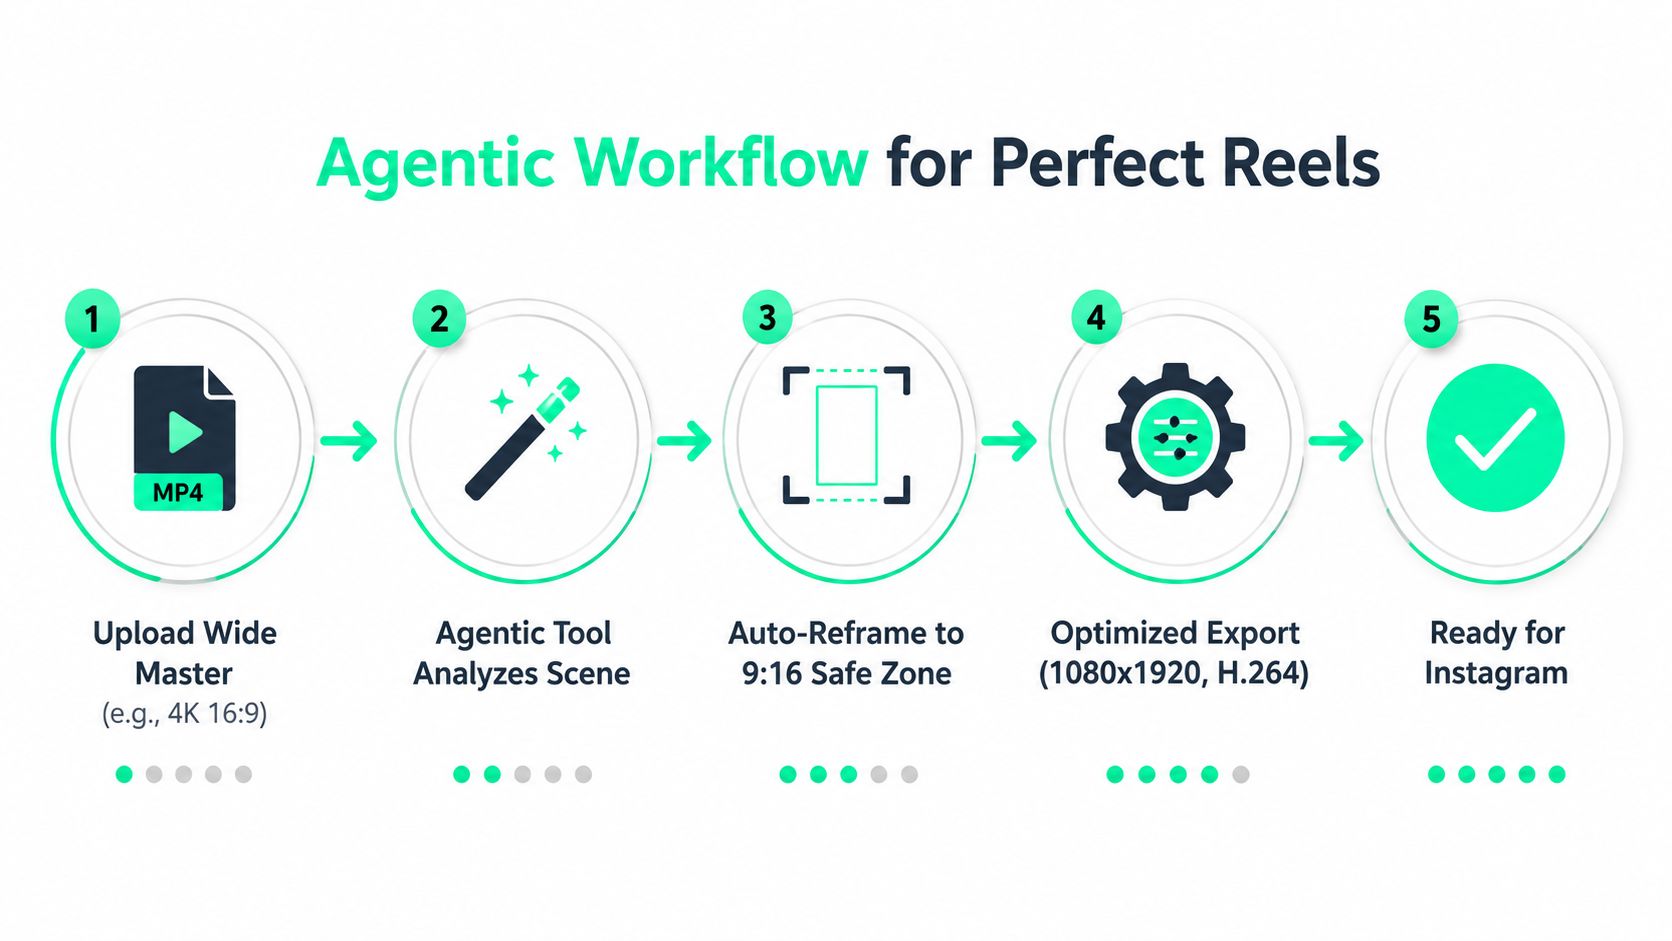
Dimensions become easier to manage when they are treated as pipeline rules instead of last-minute manual corrections. A producer can start with a wide master, identify the clip through its transcript and motion, then generate a vertical deliverable while keeping human review at the decision points that matter.
A practical workflow looks like this:
1. **Inspect the source:** Find the speaker, high-energy passages, slide changes, and relevant transcript moments.
2. **Create the clip:** Trim the selected passage, edit the transcript, and remove dead space before reframing.
3. **Set the composition:** Track the face or salient subject, choose speaker-versus-slide priority, and place captions inside the centered safe area.
4. **Generate deliverables:** Produce the 1080 × 1920 9:16 master and secondary 4:5 or 1:1 versions when the content needs broader reuse.
5. **Validate and review:** Check captions, title cards, B-roll, crop behavior, codec settings, and render status before publishing.
BlitzReels is an **agentic AI video editor** that supports clipping, transcript and caption editing, timeline changes, media and B-roll additions, reframing, and cloud rendering for short-form platforms. Its hosted OAuth MCP server, REST API, TypeScript SDK, structured-JSON CLI, OpenAPI resources, `llms.txt`, and agent skills can expose operations such as inspecting projects, validating output, starting exports, and checking render status. Human editors still retain browser-based review and final control.
The opening hook can be placed on a **2.5-second** title frame, then checked against the safe zone before the export starts. An agent should not blindly accept auto-reframing. If the speaker leaves the tracked region, a slide becomes essential, or the subject crosses the horizontal movement threshold, the workflow should flag the clip for manual reframing or a fully vertical reshoot.
The [AI agent editor feature](https://blitzreels.com/features/ai-agent-editor) is relevant when a team wants dimensions, captions, clipping, resizing, validation, and export status handled as connected project operations rather than isolated tasks.
## Pre-Publish Checklist and Quick Reels Questions
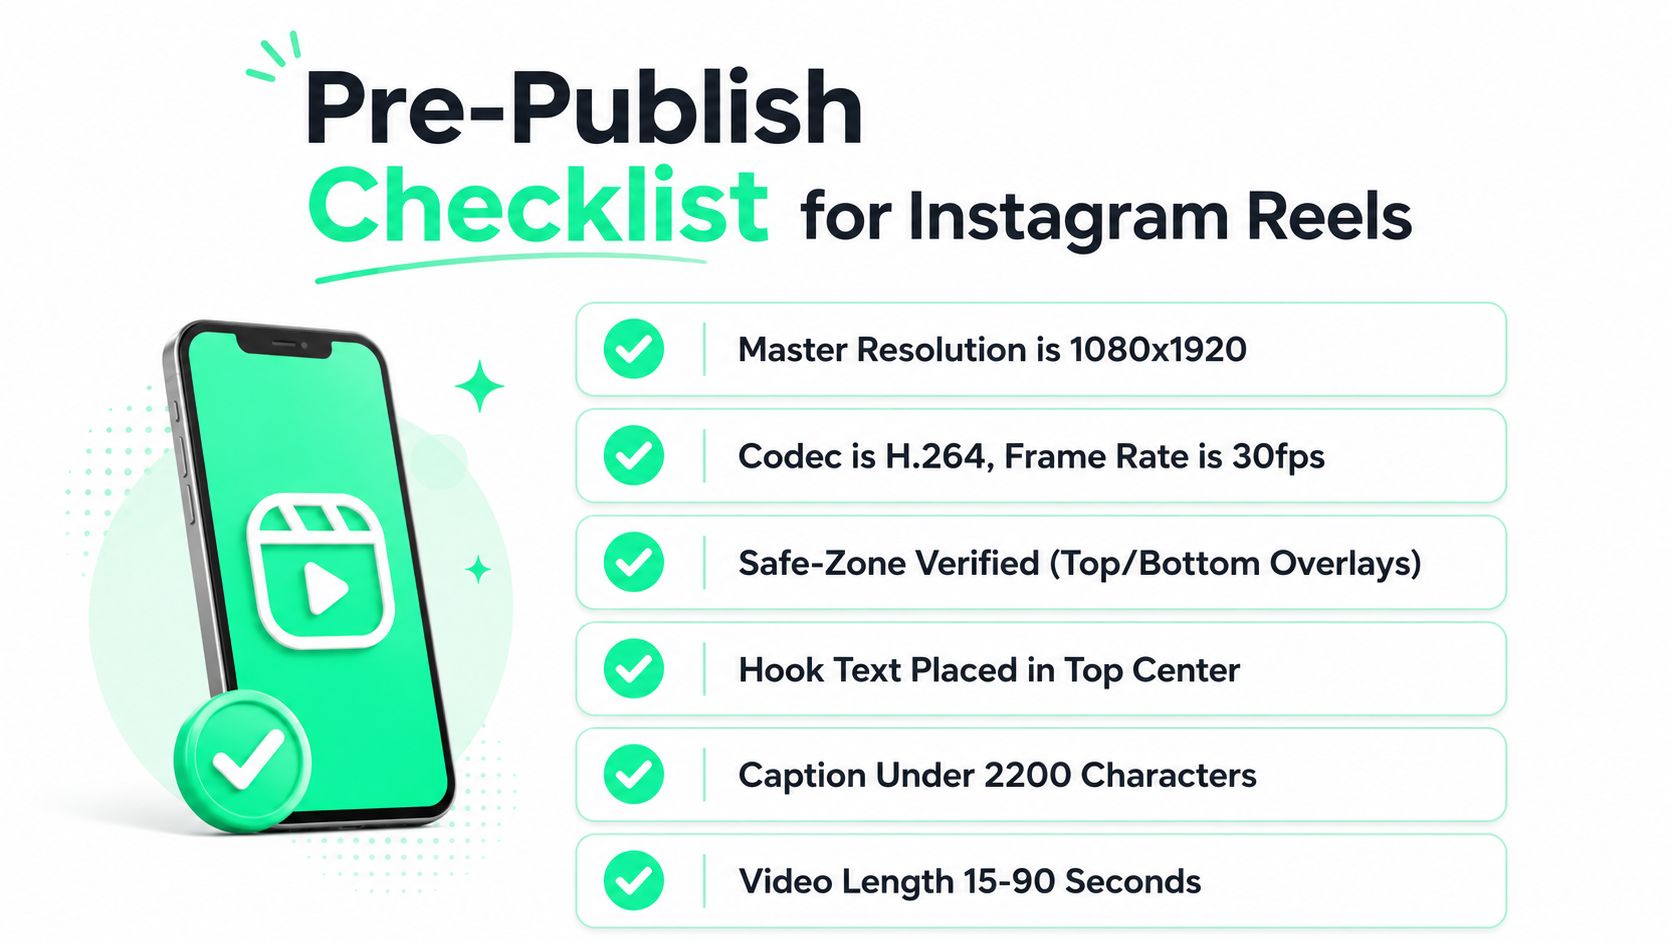
A Reel should pass a technical and editorial check before it reaches Instagram. The master resolution, safe zone, caption placement, and crop previews deserve the same attention as the hook and pacing.
### Pre-flight checklist
- **Master canvas:** Confirm 1080 × 1920 pixels at 9:16.
- **Codec and frame rate:** Use H.264 at 30 fps unless the source requires a matched 24 fps export.
- **Safe zone:** Review the centered text and subject area with top and bottom overlays simulated.
- **Hook placement:** Keep the opening headline in the upper-center region, away from the top interface.
- **Captions:** Check burned-in captions for readability, timing, and lower-control collisions.
- **Cover frame:** Test the selected cover in the profile-grid crop.
- **File quality:** Confirm progressive scanning, Rec.709 color, AAC audio, and a clean single export.
- **Length:** Verify the Reel stays within the intended publishing limit. Instagram guidance cited in the provided research says Reels can be up to **20 minutes** in some current coverage, so the account's publishing surface and format should be checked before scheduling. [Instagram's referenced post](https://www.instagram.com/p/DTshte0CK2z/) is the relevant source for that claim.
### Quick questions
**Why does the Reel look fine in preview but crop text in the feed?** The preview may show the complete 9:16 canvas, while the feed uses a shorter crop and adds interface overlays. The fix is to test the centered safe rectangle, not just the full-screen player.
**Does 2:3 portrait still work?** It isn't the dependable native Reel master. The production baseline remains 9:16 at 1080 × 1920, with other aspect ratios treated as placement-specific derivatives.
**What bitrate prevents softening?** The provided export recipe recommends **8 to 12 Mbps** with H.264, but Instagram still controls the final transcode. A clean source and one export matter as much as the numeric setting.
**What happens with phone-shot vertical footage?** Keep the native vertical composition, recheck the subject against the safe zone, and avoid stretching or unnecessary resizing before export.
**What if audio drifts after re-encoding?** Confirm a constant frame rate, AAC audio, and a progressive H.264 export. Replace the uploaded file if the drift begins after a repeated conversion rather than trying to repair it inside Instagram.
---
BlitzReels helps teams clip source videos, edit transcripts and captions, add B-roll, resize wide footage into Reel-ready layouts, validate exports, and render short-form deliverables for social platforms. Visit [BlitzReels](https://blitzreels.com) to turn the 1080 × 1920 safe-zone workflow into a repeatable production process with human review before publishing.